Cardboard building shapes
Create your own building blocks using recycled cardboard and scissors.

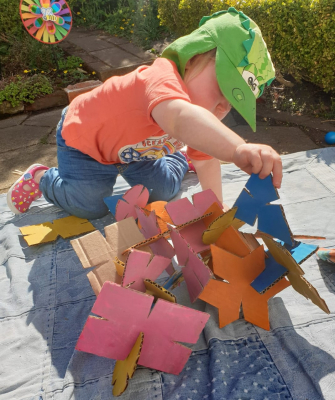
Have you ever made your own toys using recycled materials?
In this activity you’ll make building blocks by cutting out shapes from recycled cardboard. You can then slot them together to create structures from your imagination.
If you’re looking for a more complicated building challenge, scroll to the bottom of the page for animals and castles.
This page will print, but looks a little funky. Click the button for a PDF version which looks a bit better. This is a stop-gap while we work on a better solution!
This is a two step activity and will take about an hour altogether, not including paint drying time.
If you want to paint the shapes, then you will need to create and decorate the shapes first, let the paint dry for an hour or two, and then build with them.
Age 3 and up. Younger children will require an adult to cut out the shapes and slits for them.
You know your children better than anyone, and you should judge whether they’re ready for this activity.
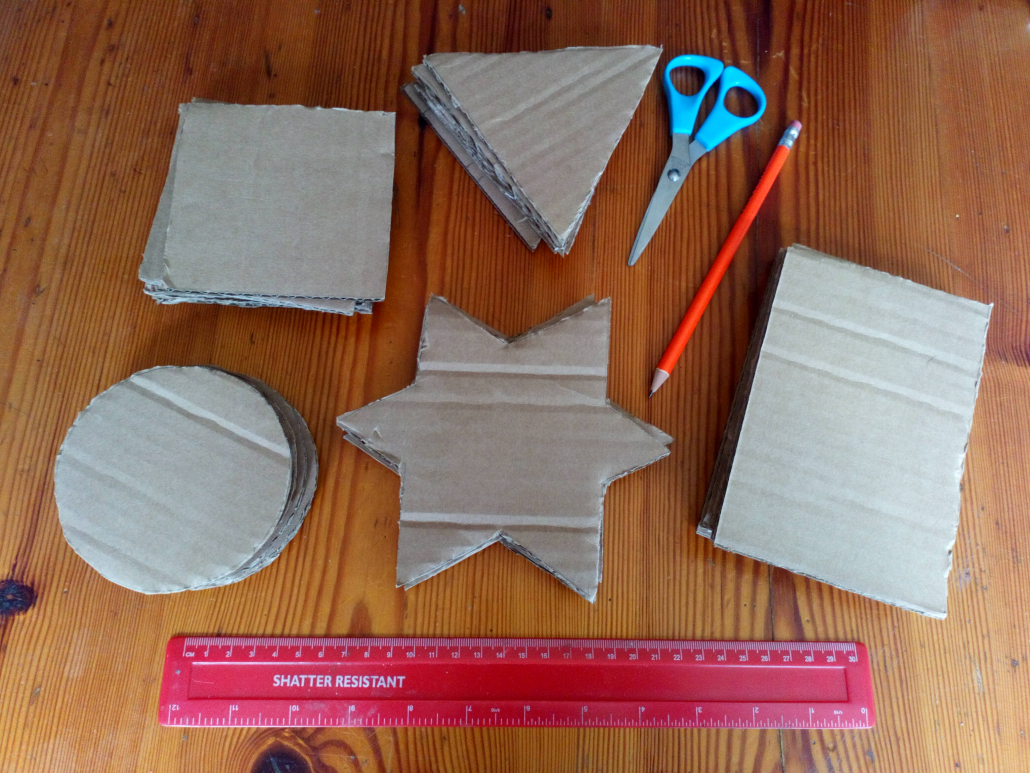
Find the cardboard that you are going to use; thick cardboard from packaging works well but so does thinner cereal box cardboard. For younger children, the thicker cardboard is better for building, but an adult will need to help them to cut it out. Older children may be able to cut shapes from thinner cardboard on their own.
Choose the shapes you want to use. It’s a good idea to start with basic shapes like squares, rectangles, circles and triangles as they are easier to cut. Later, you might want to try more complicated shapes like stars, ovals or hexagons.

Use the bottom of a mug or cup to draw your circles.
You can then make your squares, triangles and rectangles to be about the same size. Once you’ve made one of each shape, use it as a template to make more. You’ll need about 4 of each shape.
It takes some time to make the shapes, so you could get younger children to colour or paint (if you’re feeling messy) the shapes as soon as they are cut out.
If you’re painting, you’ll need to leave time for the shapes to dry properly before putting them together.

Once coloured (and dry) each shape needs short slots cutting into it.
The slots need to be about the width of an adult’s finger. The easiest way to make them is by cutting a thin triangle out of the card (like in the picture).
You can choose how many slots you cut in each shape, but a good idea is to count the sides of the shapes and use that as a guide. For example, three slots in a triangle and four in a rectangle. It also means you can talk with your child about shapes and practice counting while you cut.
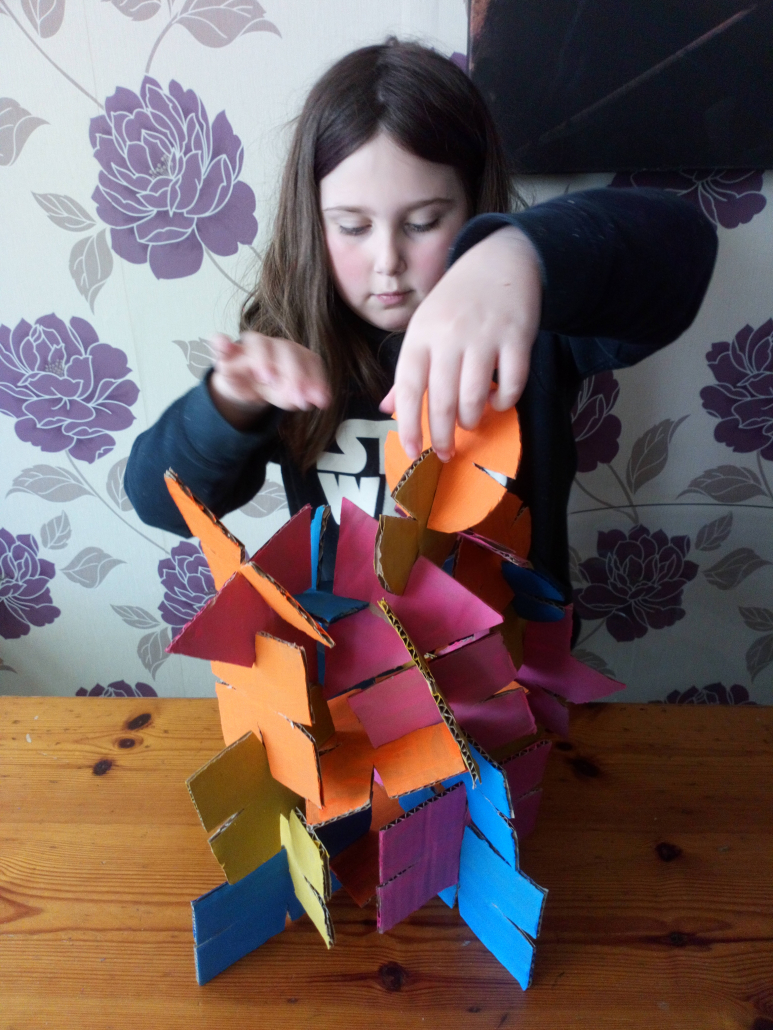
Time to start building.
Choose two shapes and slot them together. Make sure they are pushed all the way into each other.
Now join more shapes onto these shapes.
Can you do these building challenges?
You could take photos of all the different things you make.
Which shapes balance the best? Which make the best bases for building on?
Which shapes slot together easily? Are there any that you can’t slot together?
What do you need to do to make a taller structure?

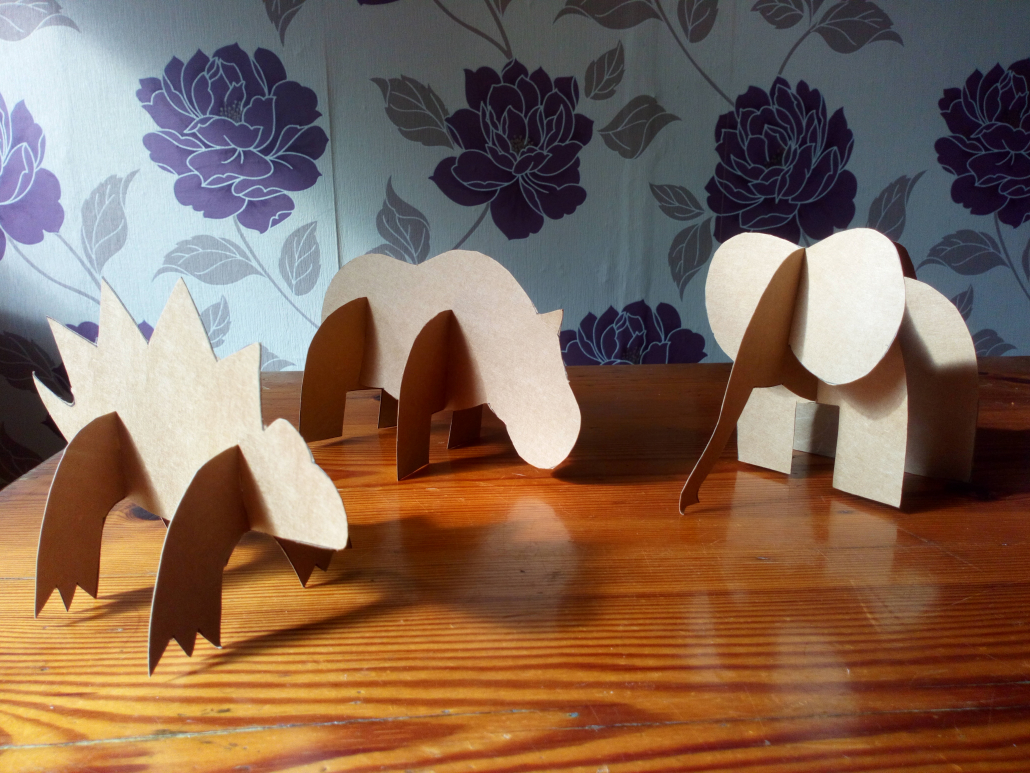
What you need:
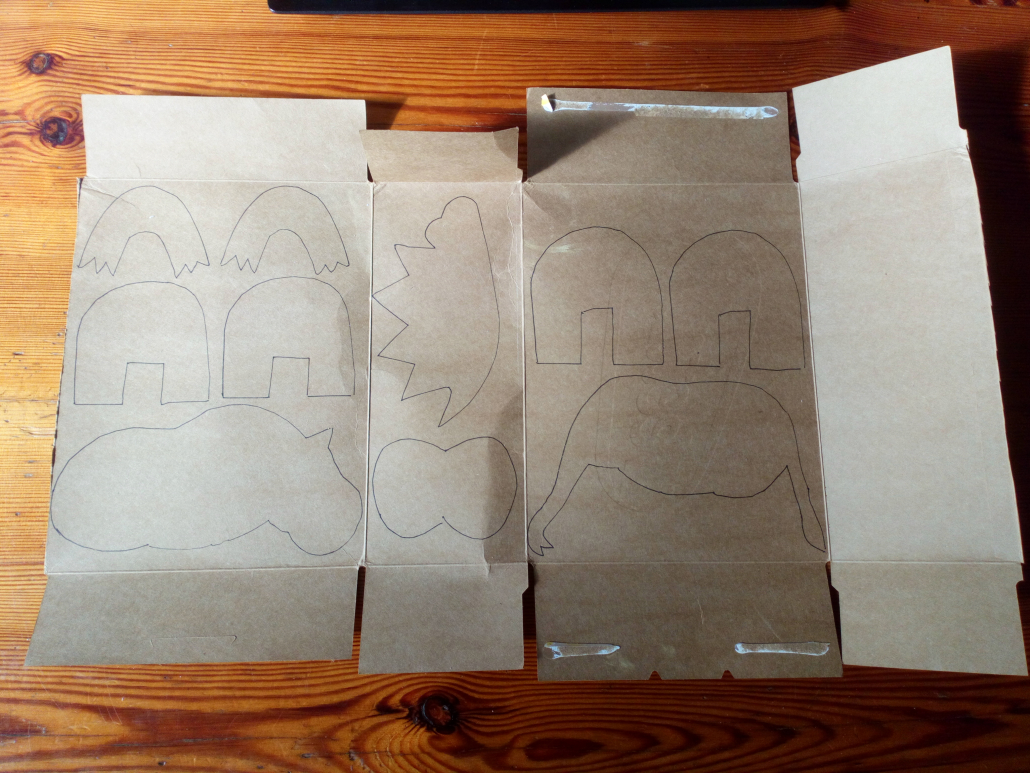
To make cardboard animals, you need cardboard (a cereal box works well), a pencil or pen, and a pair of scissors. You will need paint, felt tip pens, coloured pencils or crayons if you want to decorate your animals. You can design your own animals, but if you want to try something more complicated there are some good animal templates and sea creature templates to download from the Mr Printables website – scroll halfway down the page to find the download pdf link.
What to do:
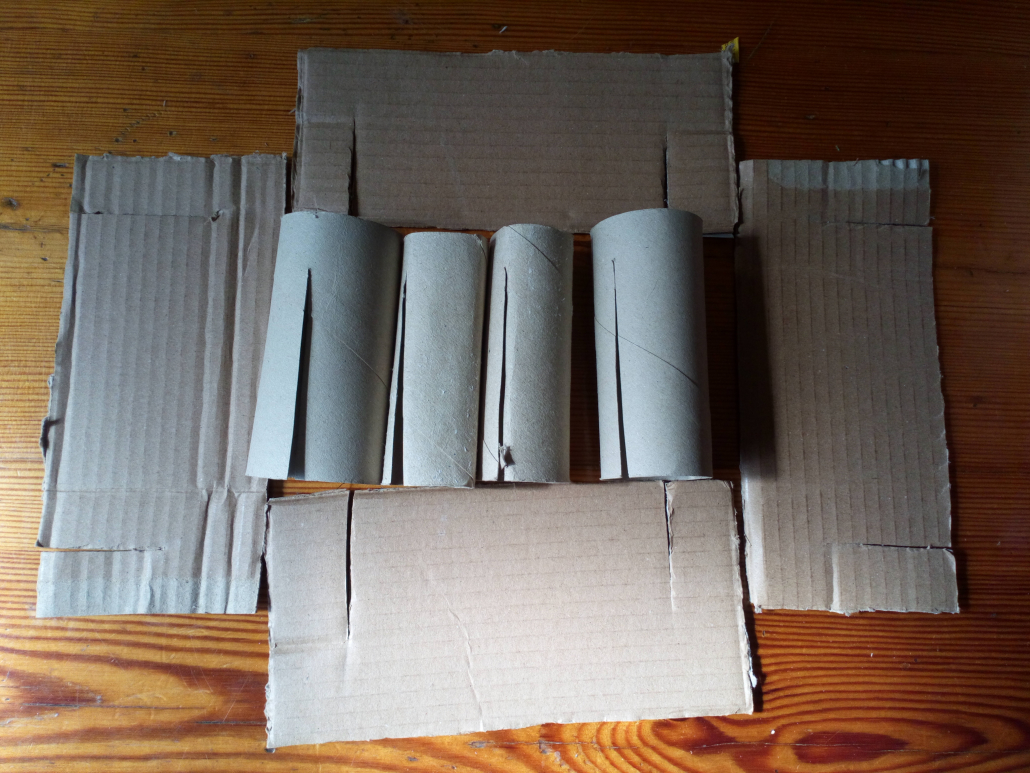
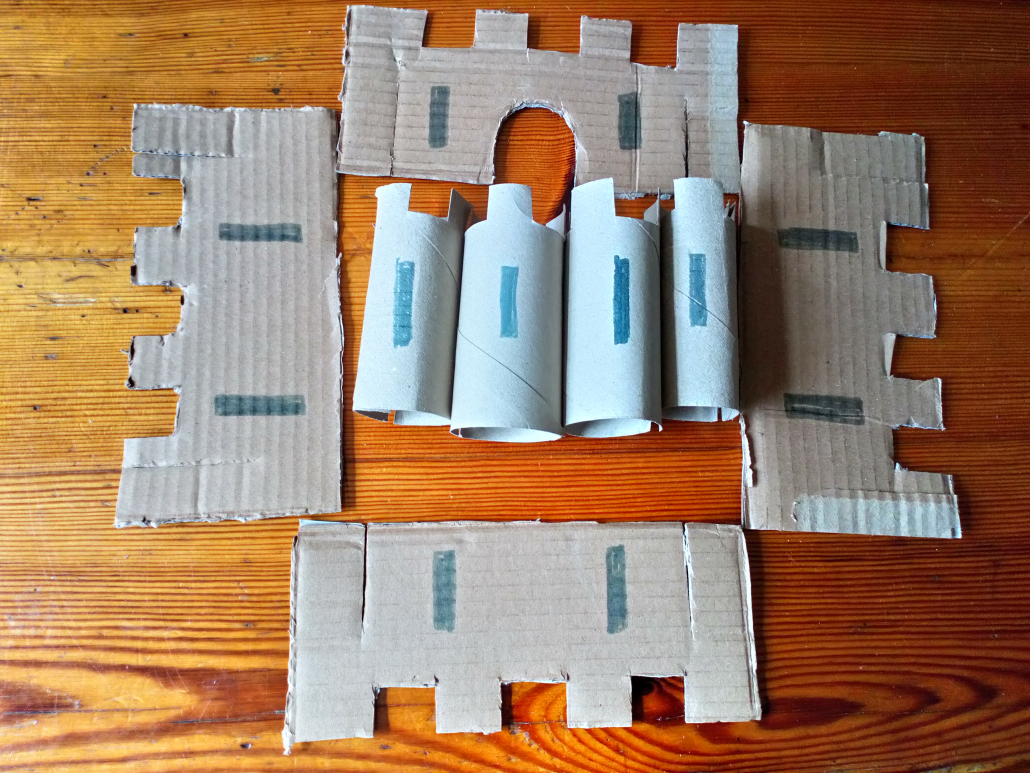
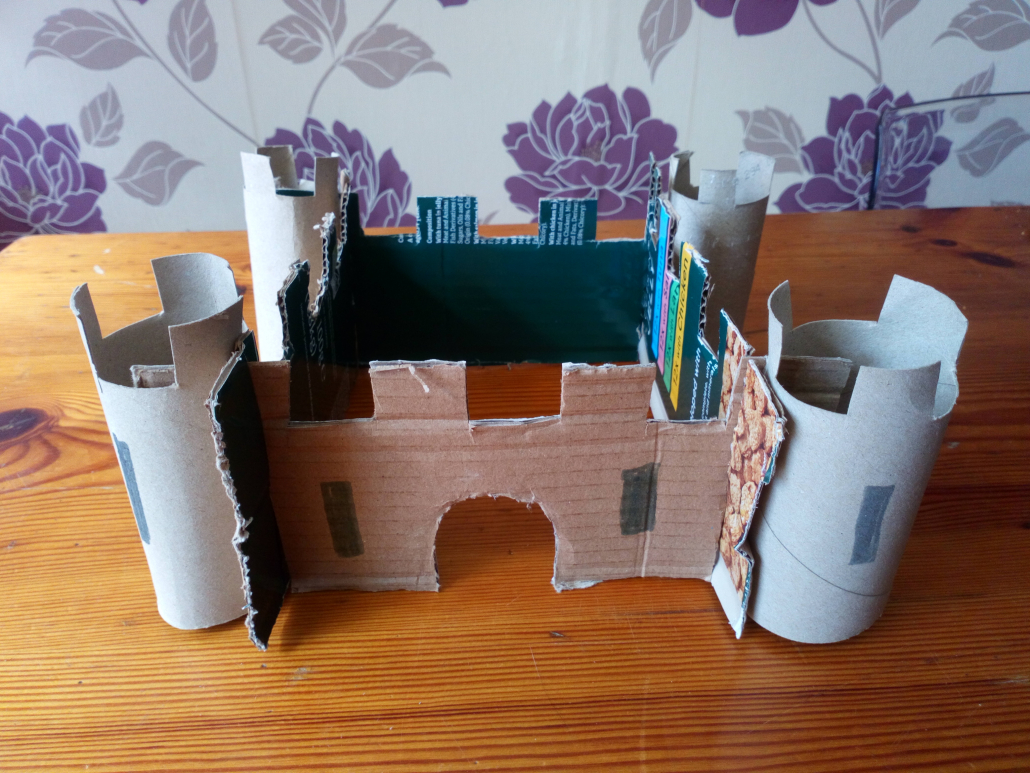
What you need:
Cardboard, toilet or kitchen roll inners, scissors, and pens to decorate.
What to do:
What else could you build using this slotting technique?
This is a two step activity and will take about an hour altogether, not including paint drying time.
If you want to paint the shapes, then you will need to create and decorate the shapes first, let the paint dry for an hour or two, and then build with them.
Age 3 and up. Younger children will require an adult to cut out the shapes and slits for them.
You know your children better than anyone, and you should judge whether they’re ready for this activity.
Structural Engineers build structures that are strong and stable – just like you did in this activity. Structural engineers design buildings, bridges, and tunnels. They have to carefully choose the right materials and right shapes to make sure their buildings stay up.
To find out more, and discover additional building activities that you can do at home, visit our Structural Engineer activities page.


 Floating Flowers