Indoor Bubbles
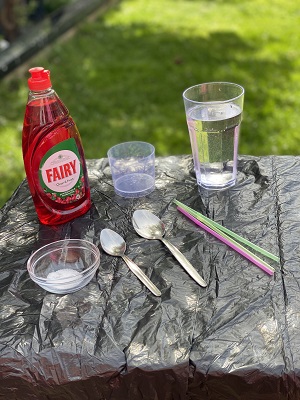
Use things you can find in your kitchen to blow huge bubbles on your table!

This page will print, but looks a little funky. Click the button for a PDF version which looks a bit better. This is a stop-gap while we work on a better solution!
30 minutes or so.
Age 4 and up.
Safety notes
You know your children better than anyone, and you should judge whether they’re ready for this activity. You might want to think in particular about:
Put 40mls of warm water in a cup – that’s about 2 tablespoons plus 2 teaspoons.
Add 1 teaspoon of washing-up liquid, and stir gently.
Find a clean, flat surface to use – this could be a table, plastic mat or plate. If you’re using a table, lay out a plastic bin bag to protect it from the bubble mixture. If you’re outside, you might want to tape or weigh it down to make sure it doesn’t blow away.
Wet an area about 10 cm across by dipping your fingers into the bubble mixture and spreading it on to your surface. Then try blowing bubbles – see Step 2.
If your mixture doesn’t work, try adding half a teaspoon more washing up liquid to the mixture. You could also try dissolving ½ a teaspoon of sugar into your mixture.
The type of washing-up liquid also affects your bubbles: Fairy liquid is good, as are many supermarket own-brand products. But some brands just don’t work too well. If you’re out of luck with your washing-up liquid, try bubble bath if you have some.
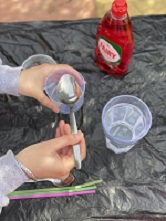
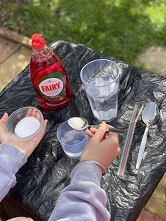
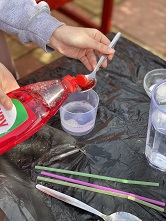
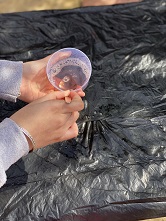
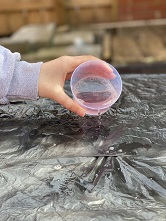
Dip one end of your straw or tube into the bubble solution so it’s completely coated.
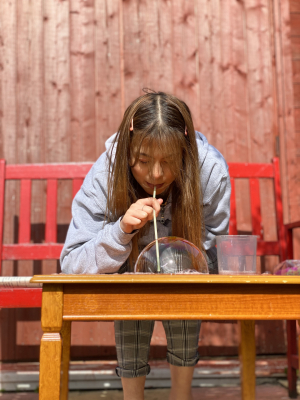
Place the coated end of the straw or tube onto the bubble mixture on your surface. Blow gently into the other end of the straw to create a bubble.
Dip the straw back into the solution every time you want to blow another bubble.
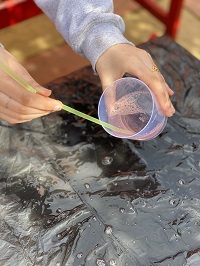
Dip the straw back into the bubble solution. You need to make sure that the bubble end is completely coated for this to work.
Aim for the centre of the first bubble and carefully push your straw inside. Gently blow a second bubble on the table surface, inside the first bubble.
Can you blow a third bubble inside the second bubble? How about a fourth bubble inside the third bubble?
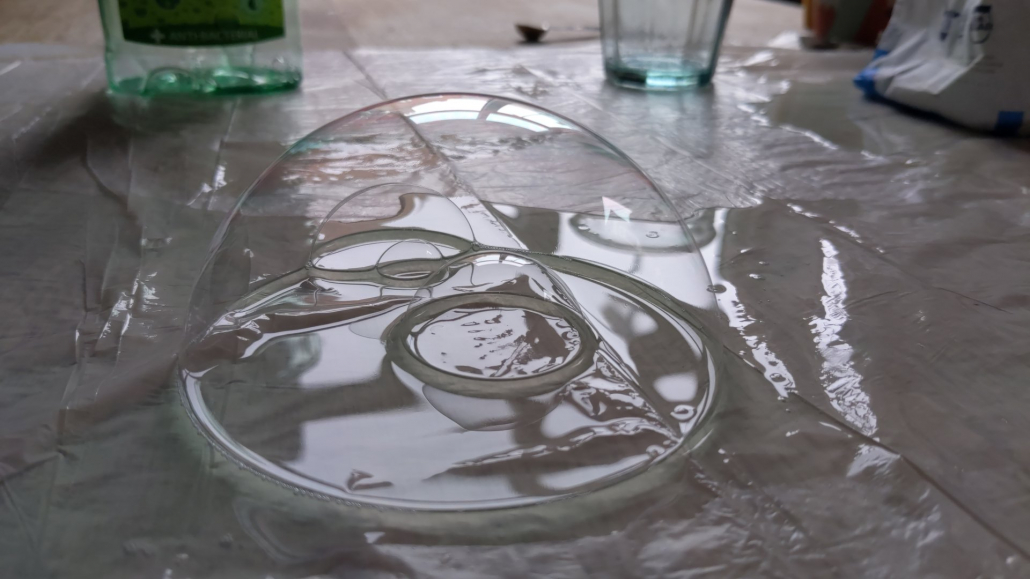
Mixing washing-up liquid with water forms a solution. When you blow a bubble, air is trapped by a thin film of your bubble mixture. This film is made of a layer of water sandwiched between two layers of soap.
A bubble pops if the soapy outer skin is broken. This can happen as the water in the bubble evaporates, or if the bubble touches something dry or oily. It can also happen when the bubble becomes too big and there isn’t any more soap to create the sandwich layer. If your bubbles last a really long time, you might see the colours shift as the water drains around the sides of the bubble back onto the flat surface. Eventually, the bubble gets so thin you can barely see it – right before it pops by drying out!
Wetting the straw by dipping it in the bubble solution allows it to slide it into the bubble without popping. You can try doing the same with your fingers: can you poke your finger into your bubble without bursting it?
Coat a small plastic ruler with bubble solution and slide it into the middle of your bubble to measure its height.
Use the timer on your phone, a clock with a second hand or count elephants (one elephant, two elephants, three elephants…) to measure the time it takes for each bubble to burst.
Try using more soap, sugar or water in your mixture. Can you make a better bubble solution than us?
Make your own bubble wands
If you want to use up your bubble mixture, you could blow some bubbles outside or even out of your window. There are lots of instructions around the web for making wands for giant bubbles using loops of string. We particularly liked this page from Rhubarb and Wren, who even have their own bubble mix page.
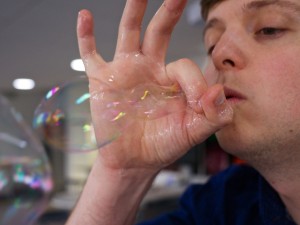
Blowing bubbles with no apparatus at all – make a loop with your fingers and blow through that!
30 minutes or so.
Age 4 and up.
Safety notes
You know your children better than anyone, and you should judge whether they’re ready for this activity. You might want to think in particular about:
Careers link: Fluid scientist
Fluid scientists are interested in what liquids, and gases are like and how they move and behave. Liquids and gases are examples of fluids
Fluid scientists are:
Curious about what different fluids can do and how they might help us.
Observant as they watch fluids carefully to see how they behave.
Resilient when they try lots of tests before they find the best uses for different fluids.
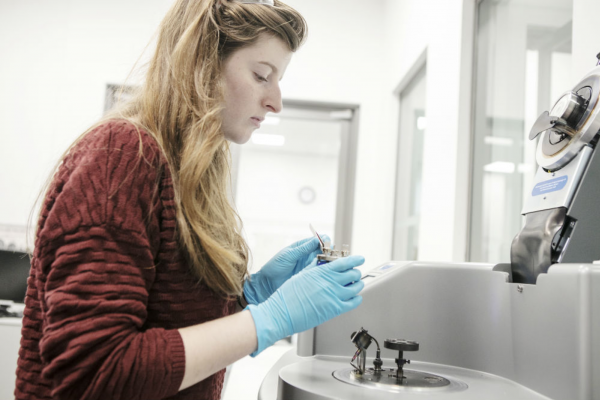
Fluid mechanics is the study of fluids (liquids, gases, and plasma) at rest and in motion. Fluid dynamics is the study of fluids and how forces affect them. Fluid statics studies fluids at rest.
Scientists across several fields study fluid dynamics, such as scientists studying the evolution of stars, ocean currents, weather patterns, plate tectonics and blood circulation. Technological applications of fluid dynamics include rocket engines, wind turbines, oil pipelines and air conditioning systems.


 Build a nest