Make your own marble run
Use cardboard and tape to design, build, test and improve your own marble run.

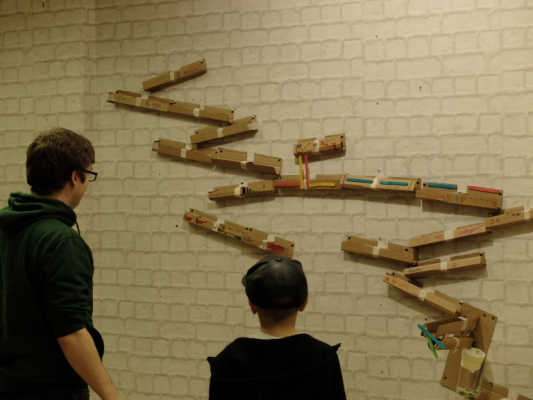
Have you ever tried to make your own marble run? Using just cardboard, tape, a flat surface and a marble, you can be as imaginative and creative as you want! This activity is best done on a wall, door or fridge, but could easily be made in a large cardboard box.
This page will print, but looks a little funky. Click the button for a PDF version which looks a bit better.
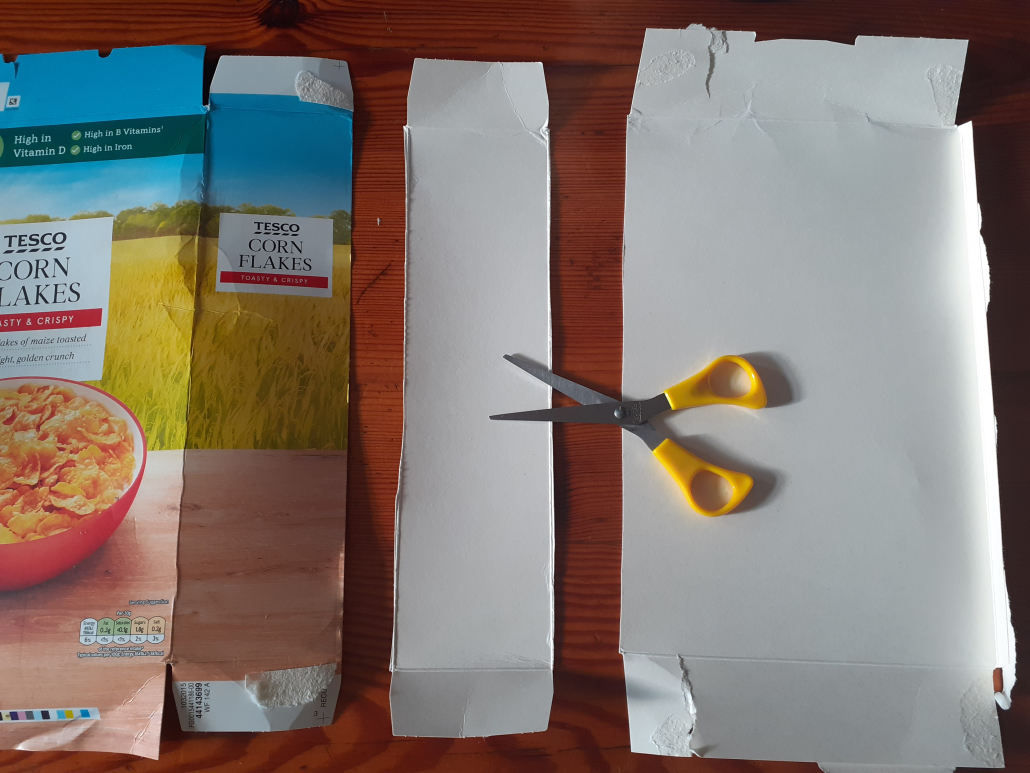
Collect your cardboard. If you are using empty boxes, flatten and cut along the folds.
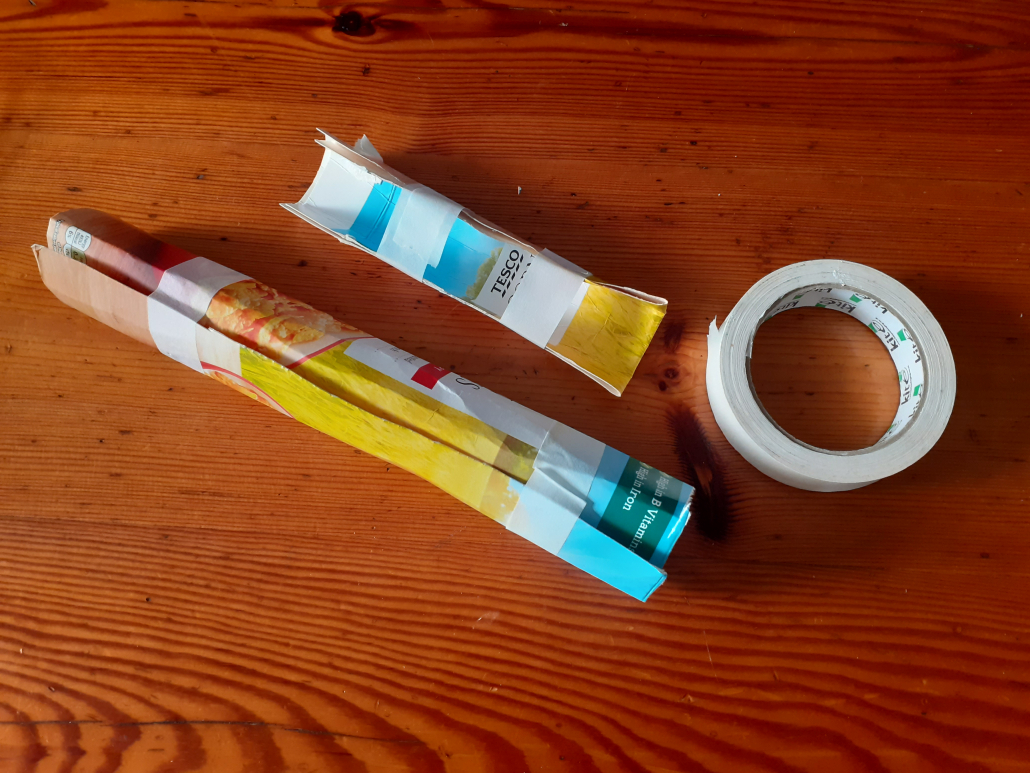
Roll thin card into a tube. Make sure the marble will fit through it. If your card is thicker, fold up at the sides to make a U shaped tube large enough for a marble to roll through. Secure both types of tube using tape.
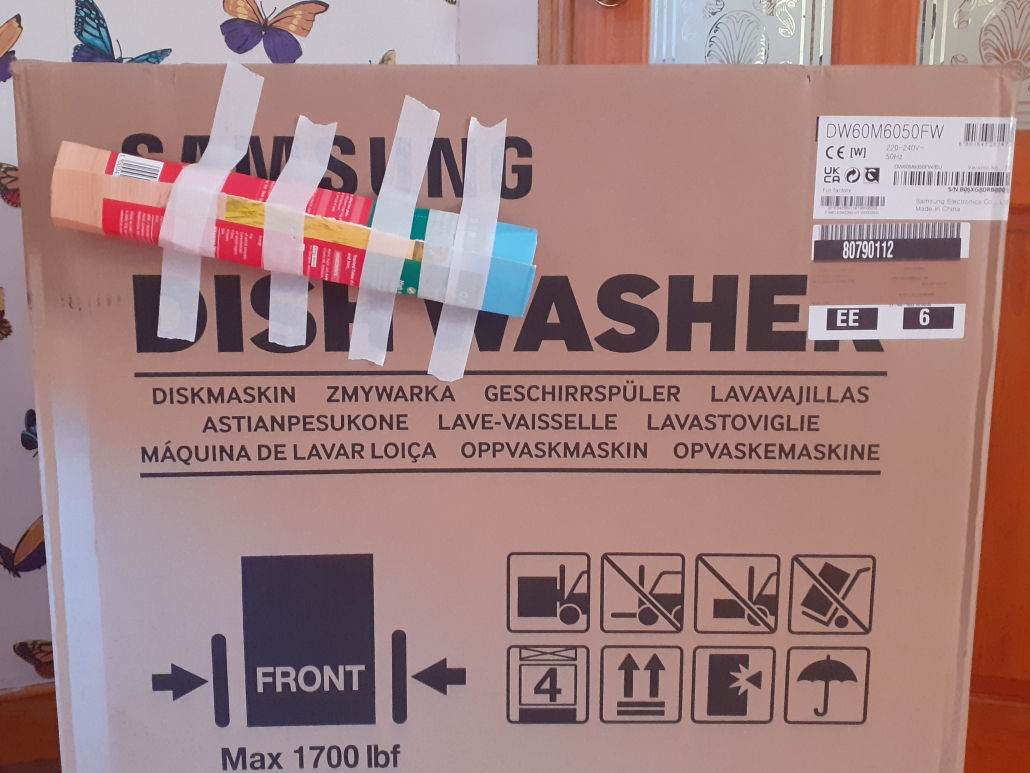
Now use tape to attach your tube to the wall, fridge or box. Make sure that you start quite high up on the surface and that your tube slopes slightly downwards. Test your tube with your marble.
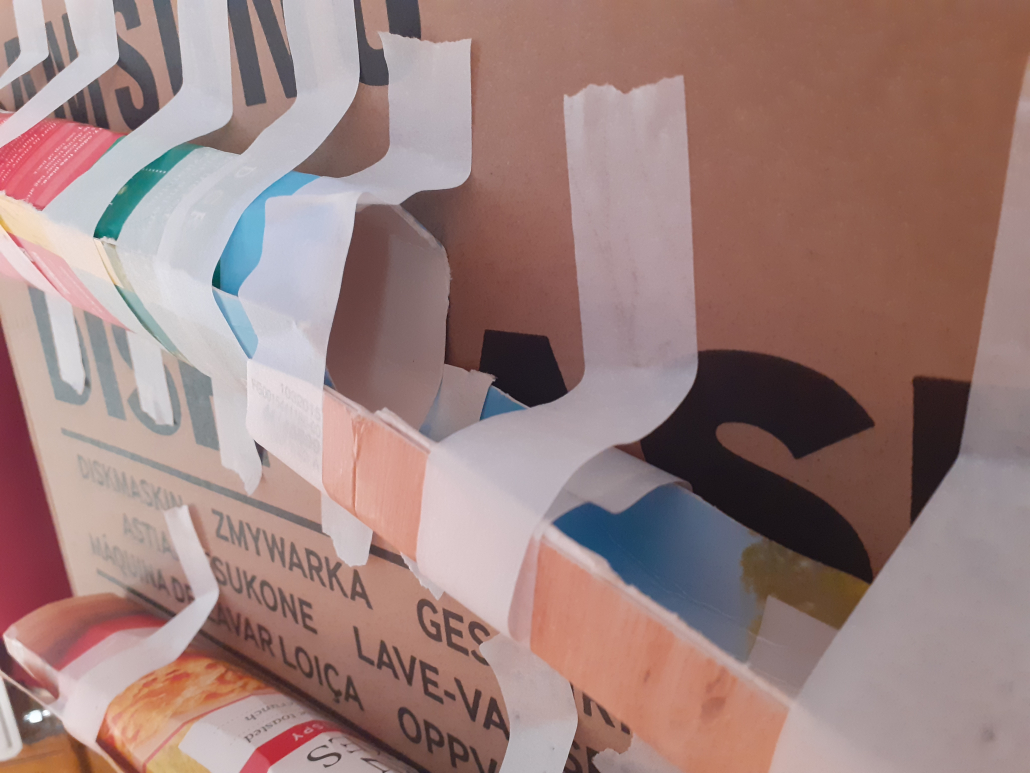
Make and attach another tube to your surface. Make sure that the start of the new tube is attached to or underneath the end of your first tube so that your marble rolls easily between tubes. Test this with your marble.
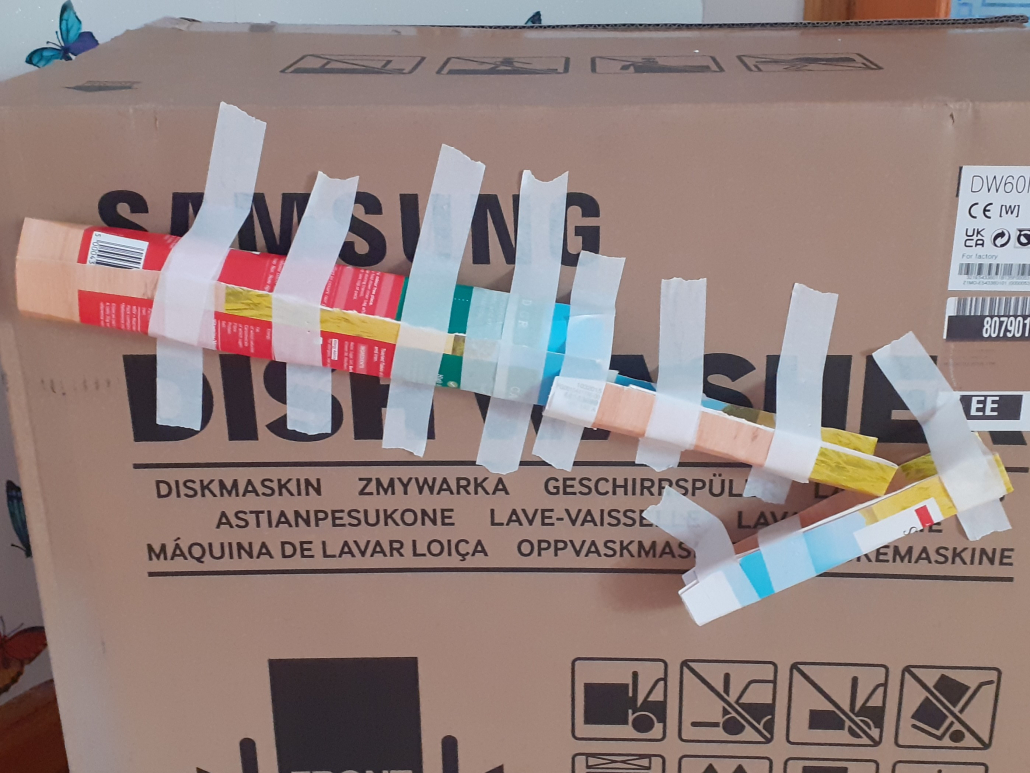
Continue making and adding tubes to your marble run. Using a pattern of closed tube followed by U-shaped tube works well. Test the structure each time to make sure that the marble rolls where you want it to.
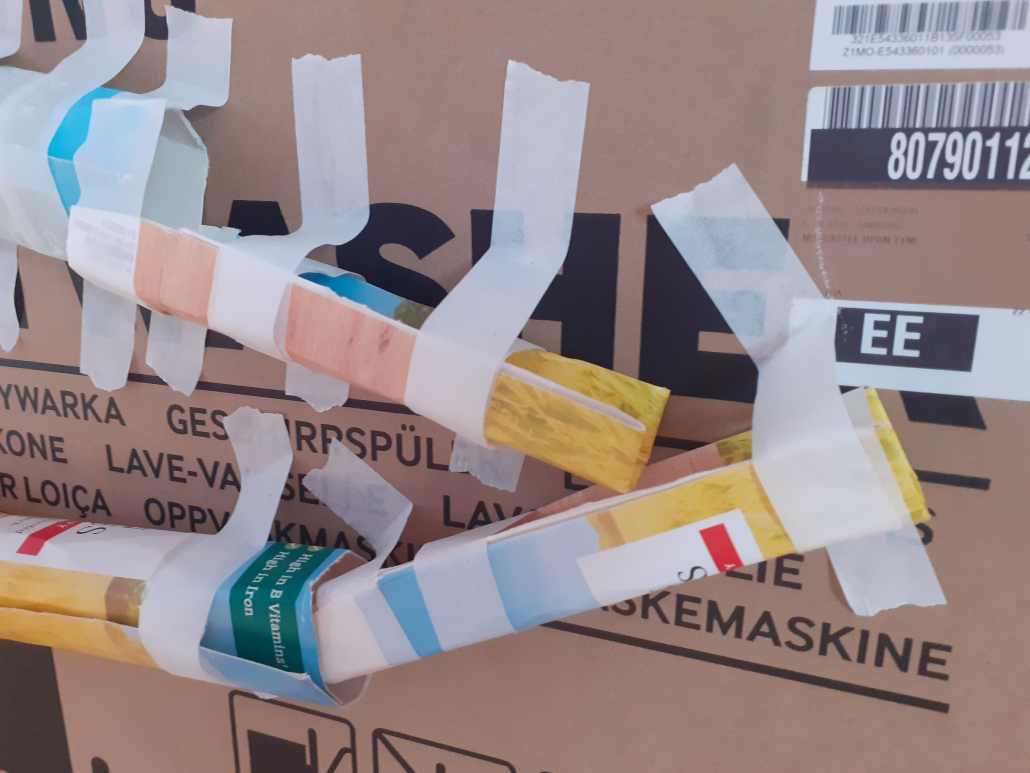
To turn a corner, make the top of a Z shape, with a bit of the second tube sticking out at the top of the corner to stop the marble rolling straight off.
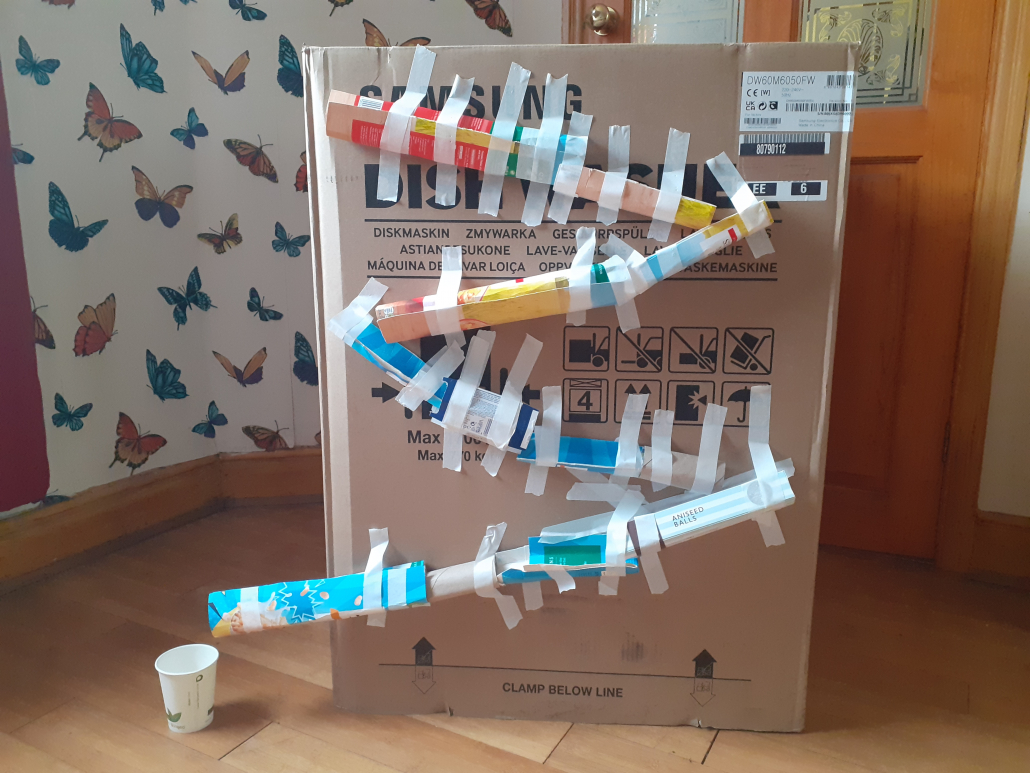
Experiment with different shapes and materials to make a more interesting and exciting marble run components.
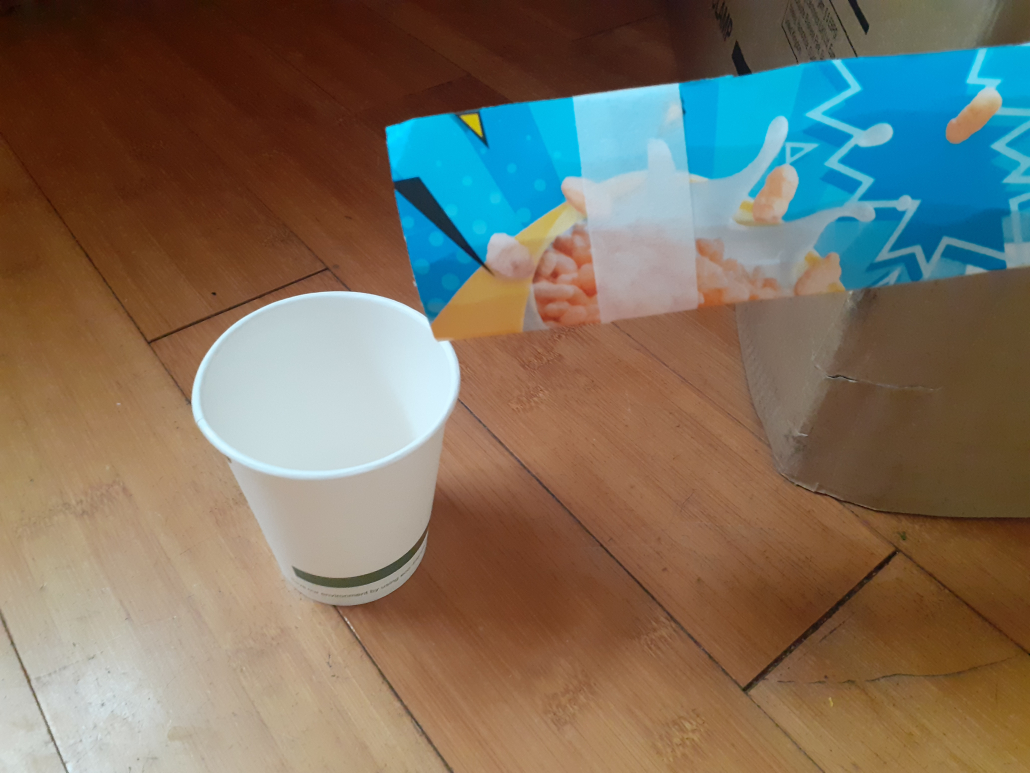
You might want to make an ending for your marble run so that the marbles don’t roll all over the floor! You could use a cup or bowl.
How can you make your marble roll faster through your marble run?
How can you slow your marble down?
Which is the best shape to make your tools?
How can you make sure that your marble always stays on your marble run?
All objects feel a force of attraction due to gravity. When you lift the marble up, it is attracted to the Earth, and if you let it go, the force will make it fall downwards.
When it’s on the marble run, the marble can’t fall straight-down, but it will roll down the tubes because the force of gravity is still attracting in downwards. The steeper the tube, the faster the marble will roll. We can make the marble take longer to fall by making the slopes very shallow so that the marble rolls very slowly.
Have you ever tried to make a domino run?
To try this at home you will need a hard, flat surface and plenty of dominoes. Visit the Domino-Play website for instructions from beginner to advanced level toppling.
A Rube Goldberg (or Heath Robinson) machine is any system that uses a chain reaction to perform a simple task. To make your own Rube Goldberg machine you need to:
An hour or so.
Age 3 and up. A lot of adult support may be required!
You know your children better than anyone, and you should judge whether they’re ready for this activity. You might want to think in particular about:
Mechanical engineering jobs are all about solving problems and creating products to meet human needs. Their work includes solving problems using machines or machinery by designing, testing and improving mechanical devices. Mechanical engineers use a wide range of tools, techniques and machinery in their jobs, which depends on the area of mechanical engineering they trained in and the industry they work in.
Attributes: curious, self-motivated and resilient.


 Observing clouds adult led activity