Download progression document
Includes statements from Development Matters (birth to age five) and the relevant ELGs in full, for the Weather station adult led activity

Includes statements from Development Matters (birth to age five) and the relevant ELGs in full, for the Weather station adult led activity
Play, Be, C Units provide enabling environments with teaching and support from adults. Reflecting on the characteristics of effective teaching and learning, children will have opportunity to learn and develop by:
- Playing and exploring – children investigate and experience things, and ‘have a go’.
- Active learning – children concentrate and keep on trying if they encounter difficulties and enjoy achievements.
- Creating and thinking critically – children have and develop their own ideas, make links between ideas, and develop strategies for doing things.
Early Years Foundation Stage Statutory Framework: accessed November 2024. Available under the Open Government Licence v3.0.
10 minutes or so, daily
Rain, wind, clouds, dark, light, fast, slow, hard, gentle, soft, move, fall, measure, record, amount, more, less.
Take the plastic bottle and carefully cut off the top about two thirds of the way up. This will make the funnel to catch the rain.
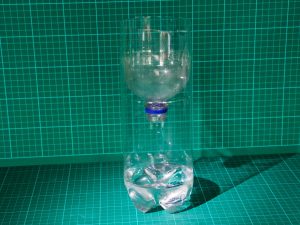
Turn your funnel upside-down, then place it into the remaining part of the bottle.
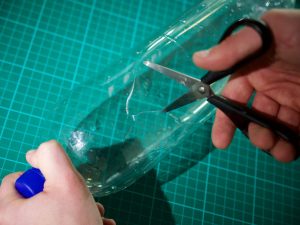
Plastic rings: cut the bottom off your 2l bottle. Then cut across the bottle to create a 3cm tall ring of plastic. Repeat until you have enough rings for one per family.
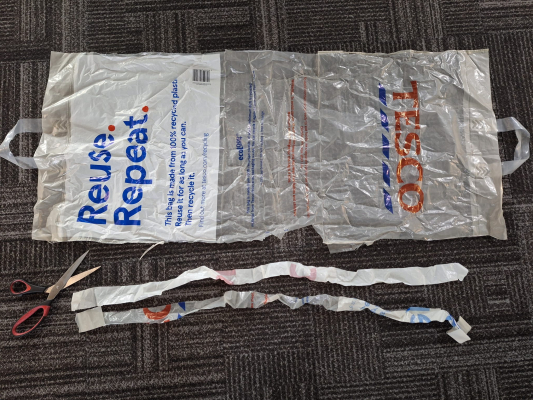
Plastic bags: open up your plastic bags by cutting along the side seams and leaving the bottom of the bag intact. You want the strips to be as long as possible.
Plastic strips: if you don’t have much time in the session, you may want to prepare the plastic strips in advance. Cut the bags length ways into 2cm wide strips.
Show the children the meteorologist poster and tell the children that they are going to be meteorologists for this activity.
Ask the children if they know what a meteorologist does. Meteorologists use special equipment and make forecasts of what the weather is going to be like.
Tell the children about the attributes. Meteorologists are:
Curious. Meteorologists want to know what the weather will be like in the future.
Observant. Meteorologists look at what the weather is like today.
Collaborative. Meteorologists work together with other people to get their job done.
Tell the children that meteorologists are curious about how the weather changes each day. Show the children your weather chart (you could download ours here) and explain how they are going observe and record the weather each day.
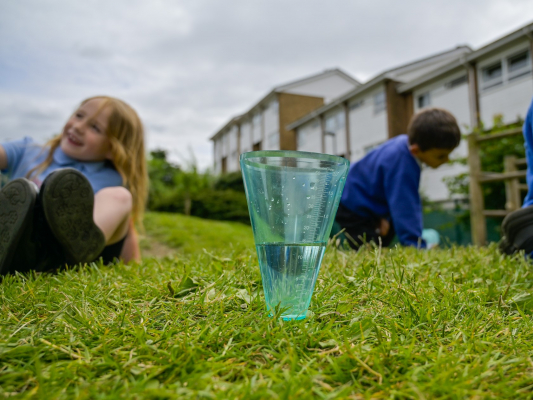
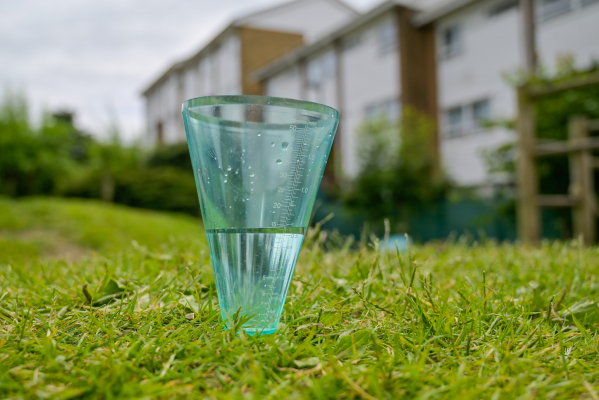
Show the children the rain gauge and ask what they think it is used for. Explain to them that it is for collecting the rain to see how much has fallen.
Put the rain gauge outside somewhere it will catch the rain but won’t be knocked over by children playing. To stop your rain gauge from blowing over in the wind, you could weigh it down by placing a few stones in the bottom. You could also try stabilising your rain gauge by digging a hole for it and burying it a few centimetres deep in soil.
Help a group of children each day to read the water level by pouring the water out into a measuring container. This could measure the rainfall overnight or during the school day. Ask the children to record the volume of water on the chart.
Remind children not to put plastic bags near to their heads or faces.
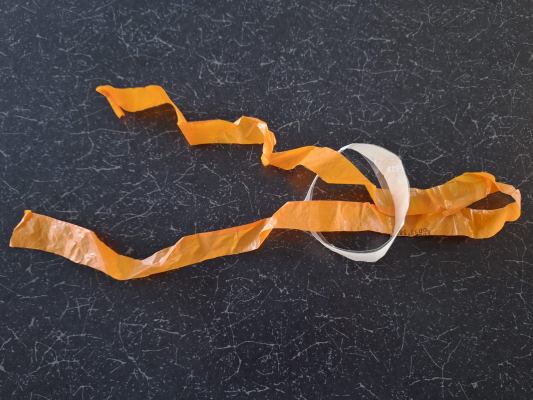
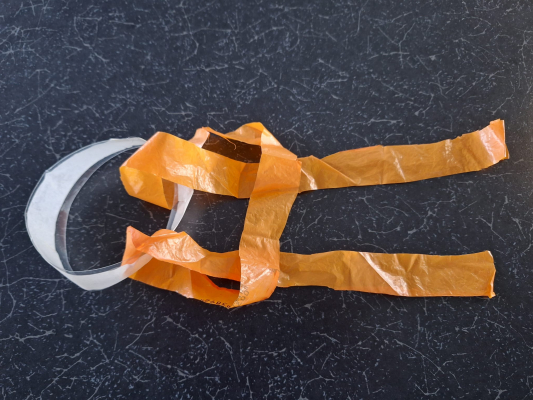
The strips need to be attached to the ring using a lark’s head knot. First, demonstrate how to fold the plastic strip in half to make a loop and slide it through middle the plastic ring.
Next is the most complicated part! Pull the two ends of the strip around the outside of the ring and push the two ends of the strip through the loop you created in the middle of the strip.
Pull the two ends of the strip to tighten the strip around the ring. Continue adding strips of plastic bag until you have covered the entire plastic ring.
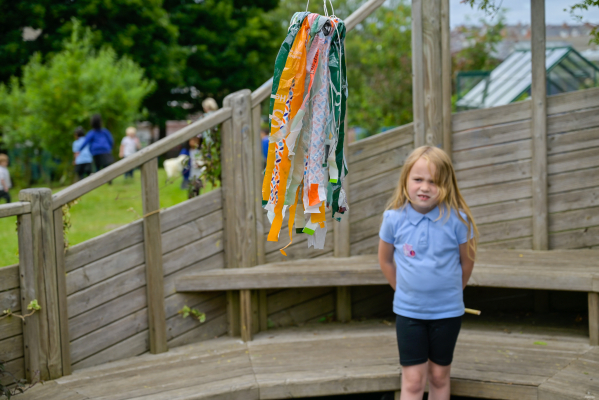
To finish off, attach a 40 cm length of string to your ring at opposite points.
Remember to refer to the children as meteorologists and praise them for using the attributes. You could say things like:
“Well done, you observed how fast the wind was blowing and in which direction by looking carefully at the windsock…”
When looking at the weather charts, you could ask:
We have put together some useful information about the science of meteorology to accompany this activity. Don’t worry, this is for your information only and to help you answer any questions children may have. We don’t expect you to explain this to the children in your setting!
Rain comes from rain clouds called cumulonimbus and nimbostratus clouds.
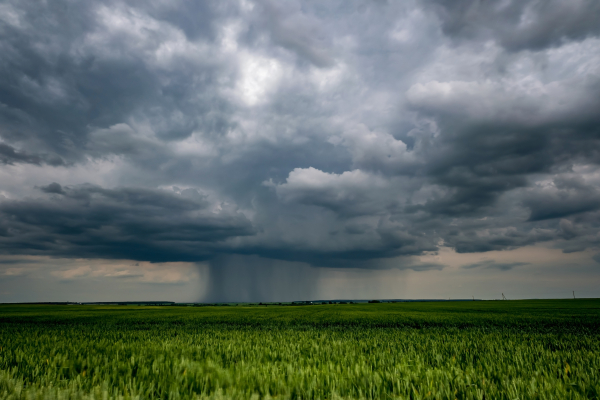
Rain seeps into the land or becomes runoff and flows into sewers, streams and rivers, which eventually flow into the sea or into lakes and reservoirs, some of which is used as our drinking water. The water on earth is heated by the sun, evaporates and condenses into clouds, before it falls as rain again. This is what we call the water cycle. Little Cloud by Anne Booth explains this really well for small children.
All living things need water to survive, but trees and plants need water from rain to make their food and wild animals need it to drink. The water we drink comes from the rain, but it is collected in reservoirs and cleaned before we get it through pipes to our buildings and homes.
Wind is the movement of air around the Earth’s atmosphere – called air currents.
Winds can happen from two different causes:
Air moves from places of high pressure to places of low pressure. This is shown on a map by lines called isobars. These lines join places of equal atmospheric pressure together. When the isobars are closer together the wind is stronger and blows harder. When they are further apart the wind is calmer.
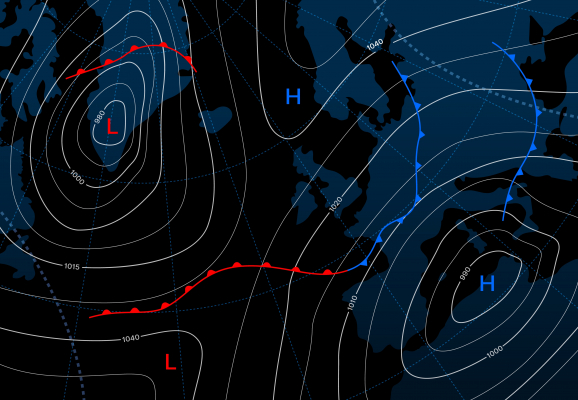
Air will move from areas of high pressure to areas of low pressure. Depending on where these areas are relative to each other will determine which direction the wind blows in.
Wind is extremely useful, we can use it to turn wind turbines which generate electricity for our homes. Birds use the wind to help them fly and some plants use it to spread their seeds over long distances.


 Making windmills adult led activity