You may have joined us for NUSTEM’s “Imagining the Sun” workshop at Camp Together 2021 and made some sun inspired pop ups.
This page will help you find out more about space, and activities you can use to complete your Beaver Space Activity Badge.
Find out about a space mission – the Parker Space Probe
In our “Imagining the Sun” workshop at Camp Together, we talked about the Parker Space Probe and it’s mission to gather information from the Sun.
To find out more about the Parker Space Probe, you can watch the video, or visit the NASA website to get the latest updates on this 7 year mission to discover more about our nearest star.
Become a satellite engineer!
If you’ve loved learning about the Parker Space Probe, perhaps you may be interested in becoming a satellite engineer when you are older.
Satellite Engineers design and build satellites which are launched for communications, studying the weather or navigation. They design satellite command systems that remotely control satellite activities from ground stations and keep satellites functioning properly. Satellite engineers also collect and use the data from the satellites.
To be a satellite engineer you need to be hard-working, open-minded and communicative.
Make a star spectrum
Did you know..?
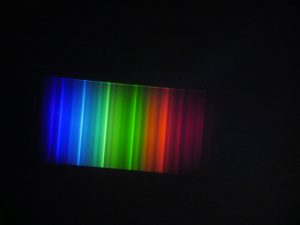
The white light we see is made up of the different colours of the spectrum. When we see a rainbow, we see the light split up into the different colours.
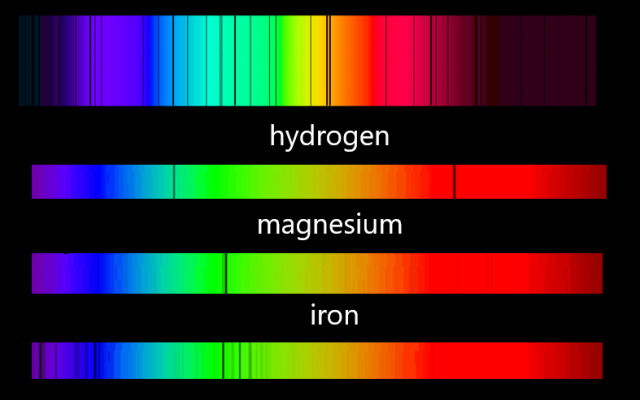
A spectrometer is a tool used by astronomers to split the light collected by a telescope into its colour spectrum. This allows astronomers see the details in the light and see the spectrum of a star.
Different chemical elements in stars absorb the certain colours of light which results in these black lines on the spectrum. This tells us which elements are present in the star.
Follow the instructions to make your own star spectrum.
You will need: A large selection of materials in the colours of the rainbow, at least 8 of each colour (eg, small toys, lego, pencils, scraps of paper, crayons, stones, beads, buttons, ribbons, wool, stationary, fabric, clothes, pipe cleaners, lolly sticks, pom poms or other collage materials)
At least 4 black lines (e.g. strips of black paper or card, shoe laces, black socks or fabric, black pencils or pens)
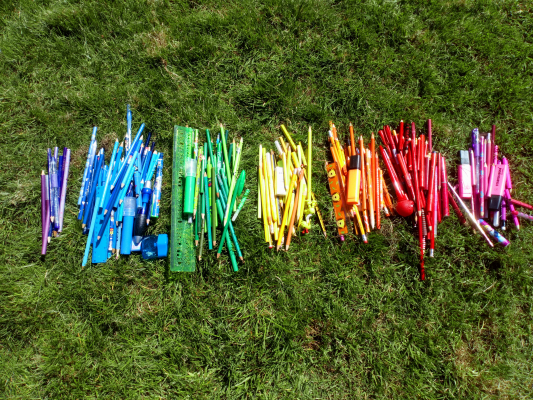
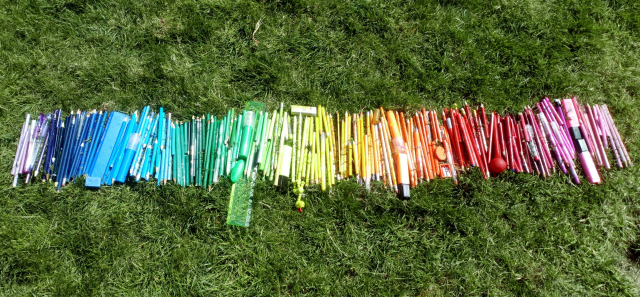
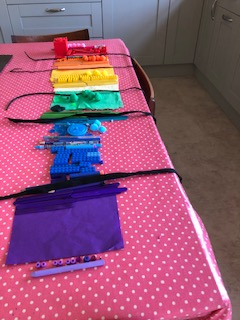
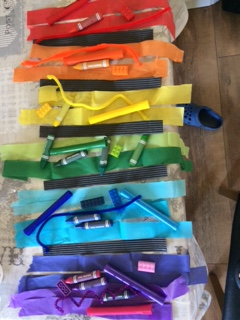
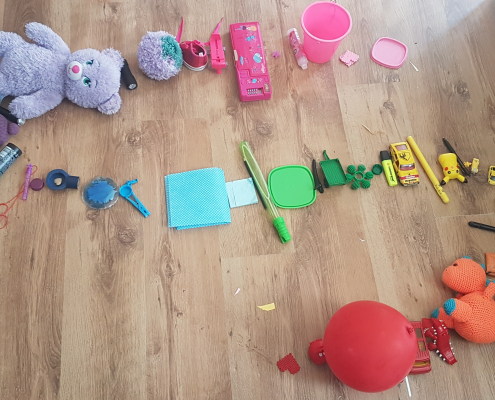
1. First collect all of the materials that you need from around your house. You can use a mixture of different items to make your spectrum. Sort your materials into piles of the different colours: purple, blue, green, yellow, orange, red and pink.
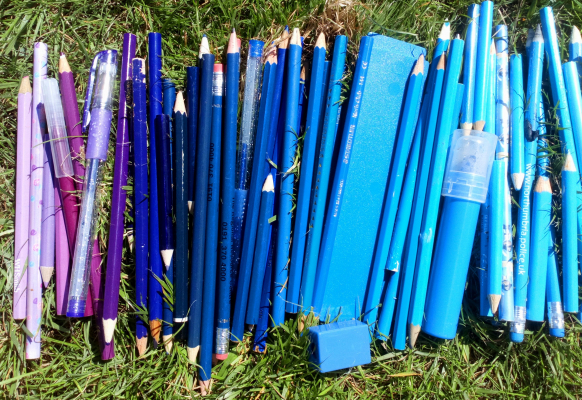
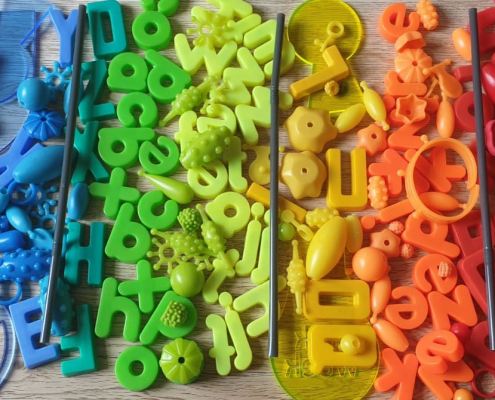
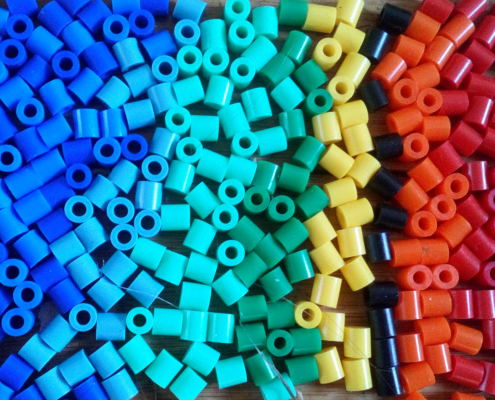
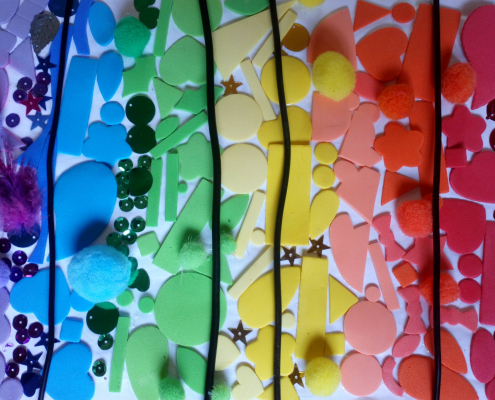
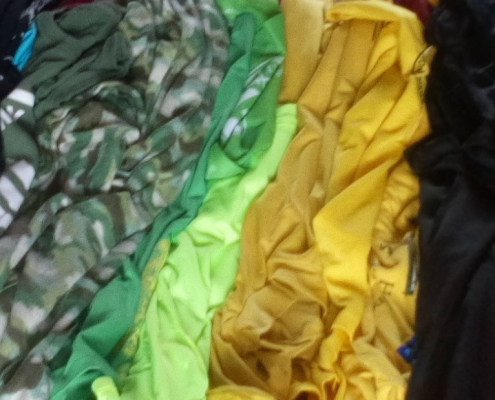
2. Now sort the materials within your piles. Observe how the colours change from darker to lighter and merge into each other throughout the spectrum. In the picture you can see how the dark purple merges with the dark blue, then the blue becomes lighter and lighter.
3. Continue sorting all of your colours. Notice how light blue merges into turquoise, turquoise into green, and how the green gets lighter becoming yellow. You can see how the yellow becomes darker and merges into orange, which then becomes more and more red as we move along the spectrum. The red becomes burgundy then lightens into pink.
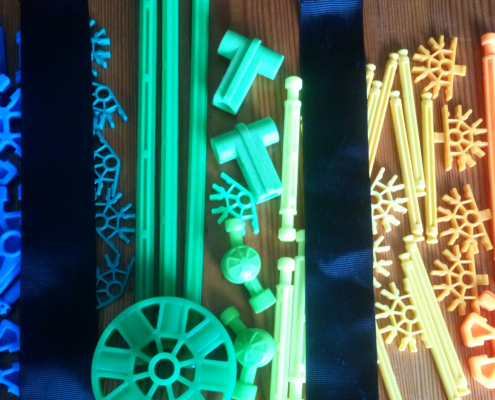
4. Finally add your black absorption lines to show which elements are present in your star. You can use the absorption lines from the elements present in the Sun, or you can be creative and design your own.
Here are some examples made by Beavers at Marra last year and some made by the NUSTEM team.
Point out some of the things you can see in the night sky
You may be lucky enough to have your own telescope or a pair of binoculars to observe the night sky, but it is possible to observe the stars without this equipment.
Click here to visit an online map of the sky that will show you what you can see in the sky right now. You can change the location so that the planetarium shows you the sky above your house.
You could also watch the video to find out about the night sky. Use this to help you spot stars and planets from your back garden.
Point out and name at least one constellation you can see
What are constellations?
In ancient times, people saw patterns of stars in the sky and told stories about them. You may have heard of some of these, such as Orion the hunter, Gemini the twins, or Taurus the bull.
Different cultures had different stories about the constellations.
Younger Beavers might enjoy the song on the right which tells you all about this. When astronomers made maps of the stars they included these patterns on their maps and called them constellations.
The individual stars in a constellation may appear to be very close to each other, but they can actually be separated by huge distances in space and have no real connection to each other at all.
Different constellations can be seen depending on where you are on the Earth and different constellations can be seen at different times of the year.
Look again at the online planetarium and you will see the constellations that are visible from your house tonight.
Maybe you can make up some stories about the patterns you can see in the sky.
Make a constellation tube
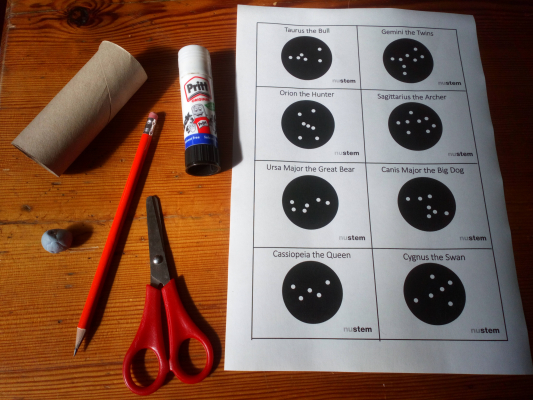
You will need:
- A toilet or kitchen roll tube or rolled up piece of card or paper
- A print out of our constellations sheet
- Scissors
- A sharp pencil, pen or skewer to make holes
- A small lump of sticky tack, playdough or plasticine to help make holes
- Glue
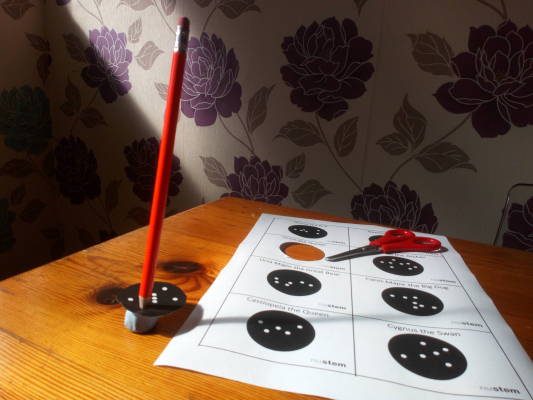
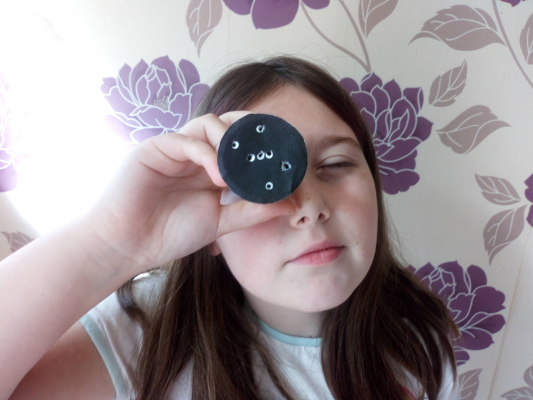
Cut out the constellation pattern you want to use. Put the sticky tack or playdough underneath one of the stars in your constellation. Use your pencil or skewer to poke through the star into your sticky tack to make a hole. Continue to poke through all of the stars in your constellation pattern.
Glue on top of the rim of one end of your tube and stick the constellation pattern in place. Now look through the open end of your tube to see your constellation.
If you have a torch, you can shine this into the open end and project your constellation onto a wall.
Find out about and name the eight planets in our solar system
Take a tour of the solar system by watching the video and find out more about the planets. An easy way to remember the order of the planets, starting from the sun is to use an mnemonic phrase to help your memory. Our mnemonic phrase is “my very excited mother just served us noodles” where:
- M – Mercury
- V – Venus
- E – Earth
- M – Mars
- J – Jupiter
- S – Saturn
- U – Uranus
- N – Neptune
Can you make up a better mnemonic?
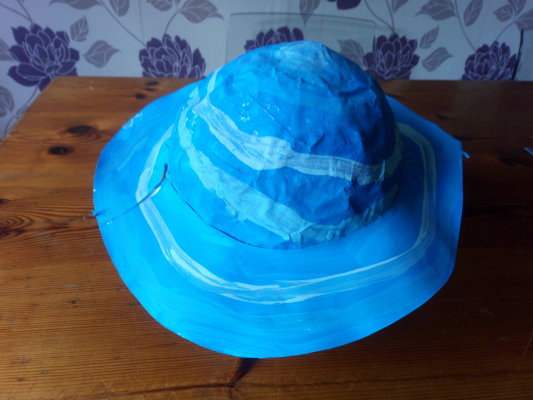
Make a paper mache model of one of the planets
You will need:
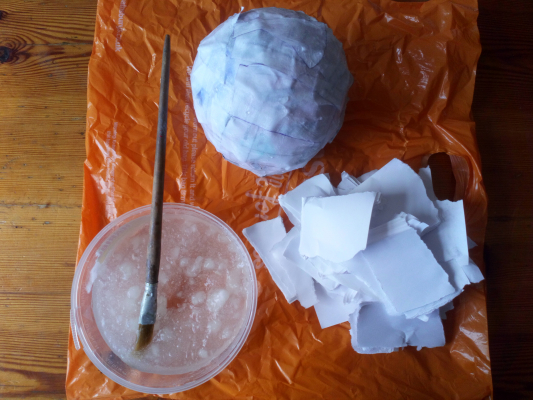
- Wallpaper paste, pva glue, or flour and water mixed to a paste
- A bowl
- Paints and brushes
- A balloon
- Newspaper or scrap paper
- A plastic bag, cloth or newspaper to cover your table
- A stand for the wet planets to dry on (toilet roll tube or another container)
- If making Saturn or Uranus: card for rings, pencil, scissors
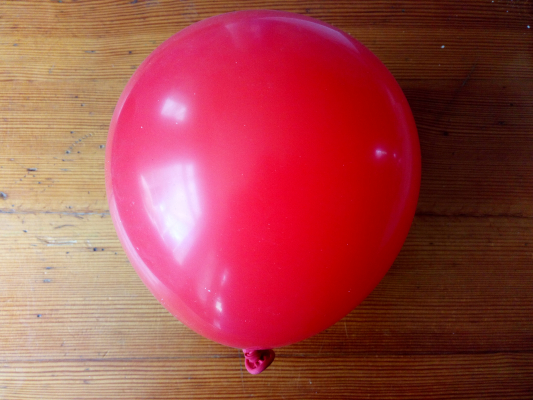
1. Decide on the planet you would like to make (this may depend on the colour paint you have available) Blow up your balloon until it is spherical (ball shaped) and tie the end.
Don’t blow it up fully or you will get a balloon shaped planet!
Cover your table with a plastic bag, cloth or paper.
2. Mix your wallpaper paste/ glue as instructed or the packet, or mix your flour and water to a smooth paste.
Rip up pieces of newspaper or paper into 5 cm by 5 cm square. Stick them all over the balloon using the glue / paste. Keep doing this until your balloon is covered by about 3 layers of paper.
You’ll need to leave your balloon to dry for at least 24 hours.
3. Wait until your planet is dry.
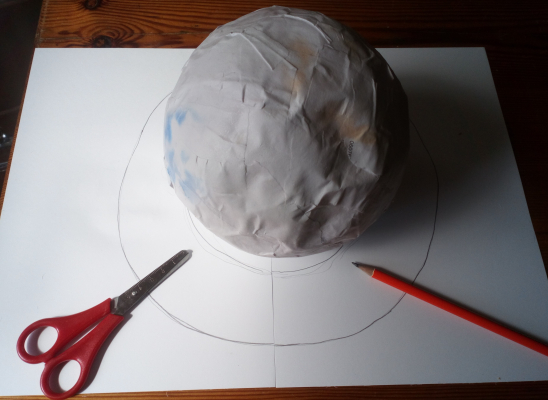
If you are making Saturn or Uranus, you’ll need to make aring to go around the planet.
Draw around the widest part of your planet onto a piece of card. Now draw a wider ring around the outside of this to make a hula hoop shape.
Cut around the outer ring and carefully cut out the hole in the centre.
Slide your ring over the top of your planet.
4. Look carefully at your planet on the video and decide how you want to paint it.
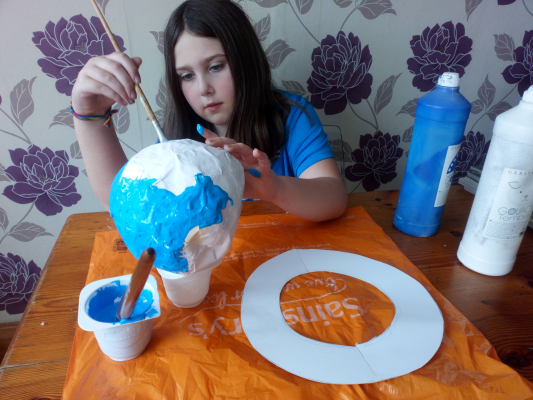
Start with a base layer which is a similar colour to the planet, and then leave this to dry.
Now add more details with other colours. The balloon will probably burst by itself inside the model.
Find out about an astronaut
Helen Sharman was Britain’s first astronaut when she visited the Soviet Mir Space station in 1991. She won a competition called Project Juno and beat 13000 other people who wanted to go to space. Helen spent 8 days in space.
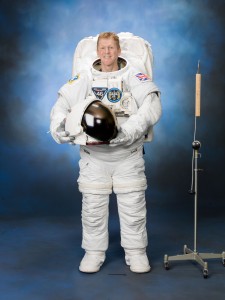
Tim Peake was Britain’s second astronaut, and the first one funded by the British government. He flew to the International Space Station in December 2015 and spent six months in space. During his stay he performed a spacewalk to fix part of the station’s solar panels, ran the London Marathon (while still in space), and performed more than 30 scientific experiments.
- Tim Peake’s Twitter
- UK Principia Mission site (archived, but still useful!)
- ESA Principia Mission pages (more complicated, but lots of good information).
Challenge:
There have been some other people born in Britain who have travelled to space. Can you find out who they were?

