Light Wall
NUSTEM’s interpretation of an Exploratorium classic

NUSTEM’s interpretation of an Exploratorium classic
The Exploratorium in San Francisco have a magnificent Tinkering Studio. It’s a space where educators, artists and engineers collaborate to produce beautiful, thought-provoking, and just plain fun activities and installation pieces.
One of their classics is Light Play, a wall of frosted screens back-lit with weird and wonderful shadows interacting with the light, with colour filter, and with the screens. It’s a tremendous activity, particularly good with younger children and family groups. One aspect we particularly like is the way it fosters a sense of collaboration and contemplation. If you’re working on the arrangement of materials behind the screen, you can’t really see what effect you’re having, since that’s only properly evident from in front of the screen. So you have to work with others, articulate what looks good, and work out how to get that effect again.
The Exploratorium have written up their approach on their own site and at Instructables.
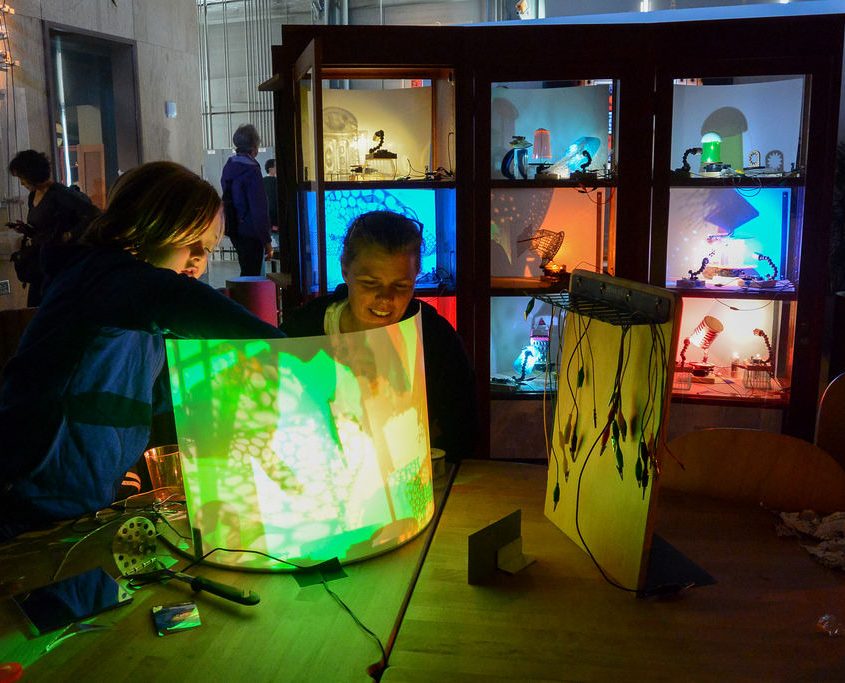
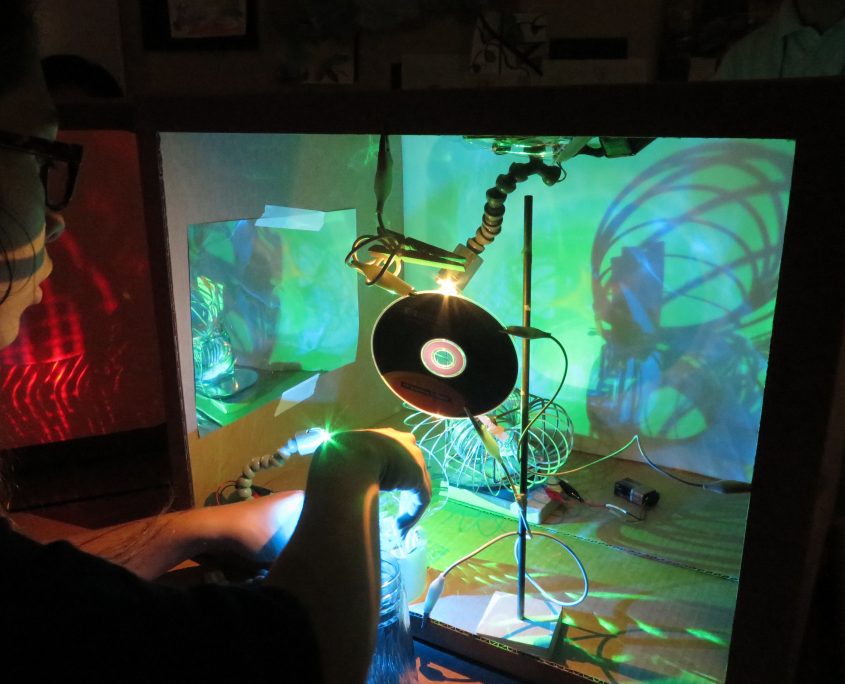
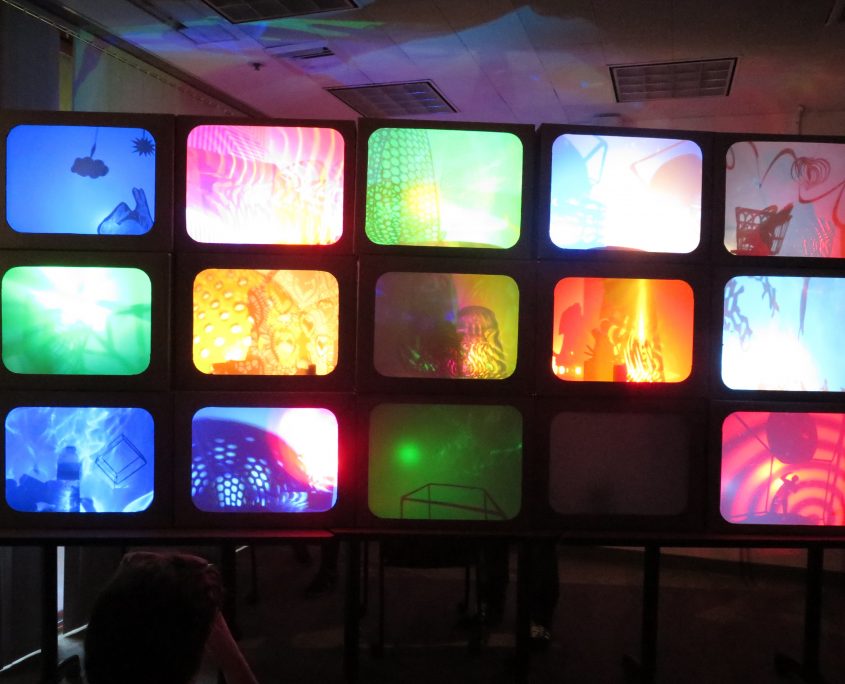
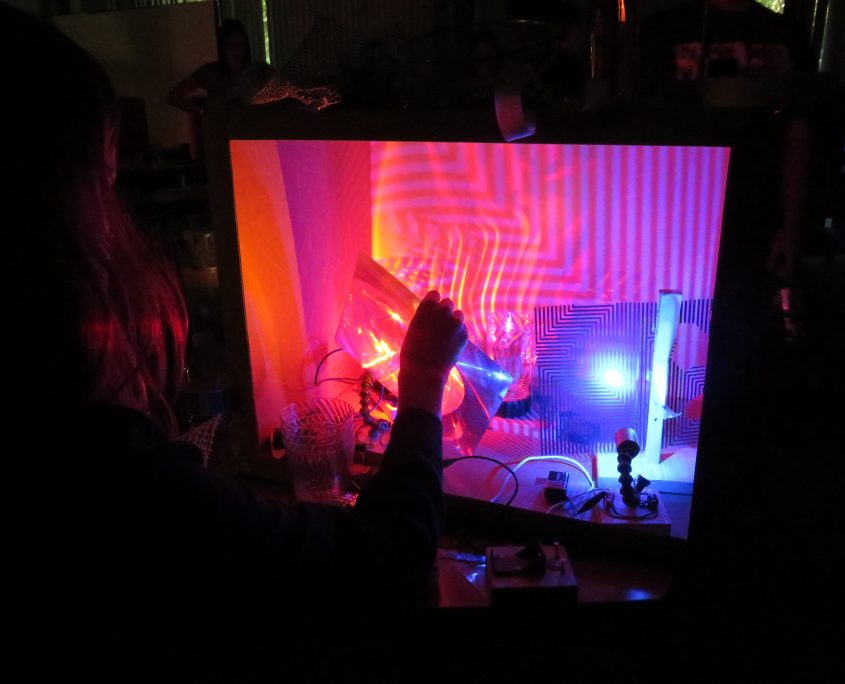
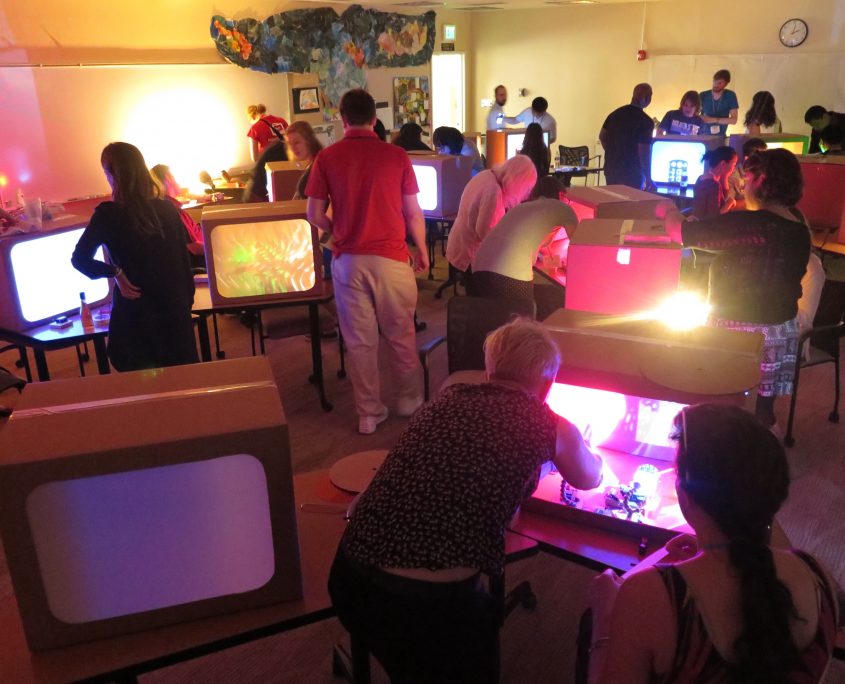
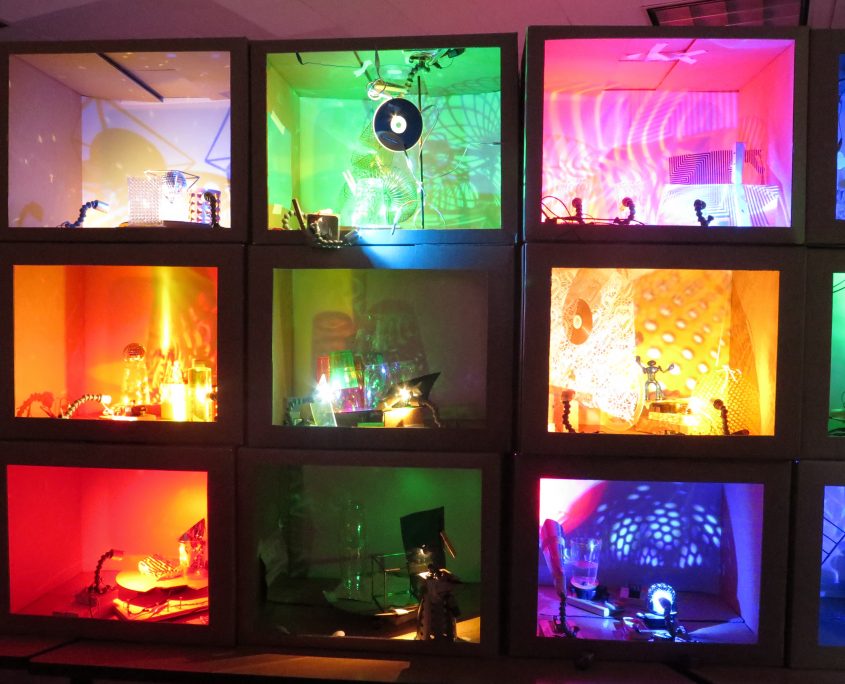
Light Play workshops from the Exploratorium. Images © Exploratorium, used with permission. Thanks, tinkering.exploratorium.edu!
We loved the idea of Light Play, and our colleagues at the Centre for Life were keen to produce a set for use here in the North-East of England. But while the Exploratorium’s setup is wonderfully dramatic, for our purposes there were some challenges around component availability, ease of construction, and cost.
So we simplified the components considerably. The results aren’t as gorgeous, but they’re still pretty good. The activity has prompted the response and interactions we wanted, so we’re happy.
Here are a few more details about what we – Think Physics and the Centre for Life – built:
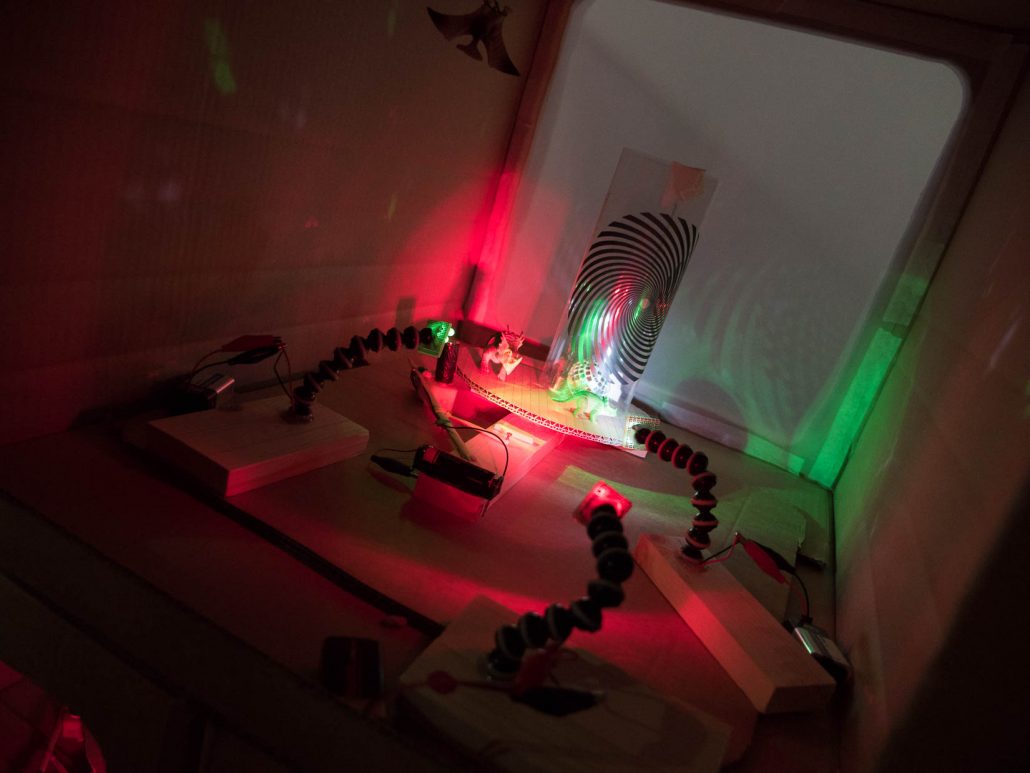
There’s nothing clever about our boxes; they’re large cardboard boxes with big holes cut in each end. One end is covered (internally) with good-quality tracing paper to form a screen, the other is used for access.
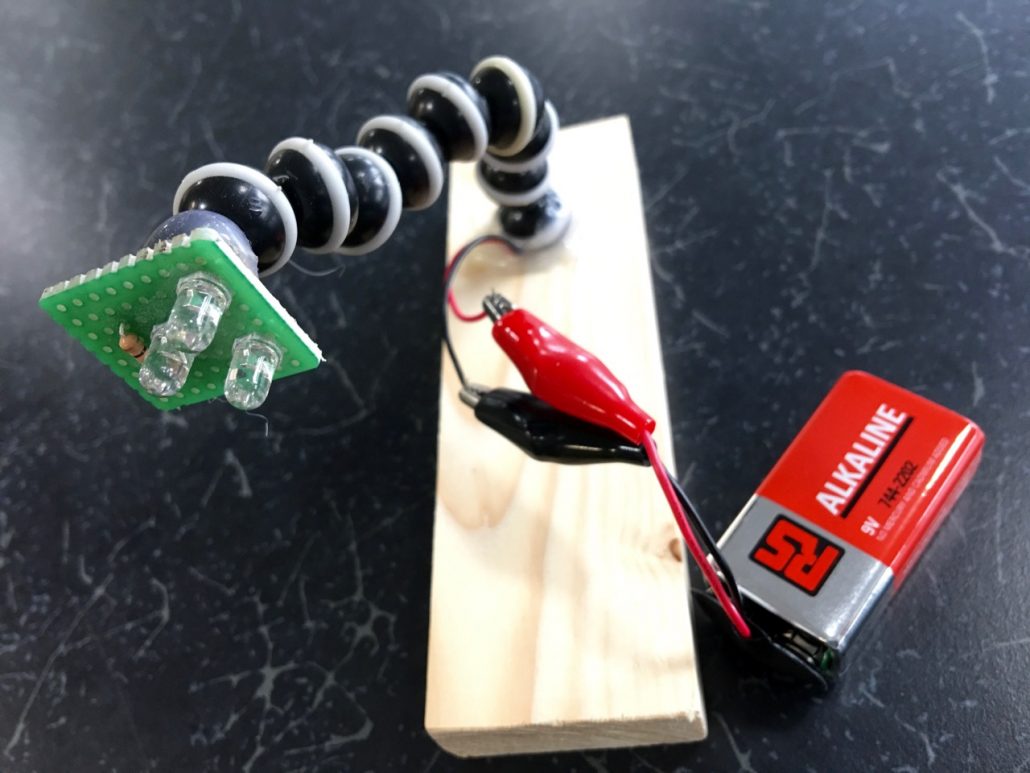
The Exploratorium’s lights use single-LED high-output devices, which are lovely but quite costly in the UK. They also require heatsinks.
Instead, we adopted triplets of extra-bright conventional LEDs. Having three individual light sources, even closely-spaced like this, isn’t ideal – they cast rather awkward shadows rather than the crisp outlines a single source would give, and they’re only just bright enough. However, the effect looks better than we’d feared, and the trade-off was worthwhile in our case. We used sets of three high-output LEDs of various colours, ranging from about 8,000 mCd output up to something like 11,500 mCd. Bear in mind that the sorts of cheap LEDs you’ll find in every electronics kit are rated at about 300 mCd. They’re also fairly cheap from suppliers like Kitronik and Hobbytronics.
We mounted the LEDs up on prototyping board, in series with a single current-limiting resistor to suit the specific LEDs, and powered them off 9V cells (so, ~3V each).
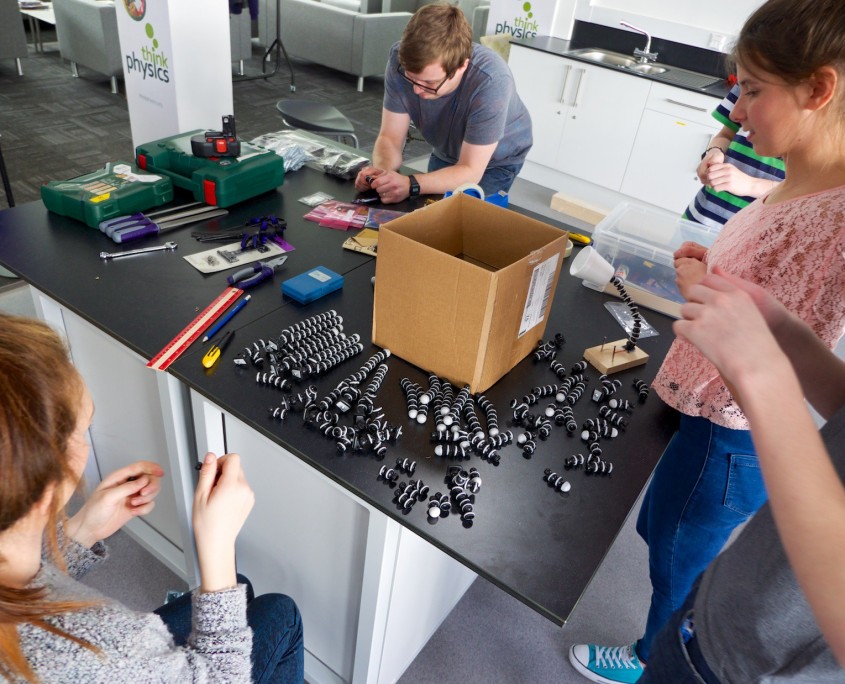

We made a small number of these ‘fancy’ lights. They use an Adafruit NeoPixel ‘Jewel’ array of RGB LEDs driven by a 5V Trinket microcontroller (like half an Arduino, and yes that’s a terrible description). Power comes from a single AAA cell via a step-up board which I still think must work via unicorns or something. I mean, how do you make 5V from 1.5V?! Mind-boggling.
When first booted, a small potentiometer controls LED colour. A second (button) input toggles the Trinket into a colour-cycling mode, with the potentiometer then controlling the rate of change of colour.
They can produce delightful effects… but the power drain is such that they last about half an hour, and hence aren’t terribly useful. Also: everybody wants one. Ultimately, we’ve withdrawn them from the workshop because they don’t add enough to make up for their limitations.
They’re still cute, though.
To bring a little motion to the boxes, it’s worth having a few motorised components, like turntables. But they need to turn slowly, which is a challenge. Since I’ve never done the Exploratorium’s workshop personally I just assumed they’d made their own, but compiling this page I’ve realised they seem to be using jewellery display turntables, like these or this.
Since I didn’t know that, I ended up reverse-engineering something which didn’t exist in the first place. Hmm.
Well, I’m proud of our turntables. They turn slowly (about 1rpm) and despite looking pathetically fragile have proven quite robust in use. The old exhibit standby of ‘if it looks fragile, people treat it with care; if it looks solid, they’ll whack the heck out of it’ seems to apply. They do tend to fall apart in transit, but a minute’s ministrations with a glue gun solves that.
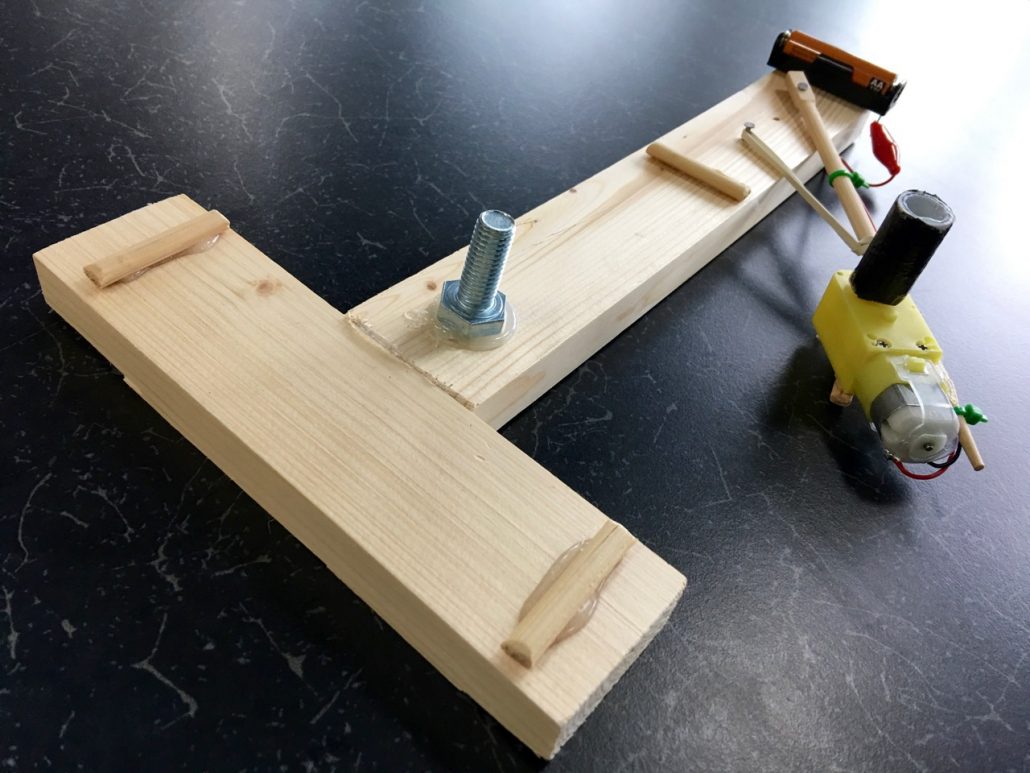
The core is a geared 3–6V motor, driven off a single 1.5V cell. There’s enough torque to work reasonably well, and undervolting it slows it down even before you get to the gearing. The drive pulley is a short length of plastic tubing with a cardboard end-cap. A slot in the cardboard cap fits tightly on the motor shaft, then hot glue poured into the tubing fixes it well enough. Gaffer tape wrapped around the plastic tube provides enough friction for the edge drive to the turntable itself.
Since we hand-cut the turntable discs they vary in diameter somewhat. The pivoted chopstick and elastic band tension spring keep the drive pulley and turntable in contact. The main turntable bearing is a short M10 bolt glued to the frame – ridiculous overkill, but it’s what we had lying around.
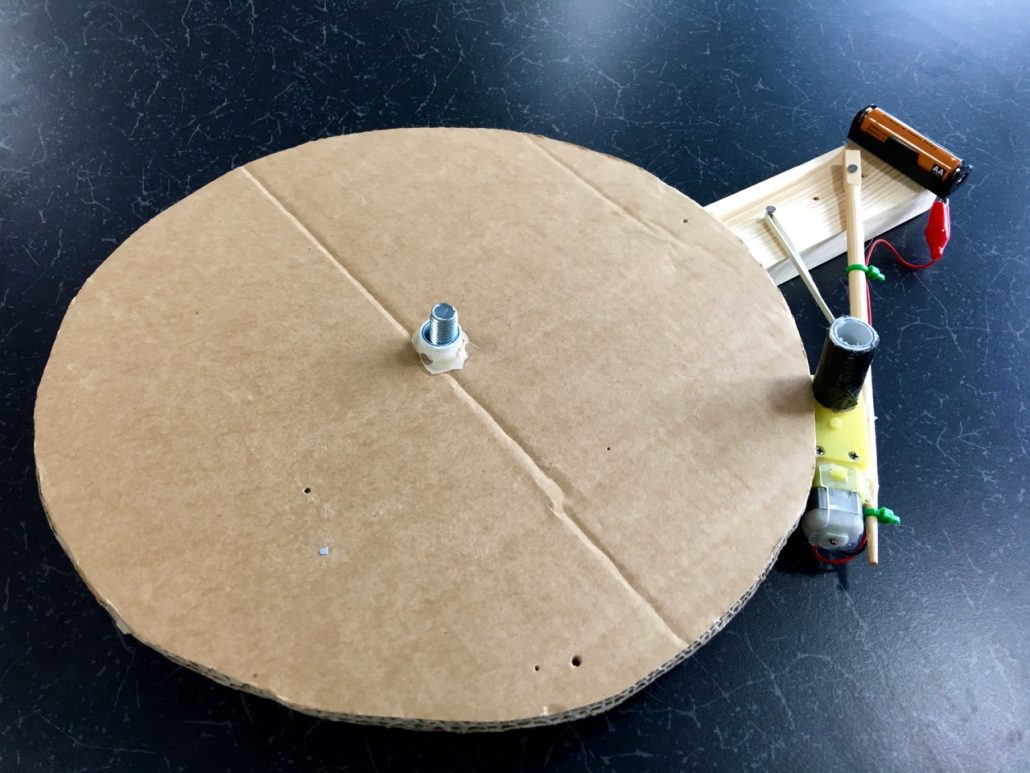
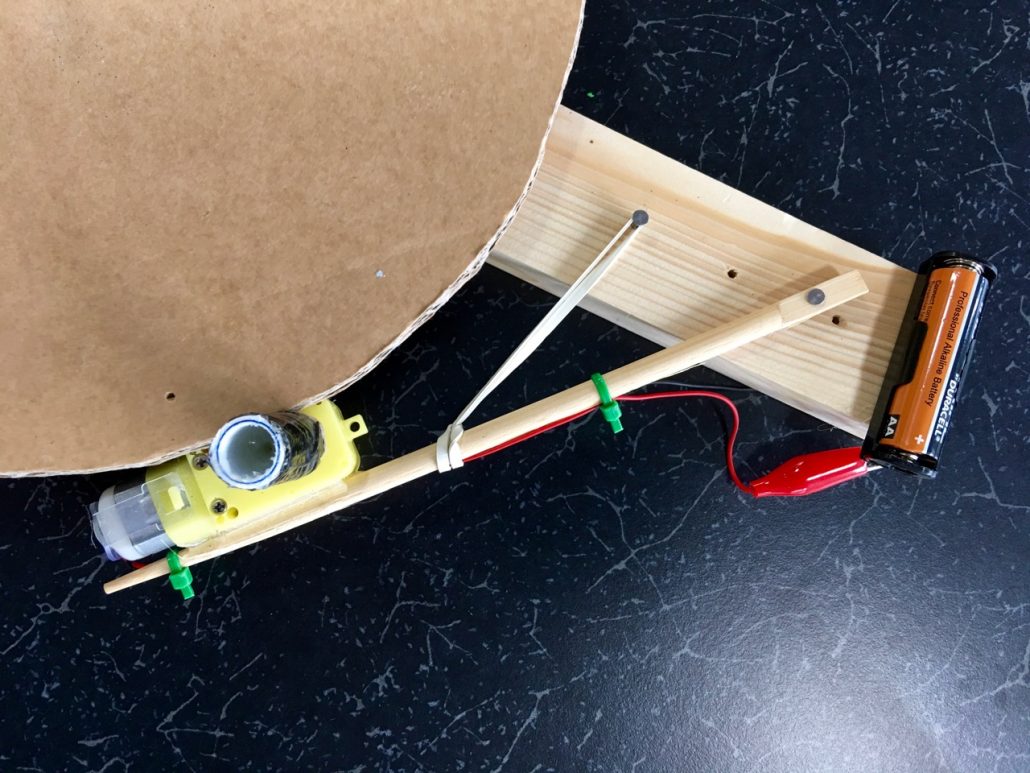
Close-up of the drive system. Most of our units have an additional chopstick-segment guide stuck to the motor, which rides under the turntable platter and offers some extra support. I didn’t notice it had fallen off this one before taking the photo, because it worked perfectly well without it. Be aware that additional bodging may be required!
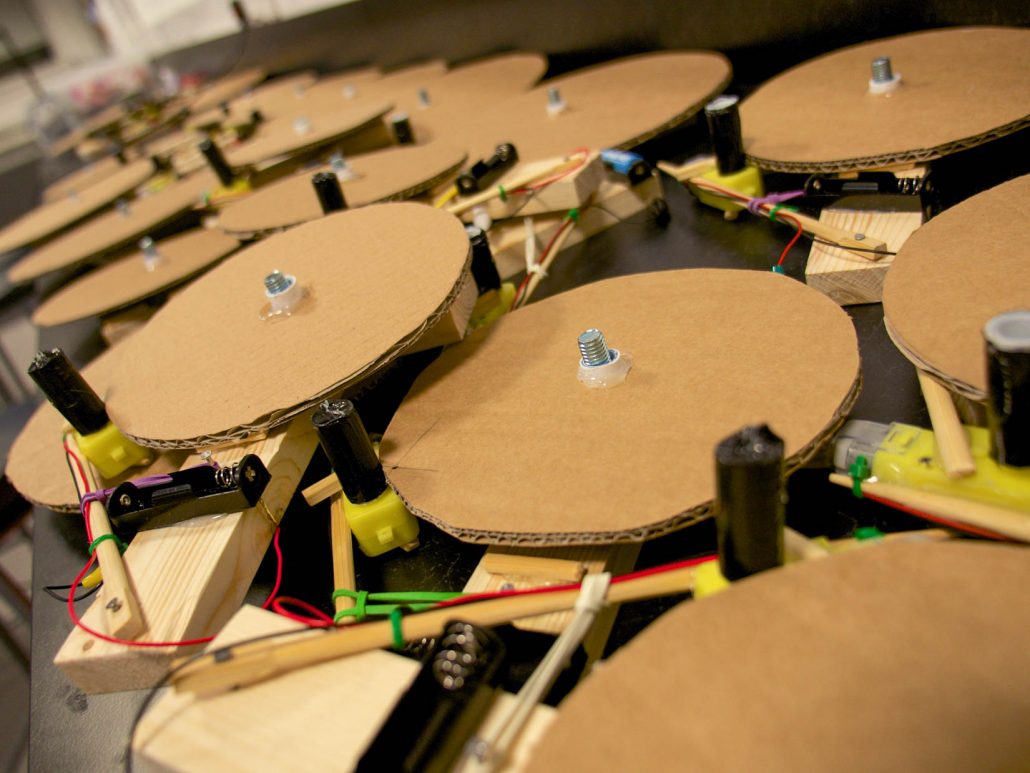
Turntables as far as the eye can see!
This is a beautiful workshop and installation. The impact of the assembled wall and its ever-changing display is mesmerising, and it delights all ages. We’re not surprised that the new Tinkering Space in @Bristol uses a light wall as a prominent feature.
At Maker Faire UK we observe:
Things we perhaps still haven’t nailed are typically around the available choice of materials, and the nuances of facilitation:
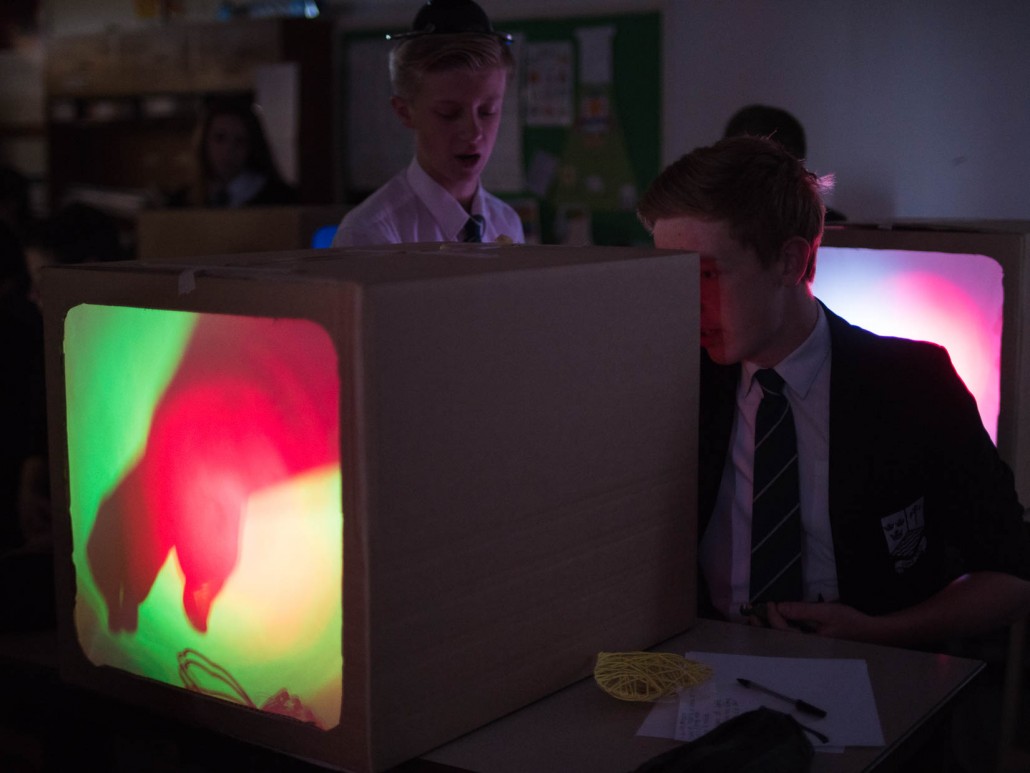
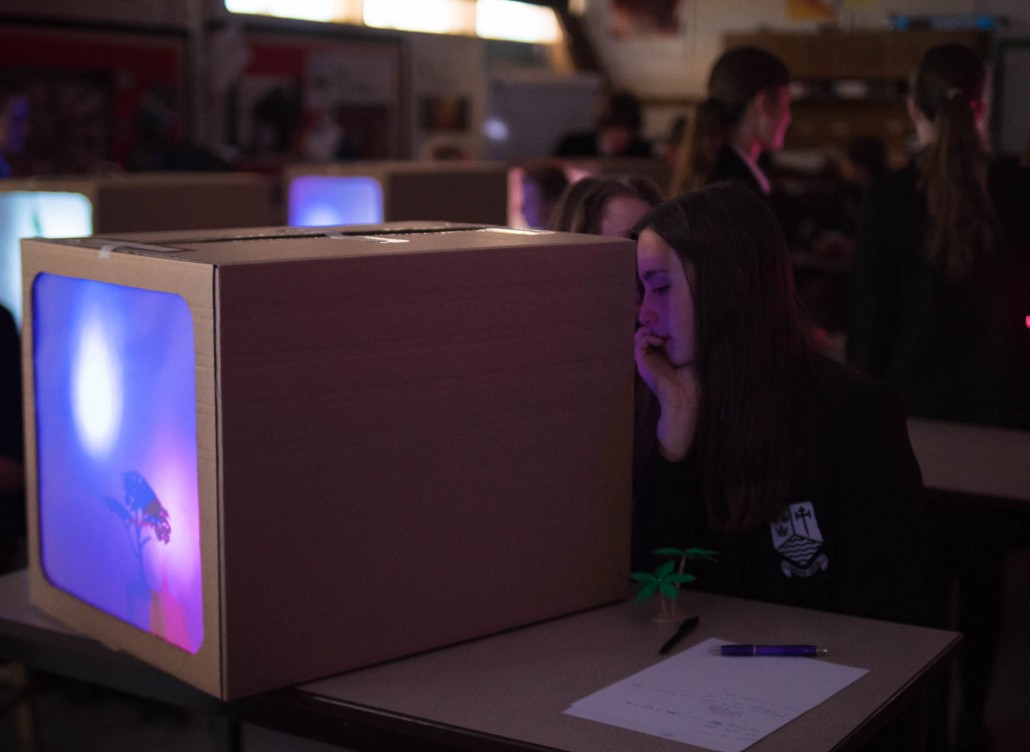
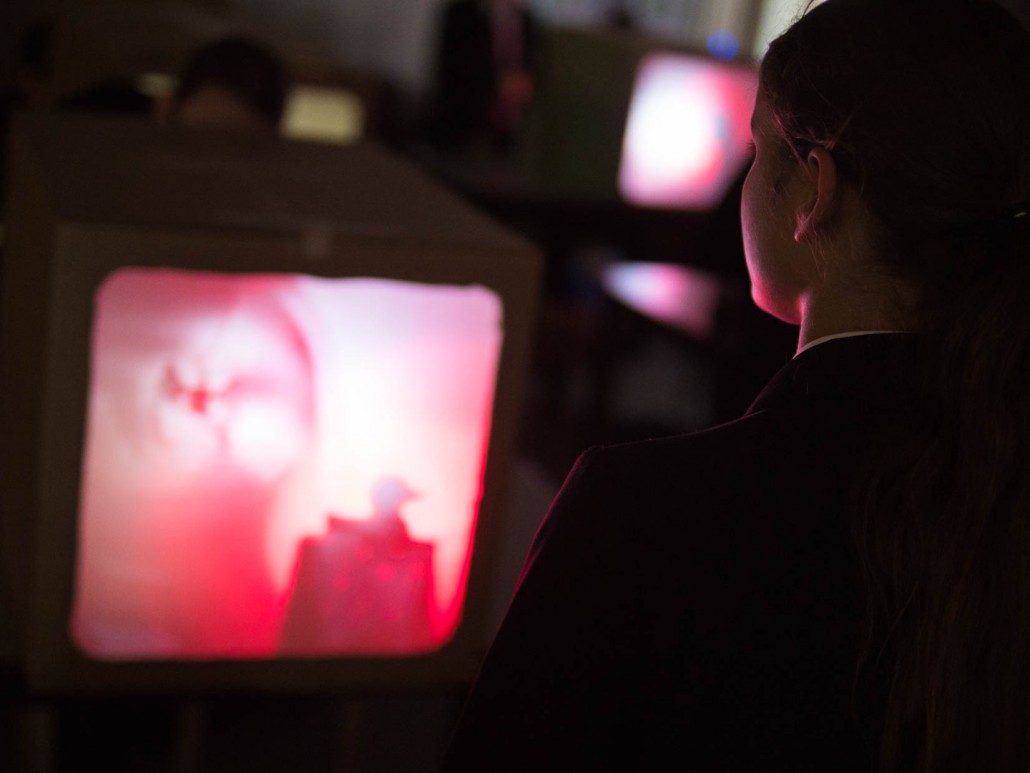
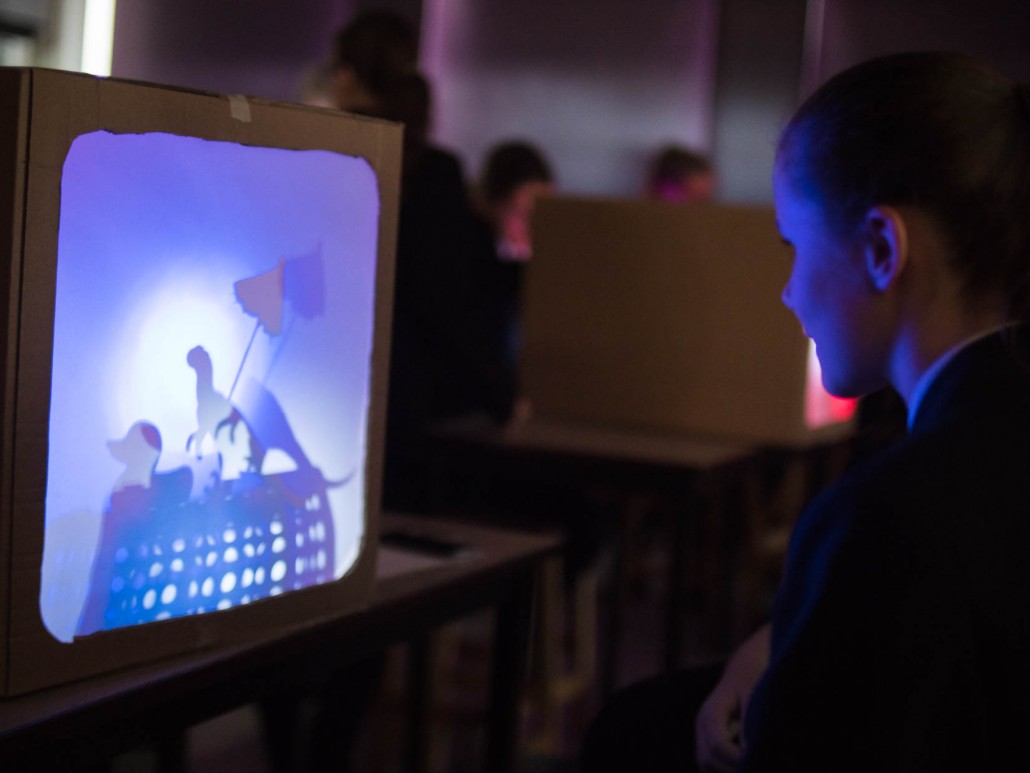
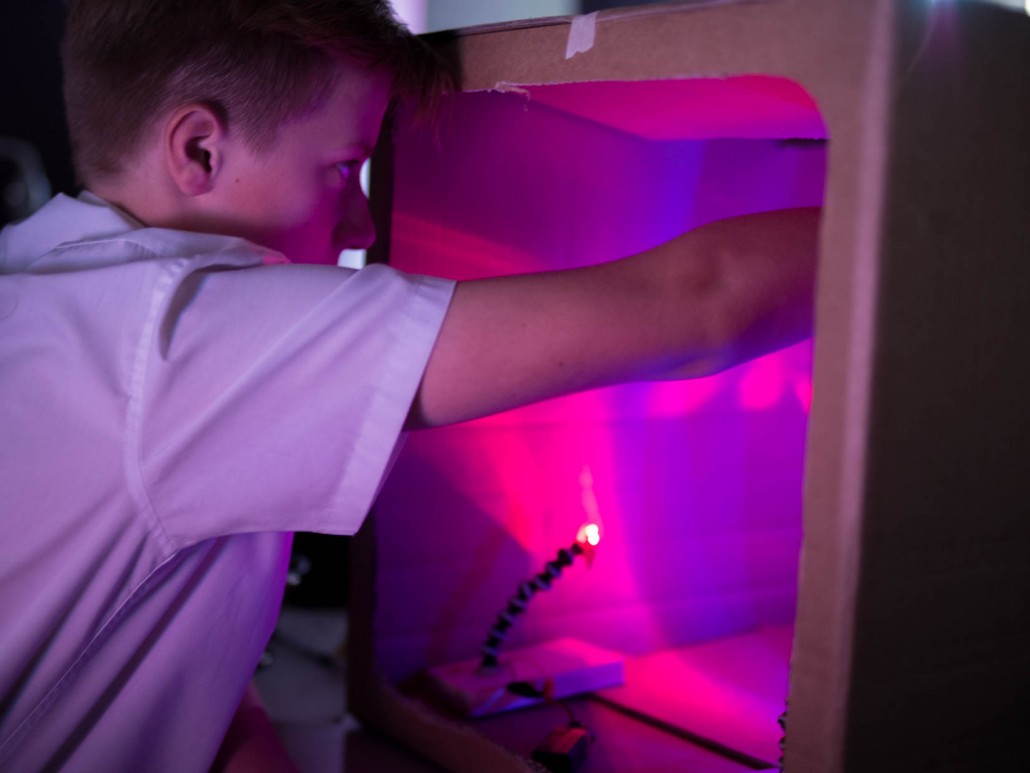
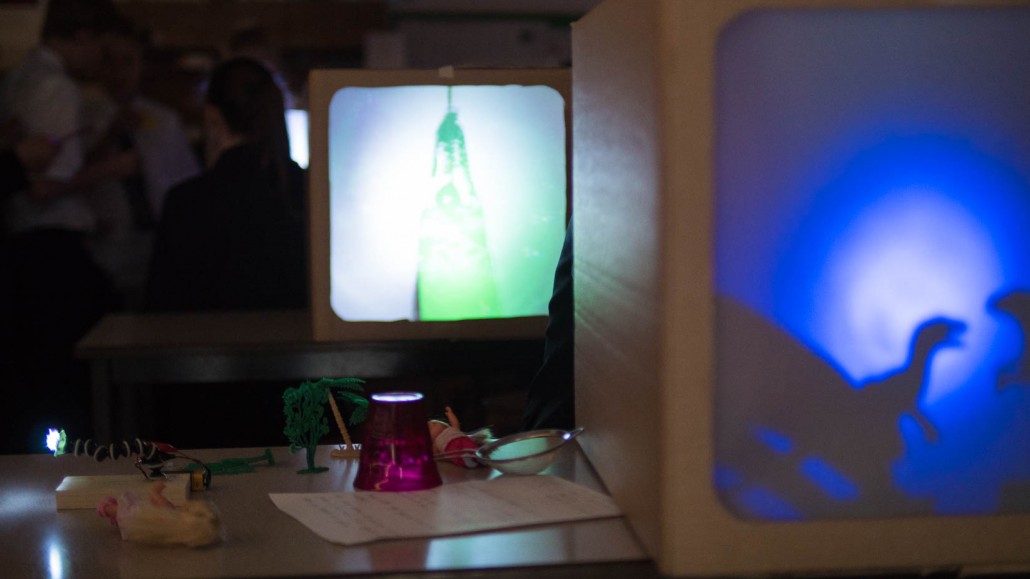
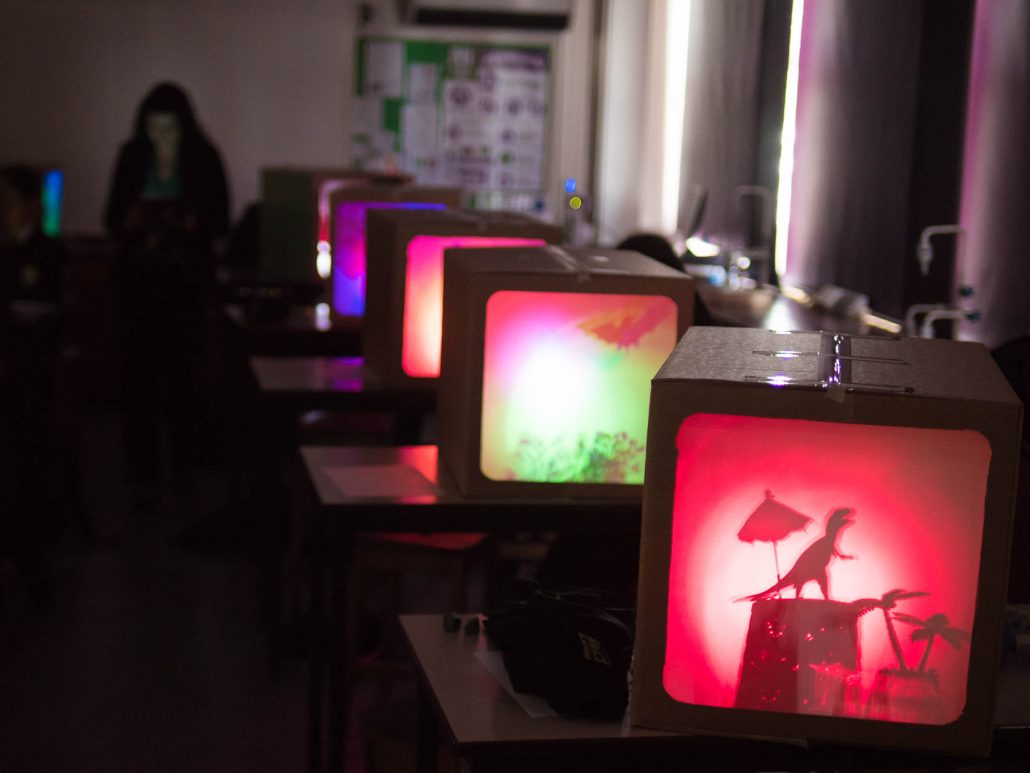
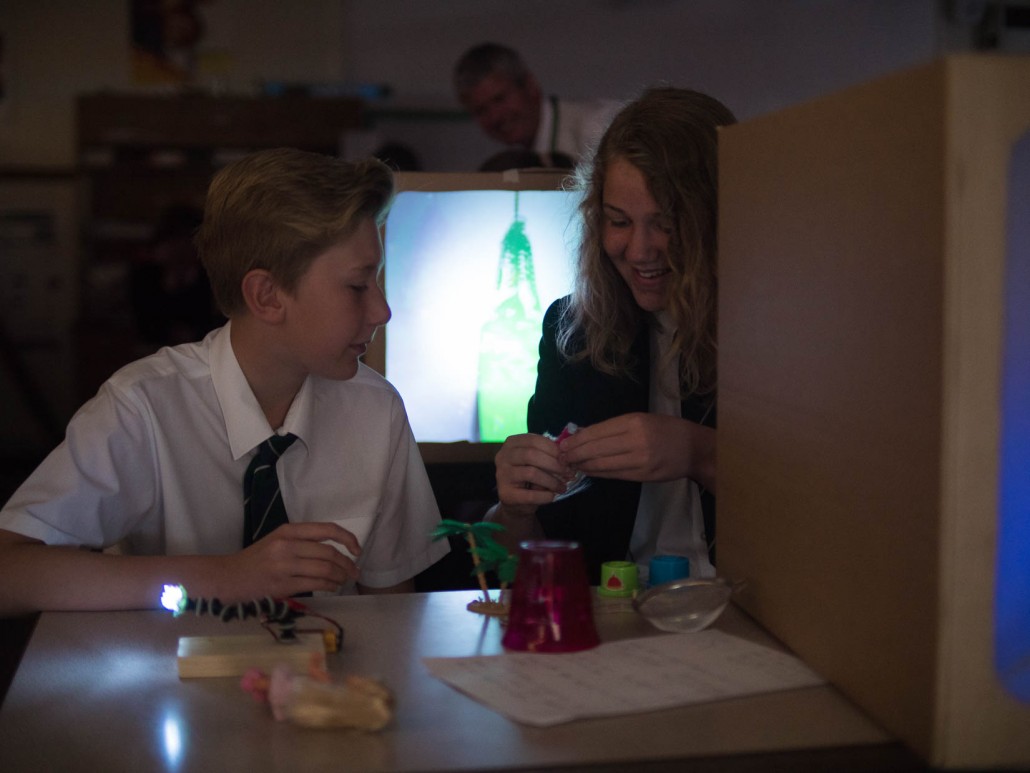
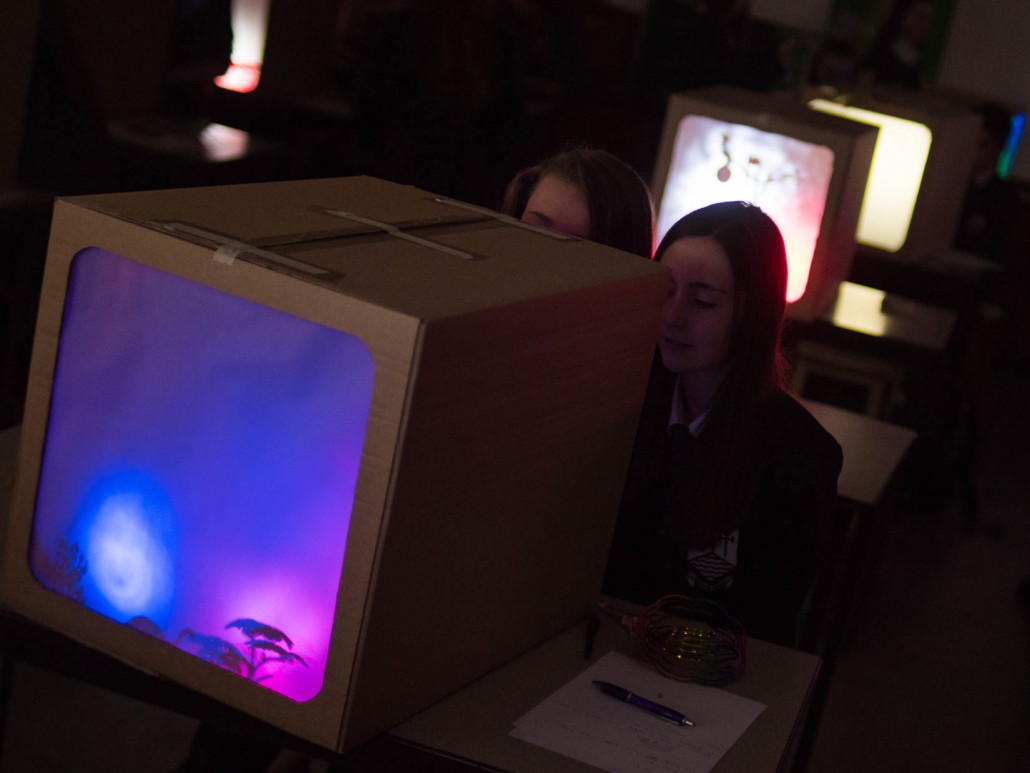

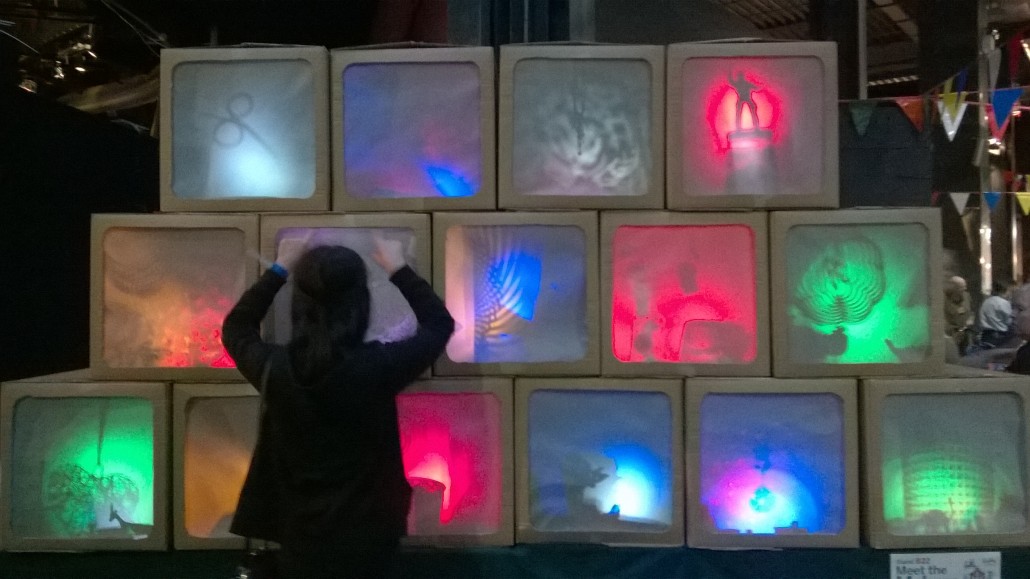
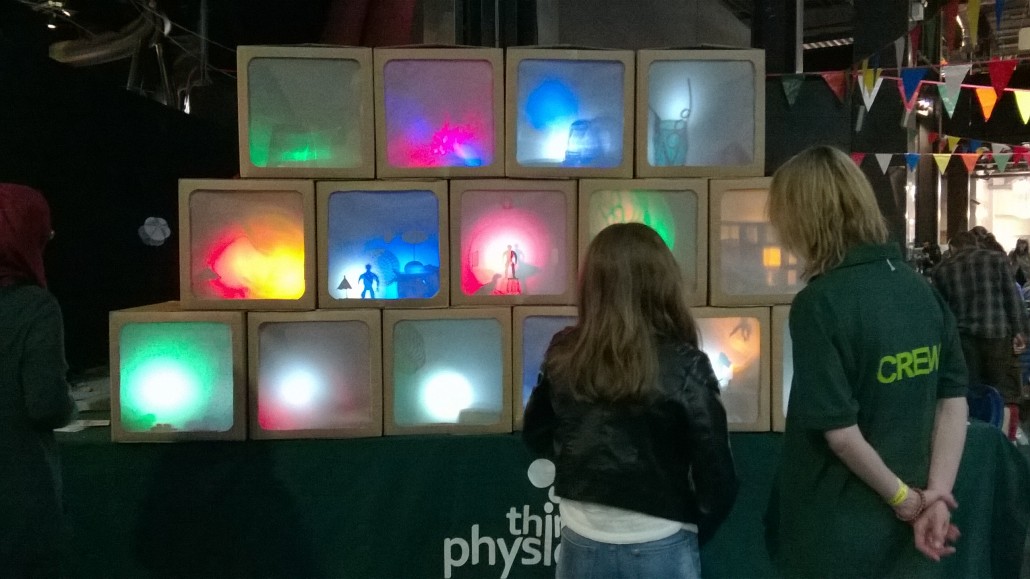
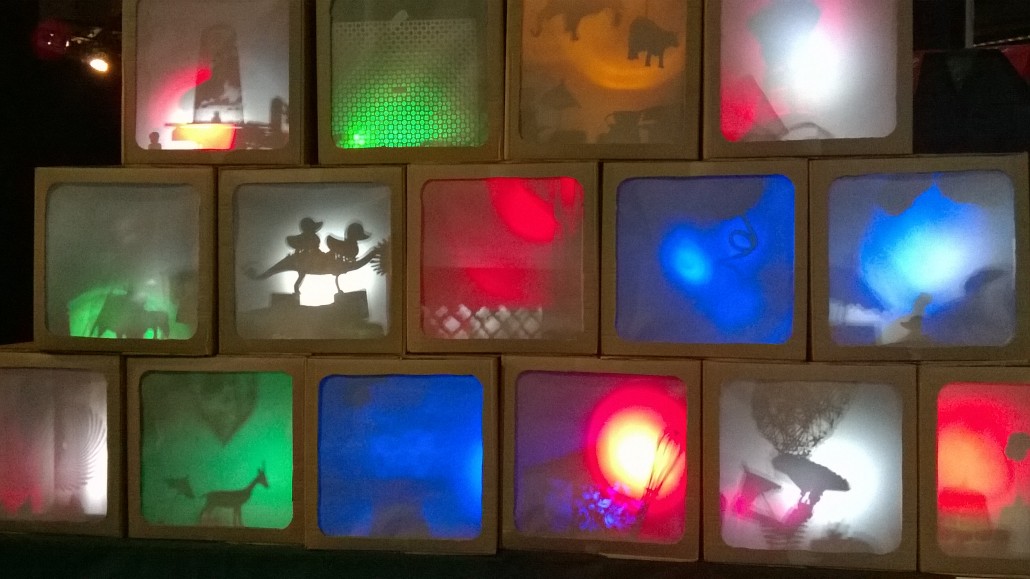
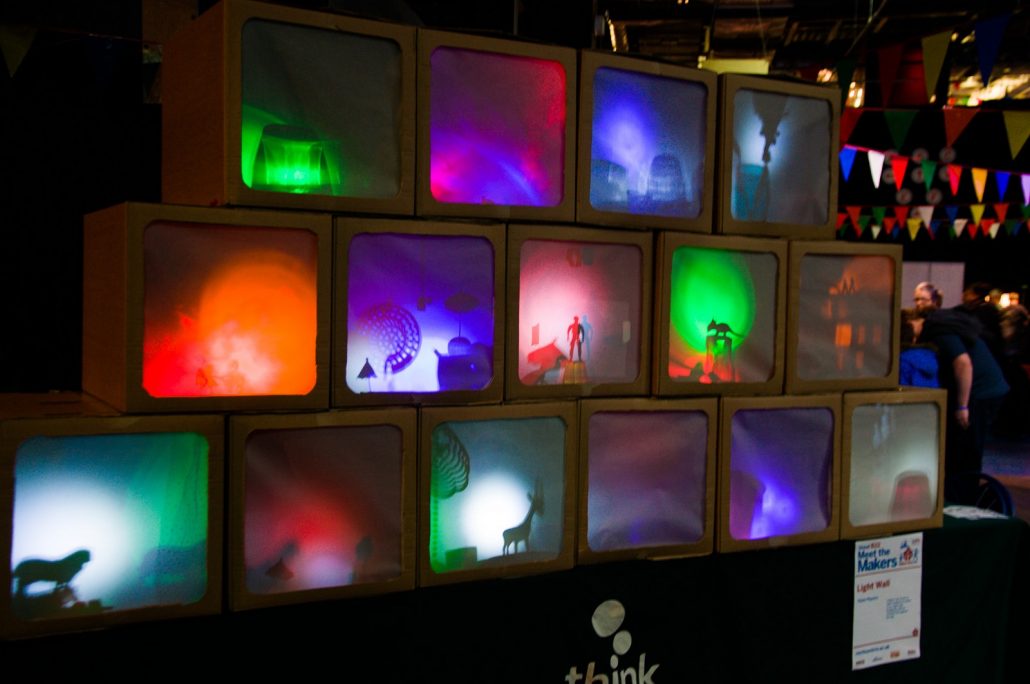
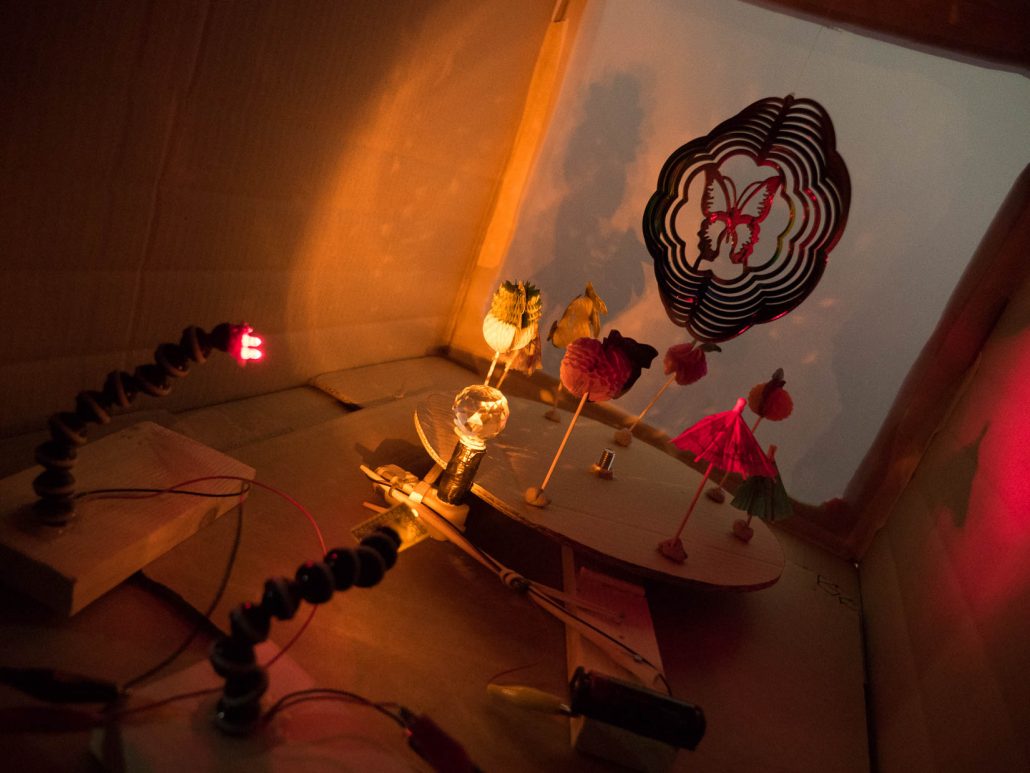
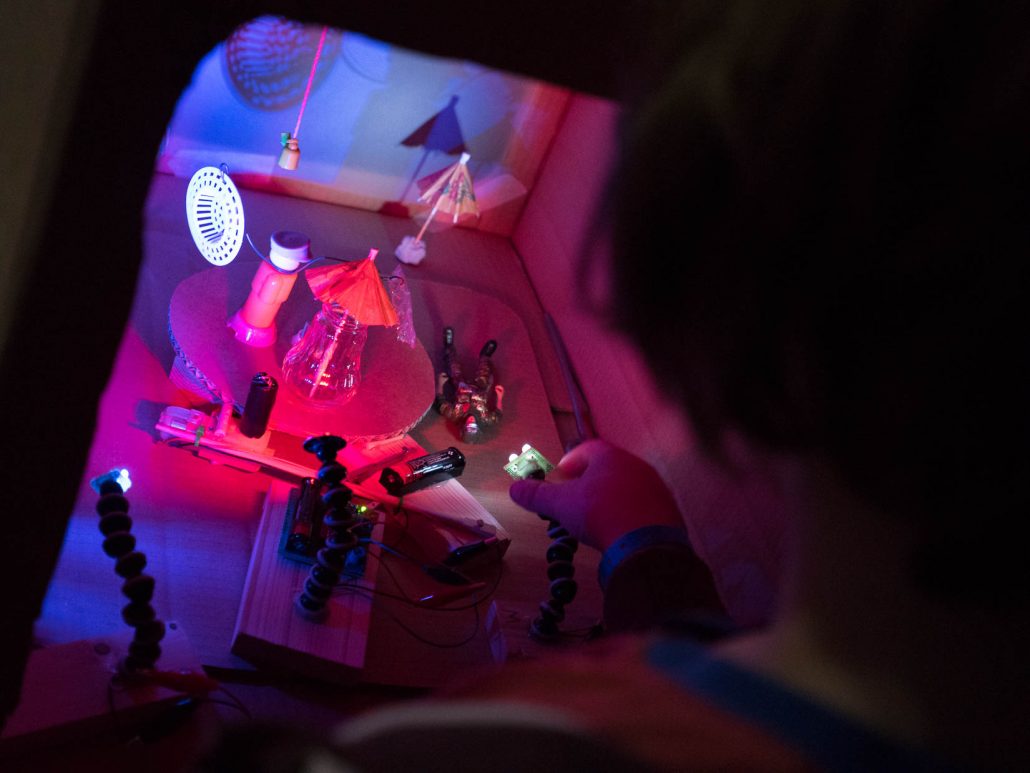
We love this activity. Here’s what it looks like in the hands of secondary students:


 Lit and Phil – Flight Open Day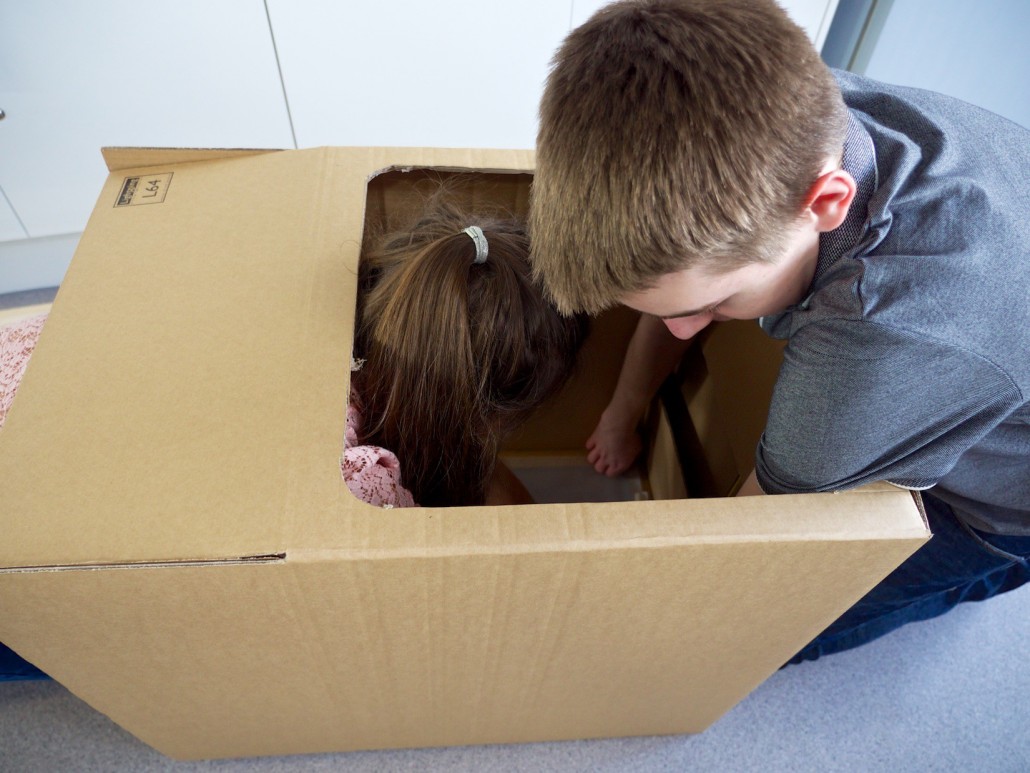

Leave a Reply
Want to join the discussion?Feel free to contribute!