Magnet engineer family STEM story time
Challenge families to sort magnetic and non-magnetic materials and make a robot a magnetic hand.

Children’s parents, carers and other family members all help shape children’s ideas about themselves and what they should do with their lives, including what would be a suitable future job for them.
A family STEM story time is an opportunity to introduce STEM careers, ideas and activities in a relaxed and enjoyable way. STEM story time also provides an opportunity to positively model how adults and children can share stories together.
Each session begins with an introduction to a STEM career and the attributes used in the job. There is then a STEM story which introduces a STEM concept or problem to the group. The session then continues with a practical activity based on the concept introduced by the story. This is designed to be completed by an adult and a child working together. They can successfully complete the challenge together, ensuring their experience of STEM is a positive one.

For this activity, you’ll invite children’s parents or carers into your setting, so they can work alongside each other.
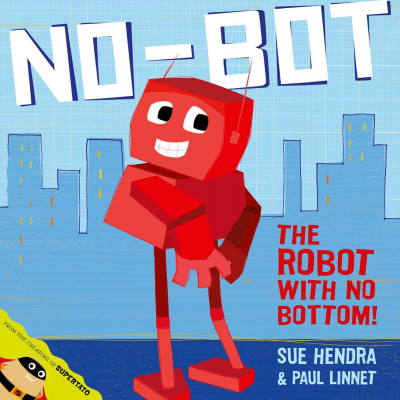
No-Bot the Robot With No Bottom is widely available from bookshops and education suppliers.
Material – the substance that objects are made from, e.g. wood or metal.
Magnet – a material that produces a magnetic field and can attract magnetic materials.
Magnetic – attracted to a magnet.
Non-magnetic – not attracted to a magnet.
Attraction – a pulling force bringing objects together.
Do these things before the session
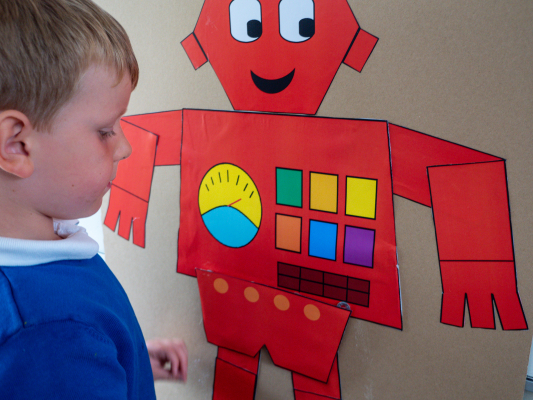
Draw or print out your robot (we used these pieces) and attach it to a piece of thick card, board or wall. The families in this activity will need to test their robot hands so the robot needs to be securely attached to a strong surface that will withstand repeated sticking and removing of the hands.
You will need to attach a magnet or magnets to the robot’s wrists. The magnets need to be strong enough to attract the magnetic materials that the families have stuck to their robot hands through masking or sticky tape. The magnets also need to be attached securely to the robot so they withstand the families attaching and removing their robot hands. A hot glue gun or really strong glue should work.
Think about:
You know your children and families and the size parts that will be safe to use during the sessions.
If you have already had story times with your families you will know what works best in your setting, but if not you may want to consider:
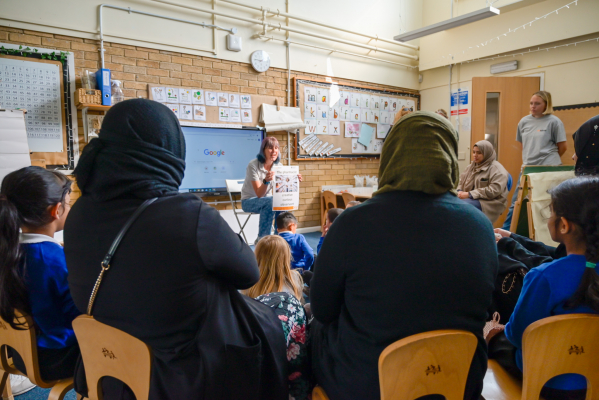
Start the session by showing families the magnet engineer poster and telling them that a magnet engineer is a job that uses science. If you have already done some of the activities from the magnet engineer unit, you could ask the children to explain to their families what a magnet engineer does. If this is a new topic, you could ask the family if they have magnets on their fridges or if they have any toys that have magnetic parts.
Tell everyone that for this activity, they are going to be like magnet engineers.
You could tell the families that magnetic engineers design magnets, or machines and devices that contain magnets. Magnets are in many of the systems that make modern life possible including computer data storage, alarm systems, microphones and speakers, motors, electrical generators and transformers.
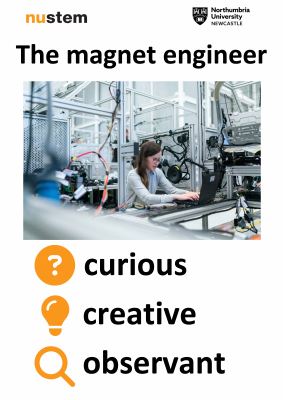
Introduce these attributes by telling the families that attributes are personal skills or qualities that we already have, or can develop.
Curious about how they can use magnets in different machines.
Creative when they use magnets in their designs.
Observant as they look closely at what magnets can do.
During the activity, the children and adults might also be able to identify where they are using these attributes.
You know the families in your setting and the best way to read a story to them, but to help we have designed these STEM focused questions to use alongside the questioning you would usually use when reading a story.
Show the magnet engineer poster again and use the attributes in the activity explanation. You could tell the families that they are going to be:
Curious like magnet engineers and investigate which materials are magnetic and which are non-magnetic.
Observant like magnet engineers and notice which materials are attracted to magnets and which are not.
Creative like magnet engineers and use magnets to attach a new hand to a robot.

Show the families your robot picture. Tell them that your robot has magnets in their wrists to attach its hands – but one (or both) of their hands have gone missing. Tell the families that it is going to be their job to make a new hand for the robot and attach it.
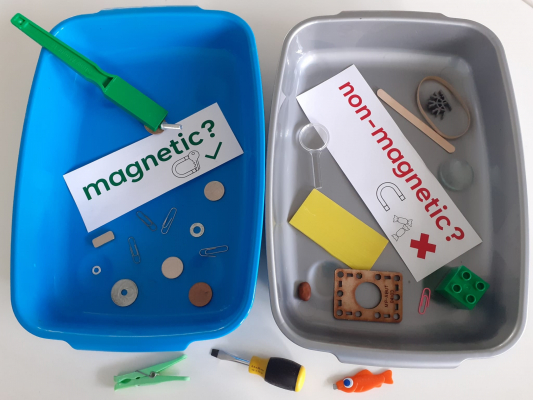
You could ask the families if they have any ideas of what sort of materials are attracted to magnets. We call these materials magnetic. If they are not attracted to the magnets, we call them non-magnetic materials.
Tell the families that their first task is to use a magnet to sort magnetic and non-magnetic materials. This will show them materials they could use to make the robot’s hands so they are attracted to the magnets.
Demonstrate how to tell if the materials are attracted to the magnets and if you are using trays or labels, show the families how you would like them to use these to sort.
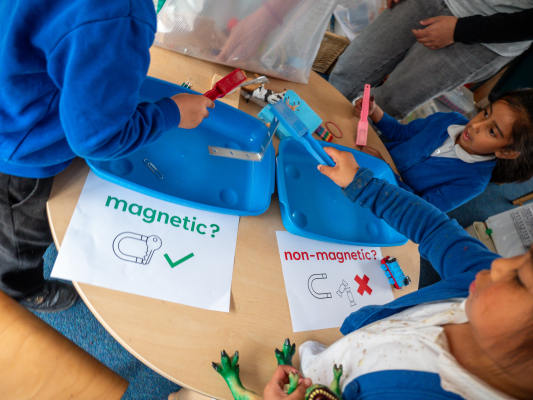
Remind children not to put any of the magnets or materials in their mouths. If there are younger children and babies at the workshop, warn the adults they will be using small objects that may be choking hazards.
When the families have finished investigating and sorting, bring them back together to explain the next task. The child in the family needs to draw around an adult’s hand on a piece of card, and work together to cut out the hand shape. They then need to decide which magnetic materials they are going to attach to the hand so that the hand is attracted to the magnets on the robot’s wrist. Demonstrate how to attach the materials using tape.
Tell the families that when they have completed their robot hands, they need to test whether the hand will stick to the robot.
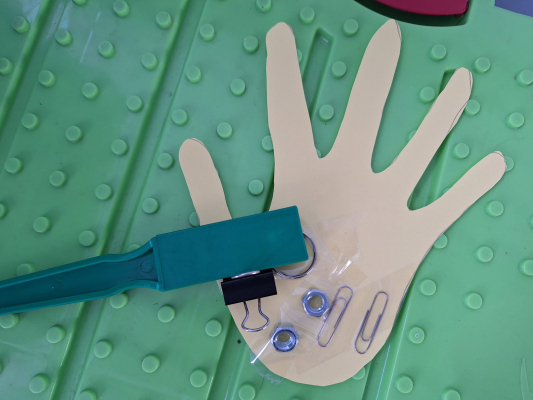
When the families have made and tested their hands, you could remind them of the attributes they have been using: being curious about which materials are magnetic and which are non-magnetic, observant when they noticed which materials are attracted to magnets and creative when they made a new hand for the robot.
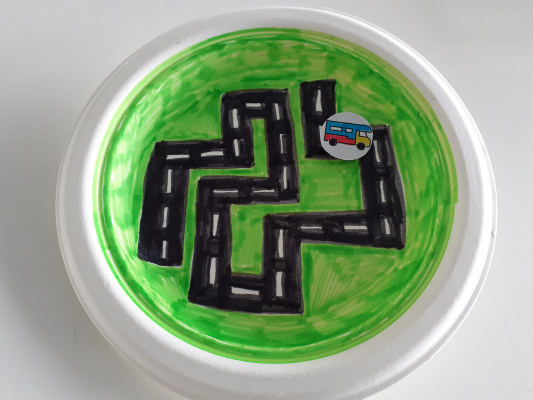
There is a STEM at home activity linked to this activity. This includes a magnet maze making activity they can try, and more STEM careers information.
You could tell the families that if they have enjoyed today’s activity, maybe they could be magnet engineers in the future.
This section is for your information. It’s intended to be useful background – you’re welcome to include it in the session, but we expect you’d more commonly draw on it when children or their families have questions.
A magnet is the name given to an object which can attract other objects without touching them. This is because there is an invisible magnetic field around them.
Magnets have a north and south pole. Two magnets will be attracted to each other if their north and sound pole are brought together, but will repel (push away) each other if their like poles (north and north, or south and south) are brought together.
The magnets usually used in school are permanent magnets. This means the magnetic field they produce is there all of the time and cannot be turned off. Electromagnets are magnets which use electric current to produce the magnetic field, and so can be turned on and off.

There are three metals which can be used to make permanent magnets: Iron, nickel and cobalt.
Steel is an alloy (mixture) of iron and other elements, and so some types of steel are also magnetic.


 Fluid scientist family story time