Pharmacist family STEM story time
Challenge children and their adults to see how much water it takes to dissolve ‘medicine’ granules.

Children’s parents, carers and other family members all help shape children’s ideas about themselves and what they should do with their lives, including what would be a suitable future job for them.
A family STEM story time is an opportunity to introduce STEM careers, ideas and activities in a relaxed and enjoyable way. STEM story time also provides an opportunity to positively model how adults and children can share stories together.
Each session begins with an introduction to a STEM career and the attributes used in the job. There is then a STEM story which introduces a STEM concept or problem to the group. The session then continues with a practical activity based on the concept introduced by the story. This is designed to be completed by an adult and a child working together. They can successfully complete the challenge together, ensuring their experience of STEM is a positive one.

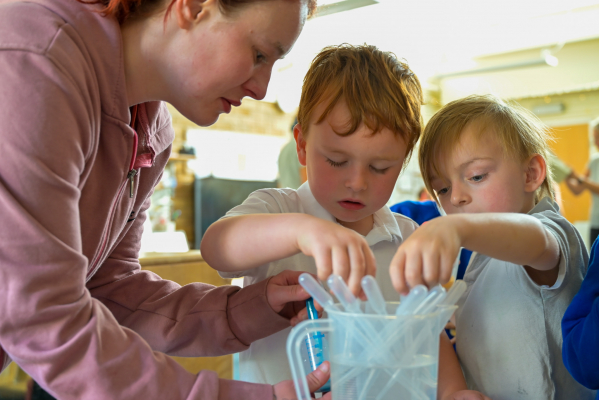
For this activity, you’ll invite children’s parents or carers into your setting, so they can work alongside each other.

Topsy and Tim Go to the Doctor is widely available from bookshops and education suppliers.
Granules – small grains or particles. Granules are coarser than powders.
Mixture – a combination of two or more substances.
Solution – a solution is made when a substance (salt granules) dissolves into a liquid (water).
Dissolve – a solid breaks down into tiny particles that spread out throughout the solvent (liquid).
Do these things before the session
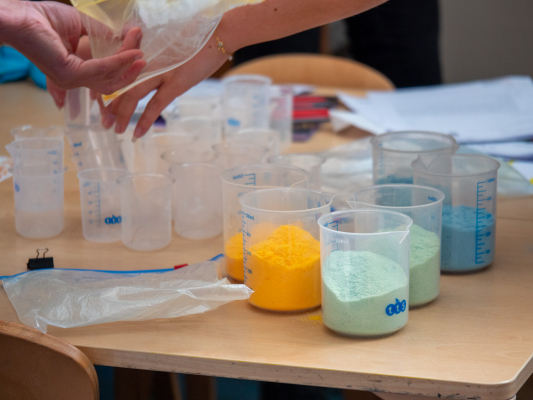
You will need about 50g of salt per child to allow for spillages. This works out as a 750g pack of salt per 15 children.
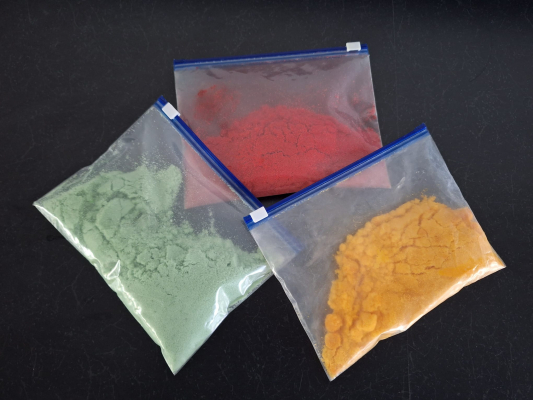
Pour the salt into a ziplock plastic bag and add a few drops of food colouring. The amount of colouring you need will depend on the brand you use, so you may want to try a few drops at a time so that your salt doesn’t become too soggy.
Zip up the bag, then shake and massage the colour into the salt so all of the grains are coloured.
You may want to make a few bags of different coloured granules.
Think about:
Using warm water causes the salt granules to dissolve quicker than cold water, if you have only a short time for the activity.
If you have already had story times with your families you will know what works best in your setting, but if not you may want to consider:
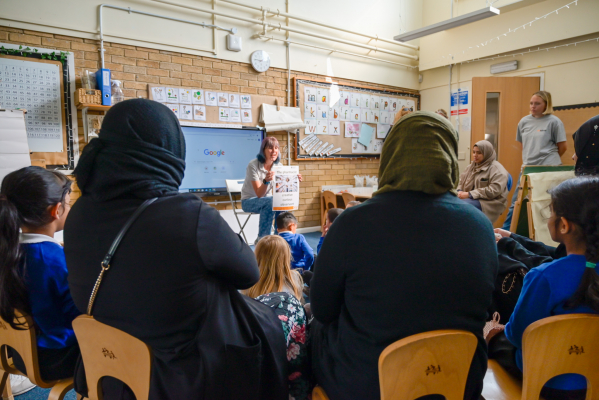
Start the session by showing families the pharmacist poster and explain them that a pharmacist is a job that uses science. Perhaps families know people who work in healthcare or medicine?
Tell everyone that for this activity, they are going to be like pharmacists.
If you have already done some of the activities from the pharmacist unit, you could ask the children to explain to their families what a pharmacist does. If this is a new topic, you could ask the families to talk about a time they have seen or been to a pharmacy.
Explain to families that pharmacists dispense or prepare and give medicines to a patient. They might work in a pharmacy, hospital, or GP practice. They give advice about prescriptions, how much medicine to take, the possible dangers of medicines, and how to use and store medication. Some pharmacists also make and test new medicines.

Introduce these attributes by telling the families that attributes are personal skills or qualities that we already have, or can develop.
You could tell them that pharmacists are:
Creative when they make new medicines and when they prepare and make medicines for patients.
Curious about what is wrong with their patients when they are unwell and about which medicines will be best to make them better.
Observant: they need to read prescriptions carefully and make sure they give the correct amount of each medicine to their patients.
During the activity, the children and adults might also be able to identify where they are using these attributes.
You know the families in your setting and the best way to read a story to them, but to help we have designed these STEM focused questions to use alongside the questioning you would usually use when reading a story.
After reading the story, please make sure that the children understand:

Show the pharmacist poster again and use the attributes in the activity explanation. You could tell the families that they are going to be:
Creative like pharmacists as they are going to be making ‘medicines’,
Curious like pharmacists as they are going to investigate to find out how many pipettes of water they will need to add to different amounts of the medicine granules for it to become a medicine
Observant like pharmacists as they need to look carefully at the medicine to see if all of the granules have dissolved.
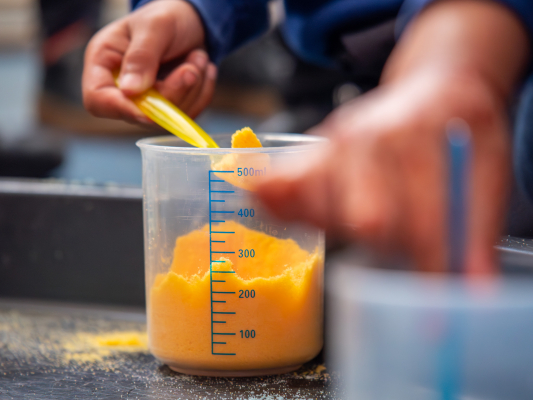
Families are going to take one spoonful of granules, and count how many pipettes of water are needed to dissolve it.
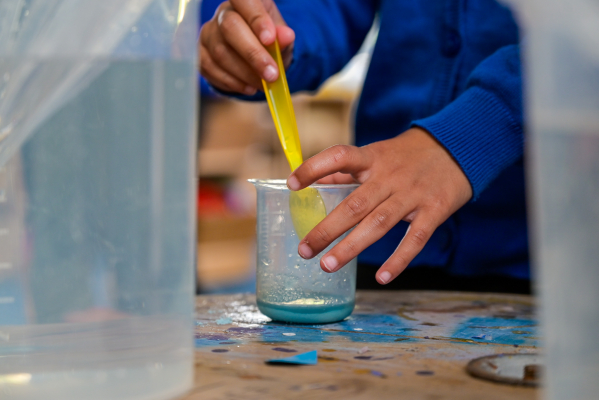
You could model how to take a spoonful of granules, put it in a beaker, add a pipette of water and stir.
You could use this opportunity to explain what you mean by dissolve: when the granules dissolve it will look like they have disappeared, but they are still there in the water. You could show the families your beaker and ask if they think the granules have dissolved or disappeared yet.
Tell the families that they need to continue adding water a pipette-full at a time and stirring until the granules dissolve. When your granules have dissolved, you could tell the families that although it looks like the granules have disappeared, they have just mixed with the water to make a transparent liquid called a solution.
Remind children not to taste the ‘medicine,’ and not to put any of the equipment in their mouths.
If you are recording your results of your investigations, you could show the families how to do so. Make a table (chart) in which you can note the number of pipettes of water needed to dissolve different amounts of granules.
Challenge the families to test 1, 2 and 3 spoonfuls of medicine granules, and to record many pipettes of water are needed to dissolve each.
Families will need to rinse their beakers after each test.
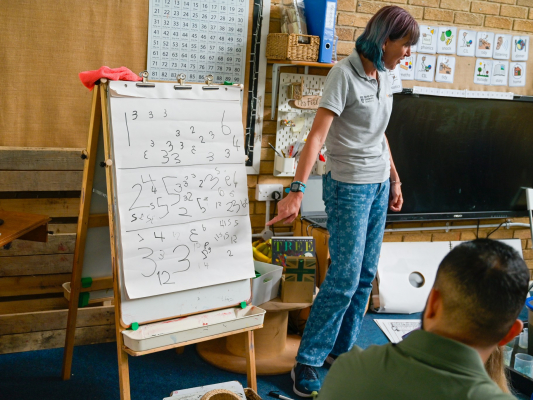
When the families have completed the three tests, discuss the results they have recorded. You’ll probably have found that the more spoonfuls of granules are in the beaker, the larger the number of pipettes of water needed to make a solution.
You could remind the families of the attributes: being creative by making medicine, curious about how much water is needed for the granules to dissolve and observant by noticing when the granules have dissolved.
You could tell the families that if they have enjoyed today’s activity, maybe they could be pharmacists in the future.
This section is for your information. It’s intended to be useful background – you’re welcome to include it in the session, but we expect you’d more commonly draw on it when children or their families have questions.
Substances like salt are a solid. Each grain of salt is made up from lots of small particles which have bonds between them to keep them in place.
Water is a liquid. It is also made up from lots of small particles, but they are only bonded together weakly and so can move about. Liquids will therefore take up the shape of the container they are in.
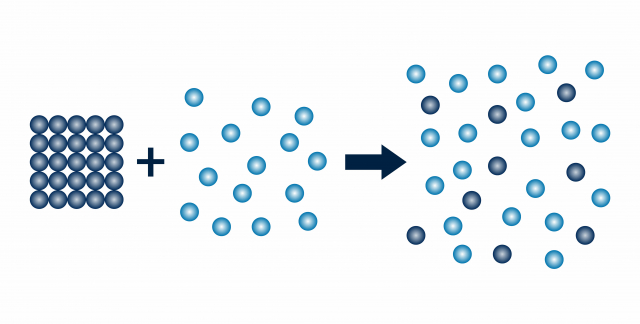
When salt is added to water, the bonds between the particles in the salt are broken. The salt dissolves in the water. The particles of salt mix with the particles of water and they form a solution. We say that salt is soluble.
Although we can’t see the salt grains any more, all of the salt particles are still in the solution. In the picture you can see that the separate salt (dark blue circles) and liquid (light blue circles) are still in the solution, just all mixed up together.
Some substances (like flour) won’t dissolve in water. These are called insoluble solids.
The usual dissolving salt investigation would be dissolving spoonfuls of salt in water until no more can be dissolved. This is making what’s called a saturated solution. We thought it would be more interesting for families to observe the changes in the salt as more and more water was added and it became a solution.
You would also need to add quite a lot spoonfuls of salt to a beaker of water before it became saturated and young children may not be able to count this accurately!
Both of these actions help to speed up the dissolving process.
Stirring the salt and water mixes them which makes it easier and quicker to break the bonds that keep the salt particles together.
The particles in warm water move about more than those is cold water, so are more likely to collide with the salt particles and break the bonds.


 The Sports Scientists