Download progression document
Includes statements from Development Matters (birth to age five) and the relevant ELGs in full, for the Table top bubbles adult led activity

Includes statements from Development Matters (birth to age five) and the relevant ELGs in full, for the Table top bubbles adult led activity
Play, Be, C Units provide enabling environments with teaching and support from adults. Reflecting on the characteristics of effective teaching and learning, children will have opportunity to learn and develop by:
- Playing and exploring – children investigate and experience things, and ‘have a go’.
- Active learning – children concentrate and keep on trying if they encounter difficulties and enjoy achievements.
- Creating and thinking critically – children have and develop their own ideas, make links between ideas, and develop strategies for doing things.
Early Years Foundation Stage Statutory Framework: accessed November 2024. Available under the Open Government Licence v3.0.
Liquid, mixture, solution, warm, dissolve, gas, air, blow, big, huge, large, enormous, round, sphere, hemi-sphere, burst, surface, inside, double, triple
Show the children the fluid scientist poster and tell the children that they are going to be fluid scientists for this activity.
Ask the children if they know what a fluid scientist does. Fluid scientists are interested in what liquids, and gases are like and how they move and behave. Liquids and gases are examples of fluids
Tell the children about the attributes. Fluid scientists are:
Curious – about what different fluids can do and how they might help us.
Observant – they watch fluids carefully to see how they behave.
Resilient – they try lots of tests before they find the best uses for different fluids.
Tell the children that today they are going curious about how they can blow bubbles on a table. They are going to observe what the table bubbles look like and how many they can blow. They are going to be resilient because it is quite tricky to blow bubbles, but they need to keep trying until they can do it.
Give the children a beaker each. They need 40 ml of warm water. You could get the children to measure this out on a marked measuring container or syringe, or get them to put 4 tablespoons of water into their cups. Alternatively, you can measure out the water for the children.
Ask the children to put a small (not heaped) teaspoon of sugar into their cup. It works well to have one spoon for the sugar, which stays dry, and one each for the children to stir their solution with.
Ask the children to stir their solution.
You could ask:
What do you think has happened to the sugar?
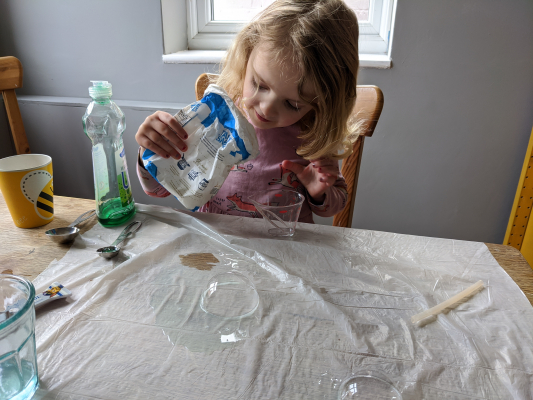
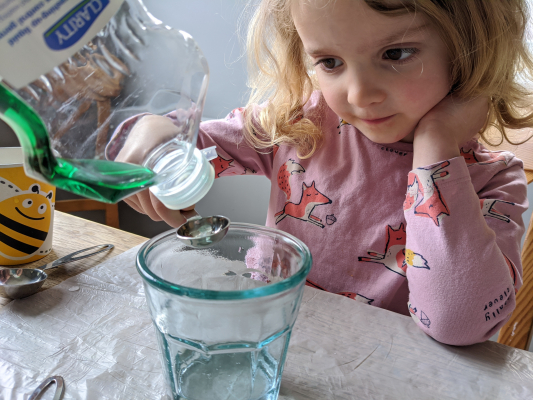
Add a teaspoon of washing up liquid to each cup. This works well if an adult holds the spoon for the children to squirt the liquid into. Ask the children to gently stir their solution.
You could ask:
What colour is the solution now?
Ask the children to dip their hands into the bubbles solution and then spread the solution onto the table in front of them. You need to cover around 30 cm x 30 cm with bubble solution.
Ask the children to dip one end of their straw into the cup of bubble solution, and put the other end into their mouths.
Show the children how to position their straws at around a 45 degree angle so that the bottom of the straw is touching the table.
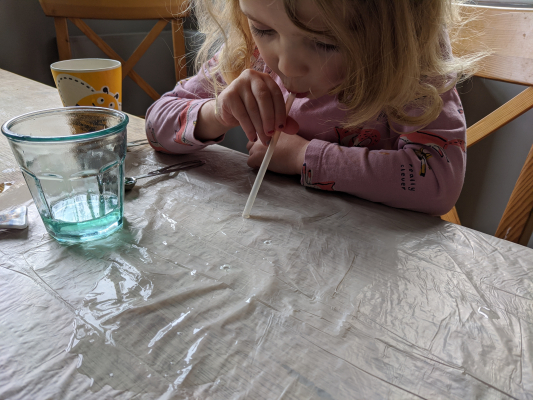
Demonstrate how to blow through the straw very gently so that a bubble is created.
The children need to dip the end of their straw into the bubble solution each time they want to blow a bubble.
Remind the children that fluid scientists are resilient, and if they don’t get a bubble the first time, they need to keep trying.
Remind the children to keep the same end of the straw in their mouths and to always dip the other end in the solution.
Remind the children to always blow not suck! If a child does get bubble solution in their mouth, they should rinse their mouth out with clean water and then spit the water out. Make sure that they don’t swallow the water.
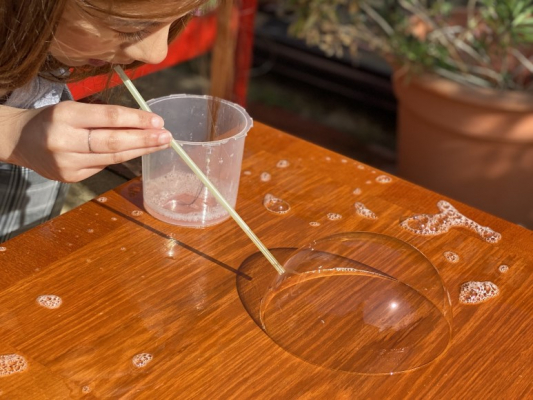
When they children have created bubbles, you could ask:
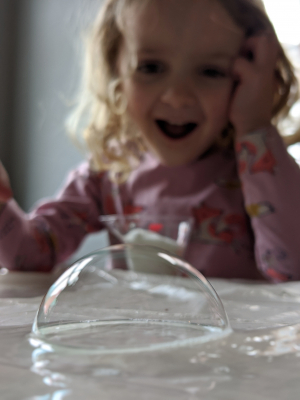
Remember to refer to the children as fluid scientists and praise them for using the attributes. You could say things like:
“You have been resilient like a fluid scientist because you kept trying until you could blow a bubble…”
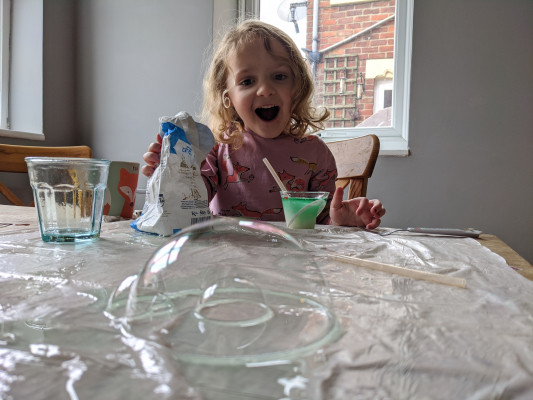
Make sure your table is covered in bubble solution and blow your first bubble.
Dip the straw back into the bubble solution in your cup and carefully insert it into your bubble.
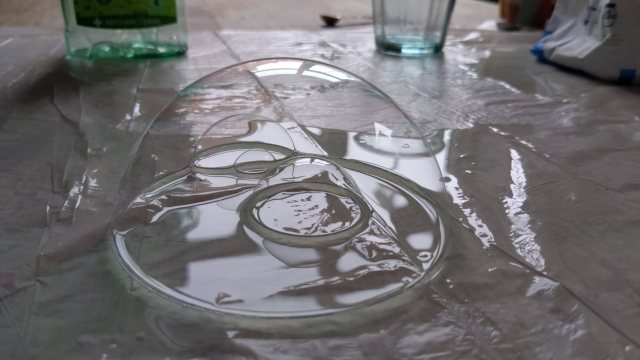
Blow a second bubble inside the first bubble, following the instructions as before.
You could ask:
How many bubbles can you fit inside your big bubble?
Can you blow a bubble inside a bubble inside a bubble?
We have put together some useful information about the science of fluids to accompany this activity. Don’t worry, this is for your information only and to help you answer any questions children may have. We don’t expect you to explain this to the children in your setting!
Mixing washing-up liquid with water forms a solution. When you blow a bubble, air is trapped by a thin film of your bubble mixture. This film is made of a layer of water sandwiched between two layers of soap.
Mixing washing-up liquid with water forms a solution. Adding sugar to the solution helps the bubbles last longer. The water in bubbles evaporates quickly, which makes them pop quickly. Adding sugar slows evaporation, which makes bubbles last longer. We use warm water so that the sugar dissolves in the solution.
There is a relatively thick layer of soap solution on a table, and by blowing through the straw you are forcing air into the middle of that layer. This splits it apart into a lower layer which is stuck to the table, and the upper layer which is held apart by the air pressure.
A bubble takes up the smallest surface area for the volume of air it contains, and a sphere shape has the smallest surface area for the volume of air contained. As the lower layer of the bubble is stuck to the table, a hemisphere shape is created.
A bubble pops if the soapy outer skin is broken. This can happen as the water in the bubble evaporates, or if the bubble touches something dry or oily. It can also happen when the bubble becomes too big and there isn’t any more soap to create the sandwich layer. If your bubbles last a really long time, you might see the colours shift as the water drains around the sides of the bubble back onto the flat surface. Eventually, the bubble gets so thin you can barely see it – right before it pops by drying out!
By blowing gently into the bubble solution you can stretch the bubble solution slowly, forcing more air into the bubble before the pressure causes it to pop.
Wetting the straw by dipping it in the bubble solution allows it to slide it into the bubble without popping. You can challenge the children to do the same with their fingers:
A bubble forms the smallest possible shape for the volume of air it contains. To minimise their surface area, bubbles will join together to share one common wall. Three bubbles will meet at the centre, at an angle of 120 degrees, and bubbles that are all the same size will form hexagons. This is also the shape bees create with their wax inside hives.


 Lava lamp adult led activity