Ask your child: what is a solar physicist?
Today NUSTEM have been into school to do the solar physicist workshop with your child. During the workshop, we supported the children to feel more confident that a career in STEM is for ‘people like them’ by trying some of the activities a solar physicist would do in their job.
We introduced three attributes that the children may already have or can develop.
Solar physicists are: curious, imaginative and communicators
By discussing STEM careers in terms of these attributes, we are encouraging children and young people to see themselves as having the skills to work in STEM.
Ask your child which of the three skills they think they have.
What does a solar physicist do?
An solar physicist is a type of astrophysicist. An astrophysicist is a scientist who researches the principles of light, motion, and natural forces in order to gain an understanding of the cosmos.
A solar physicist specialises in studying the sun. They can take detailed measurements of our nearest star that it is not possible to make of more distant stars. They use satellites and ground based telescopes to make their observations.
Do try this at home: make a star spectrum
The white light we see is made up of the different colours of the spectrum. When we see a rainbow, we see the light split up into the different colours.
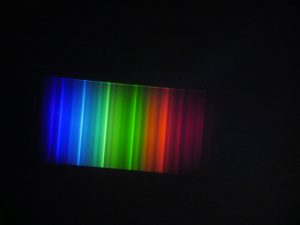
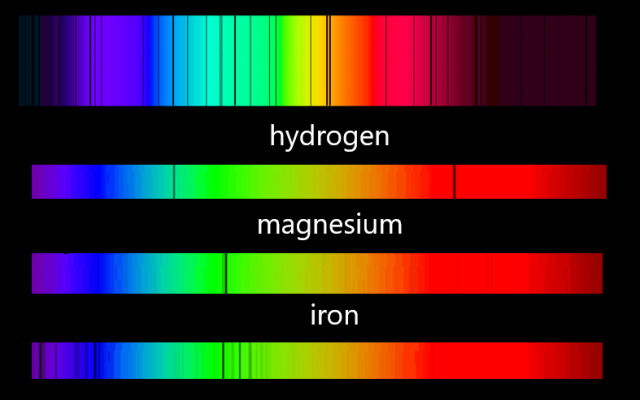
A spectrometer is a tool used by astronomers to split the light collected by a telescope into its colour spectrum. This allows astronomers see the details in the light and see the spectrum of a star.
Different chemical elements in stars absorb the certain colours of light which results in these black lines on the spectrum. This tells us which elements are present in the star.
You will need:
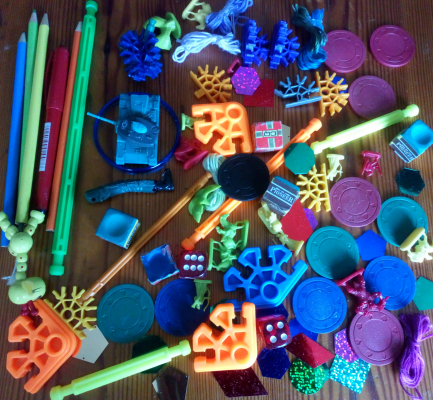
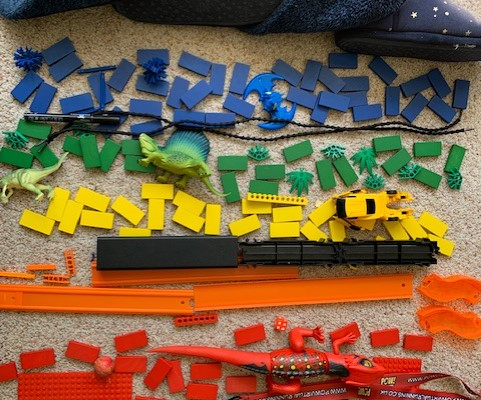
A large selection of materials in the colours of the rainbow, at least 8 of each colour (eg, small toys, lego, pencils, scraps of paper, crayons, stones, beads, buttons, ribbons, wool, stationary, fabric, clothes, pipe cleaners, lolly sticks, pom poms or other collage materials)
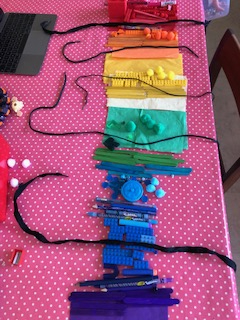
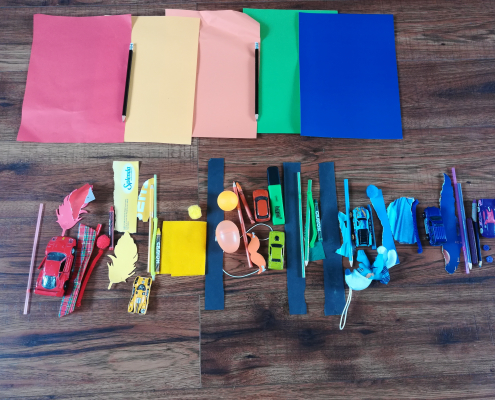
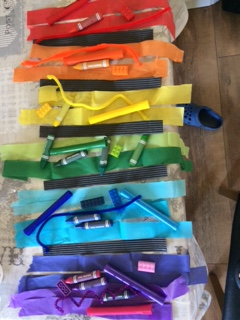
At least 4 black lines (e.g. strips of black paper or card, shoe laces, black socks or fabric, black pencils or pens).
Step 1
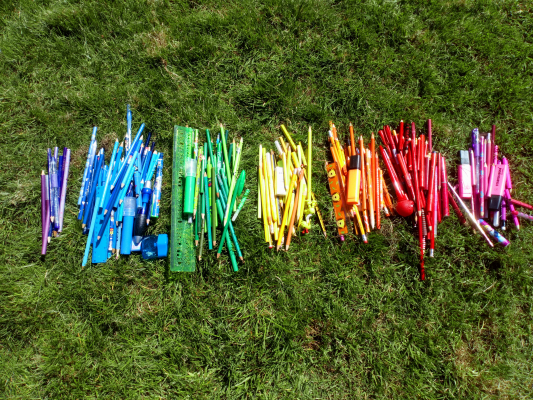
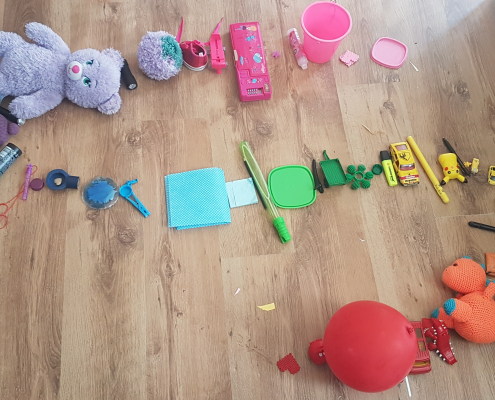
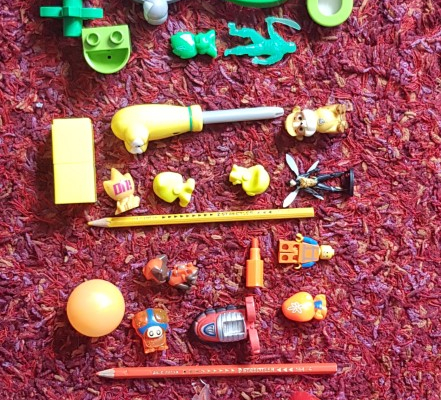
Collect all of the materials that you need from around your house. You can use a mixture of different items to make your spectrum. Sort your materials into piles of the different colours: purple, blue, green, yellow, orange, red and pink.
Step 2
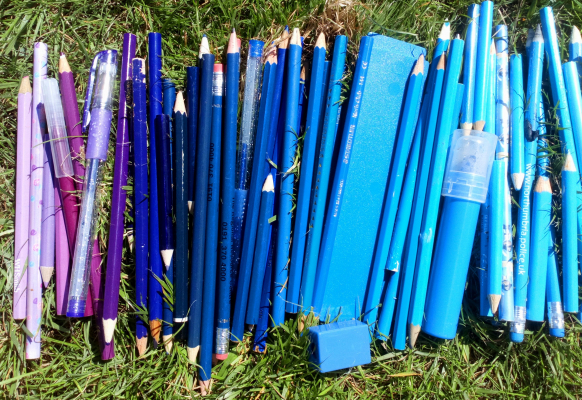
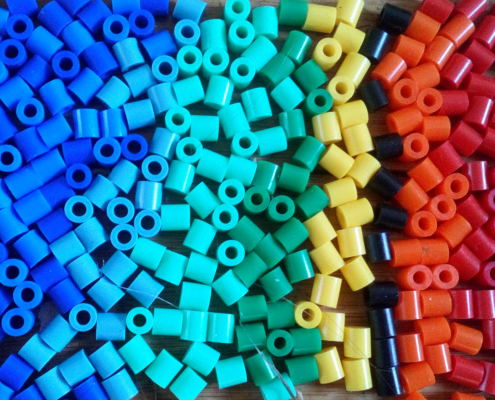
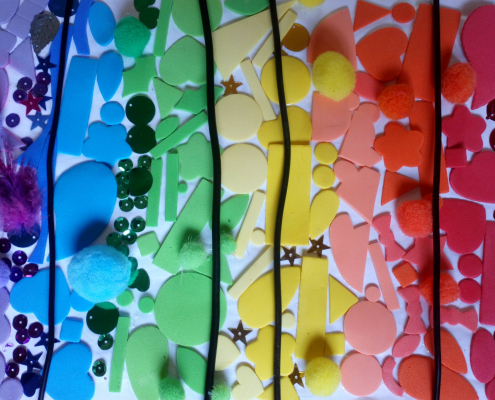
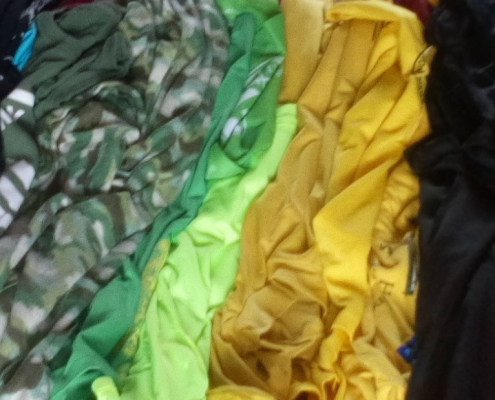
Now sort the materials within your piles. Observe how the colours change from darker to lighter and merge into each other throughout the spectrum. In the picture, you can see how the dark purple merges with the dark blue, then the blue becomes lighter and lighter.
Step 3
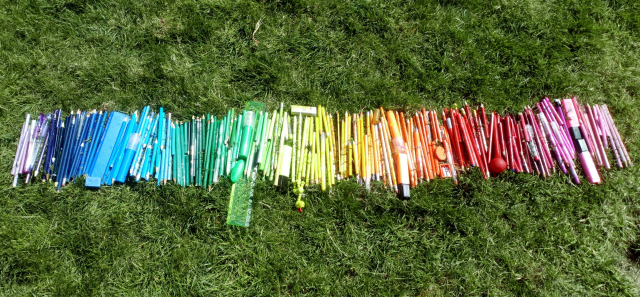
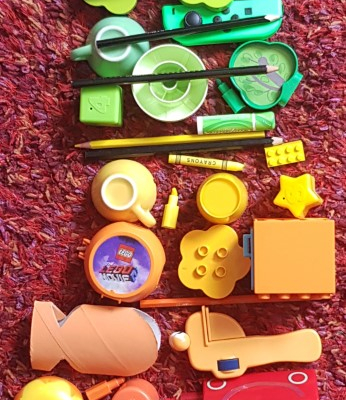
Continue sorting all of your colours. Notice how light blue merges into turquoise, turquoise into green, and how the green gets lighter becoming yellow. You can see how the yellow becomes darker and merges into orange, which then becomes more and more red as we move along the spectrum. The red becomes burgundy then lightens into pink.
Step 4
Finally add your black absorption lines to show which elements are present in your star. You can use the absorption lines from the elements present in the Sun, or you can be creative and design your own.


