Download progression document
Includes statements from Development Matters (birth to age five) and the relevant ELGs in full, for the Whittling adult-led activity

Includes statements from Development Matters (birth to age five) and the relevant ELGs in full, for the Whittling adult-led activity
Play, Be, C Units provide enabling environments with teaching and support from adults. Reflecting on the characteristics of effective teaching and learning, children will have opportunity to learn and develop by:
- Playing and exploring – children investigate and experience things, and ‘have a go’.
- Active learning – children concentrate and keep on trying if they encounter difficulties and enjoy achievements.
- Creating and thinking critically – children have and develop their own ideas, make links between ideas, and develop strategies for doing things.
Early Years Foundation Stage Statutory Framework: accessed November 2024. Available under the Open Government Licence v3.0.
Stick, bark, whittle, push, stroke, calve, sap, inside, outside, lumpy, bumpy, knobbly, rough, ridged, bent, straight, smooth, soft, silky, velvety, silky, shiny, glossy, long, short, wide, narrow, thick, thin, green, brown, yellow, dark, light, heavy, big, small
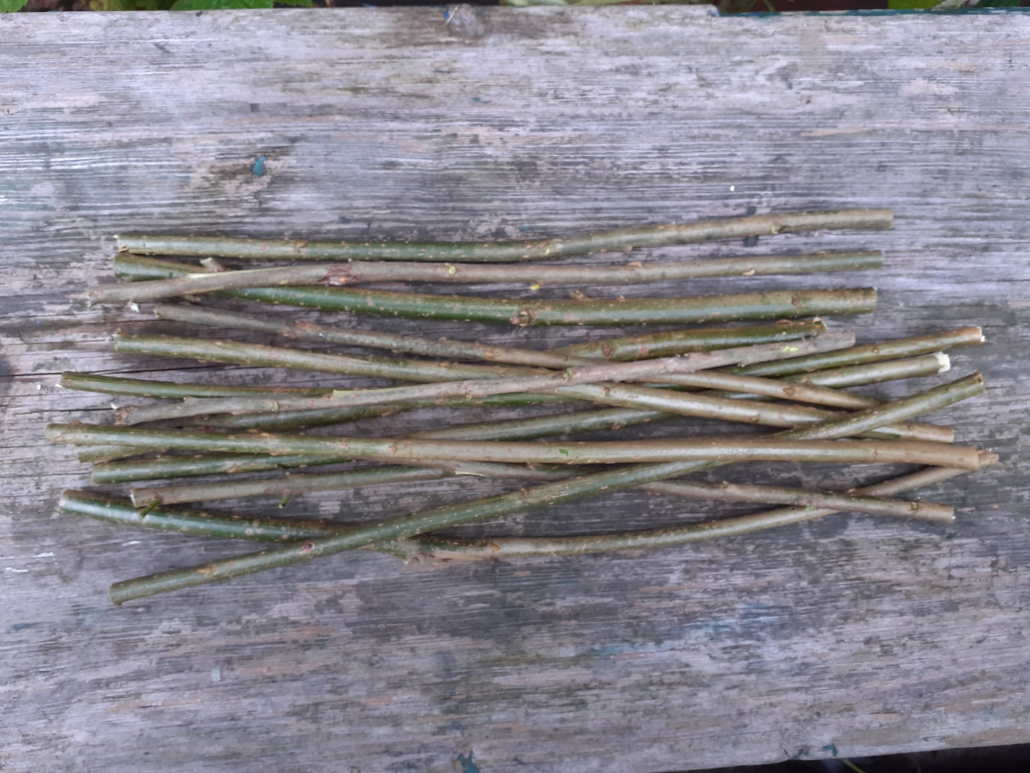
You may need to collect sticks ready for the group you are working with if you don’t have them available in your setting. Young, smooth, straight sticks are best. Try to collect them from the floor if possible – or collect wood from trees being pruned. The stick shown here is willow.
If you have collected long sticks, you will need to use secateurs to cut them into manageable lengths of about 30 cm.
Show the children the arborist poster and tell the children that they are going to be arborists for this activity.
Ask the children if they know what an arborist does. Arborists work with lots of different people to make sure their trees are healthy.
Tell the children about the attributes. Arborists are:
Tell the children that they will be arborists and will be collaborative, working in a team to keep each other safe. They will be observant and notice the changes they make to their sticks. They will be resilient as they might find this job difficult, but they will keep trying until they succeed.
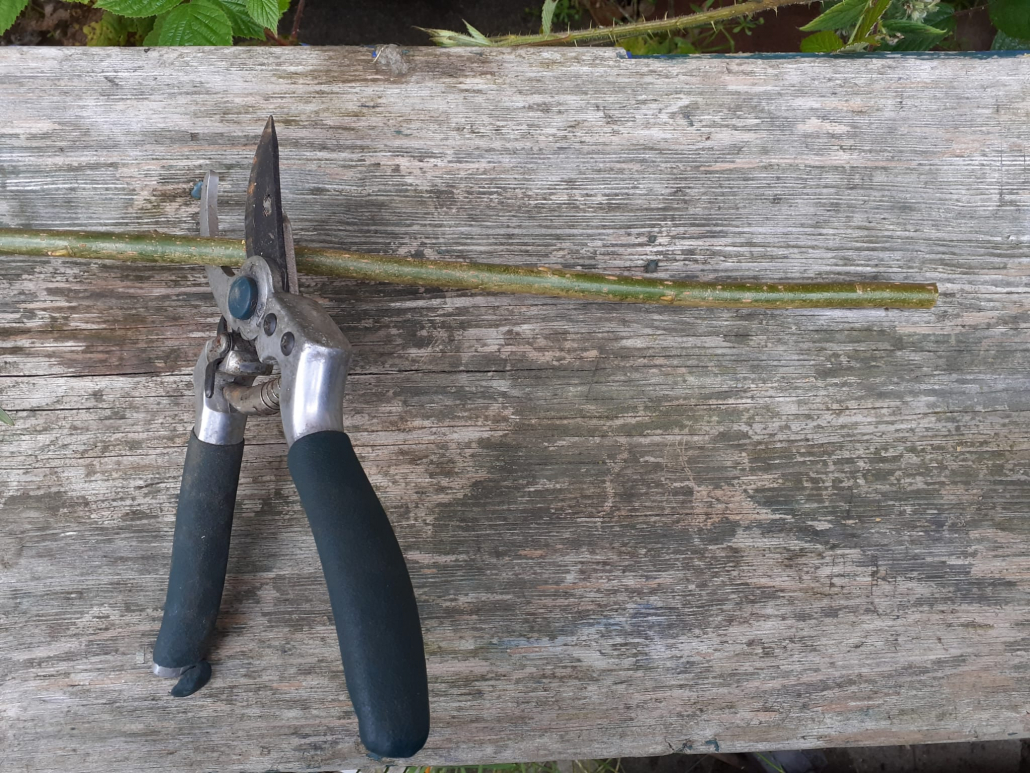
An important part of being an arborist is keeping collaborative and keeping your team safe. You might want to start the session by giving the children their safety instructions and demonstrating the following:
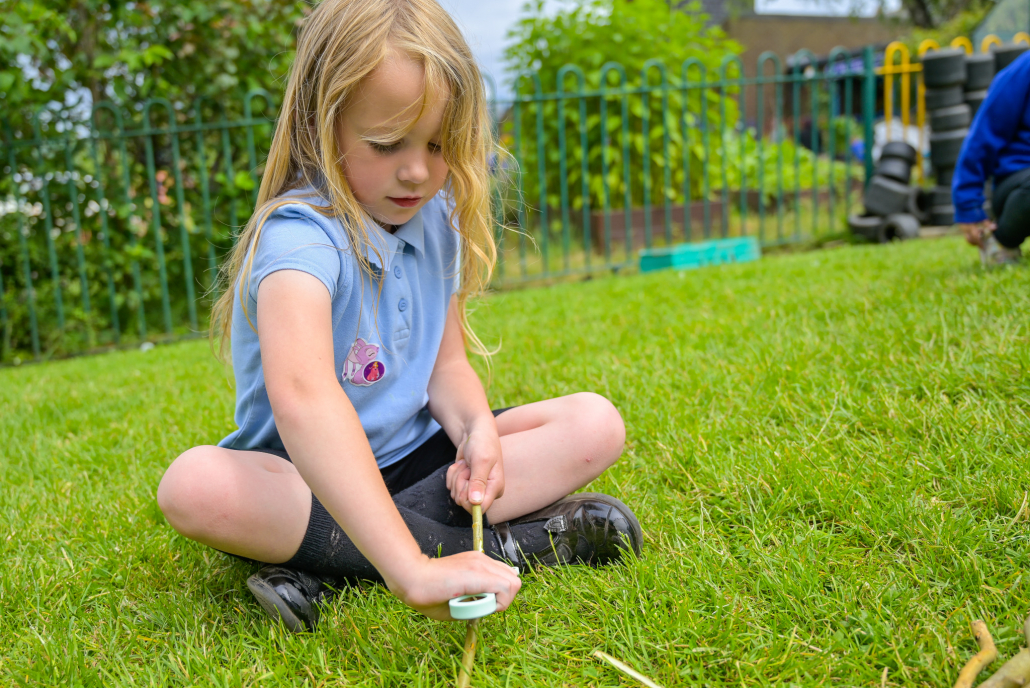
An example of good whittling technique. Click to show larger.
Ask the children to find or choose a stick. You could take a “before” photo or keep an untouched stick to help children with comparisons later.
Ask if they can be observant like an arborist and describe their stick?
You could ask:
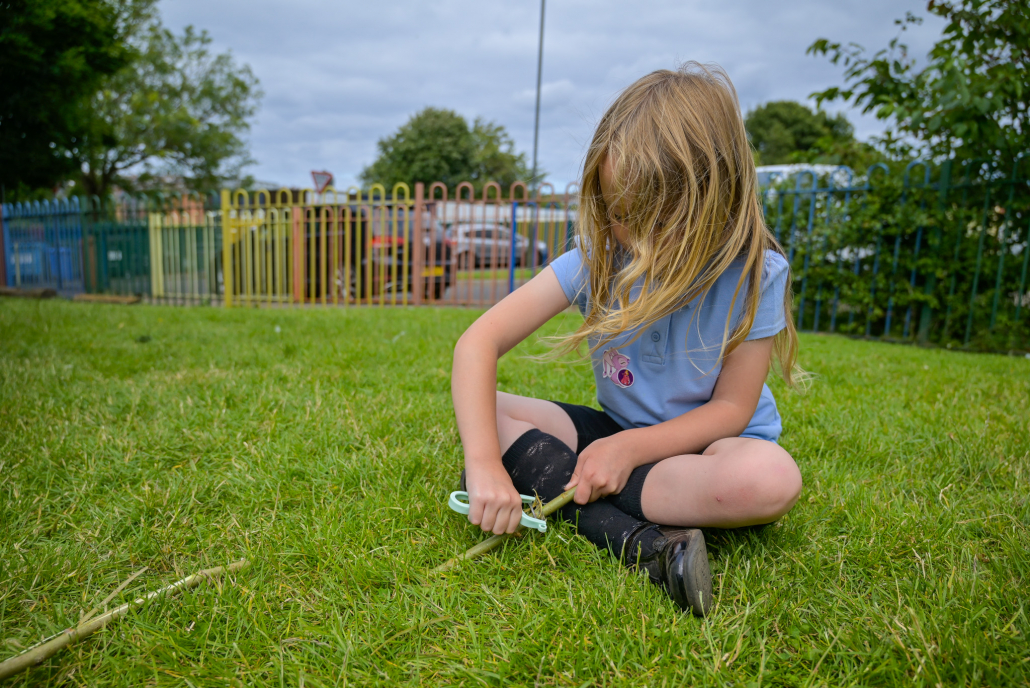
Ask the children what is on the outside of their stick. Ask them to whittle their sticks to remove the bark, reinforcing the safety rules. Encourage the children to keep trying if they find it difficult. Remind them that arborists are resilient.
When they children have removed as much of the outer layer of the stick as they can, you could ask:
With the willow in the photograph, we found our whittling revealed a green layer followed by a white/yellow layer underneath.
You could take a photograph to remind the children of what they did and how much bark they managed to remove during this session.
You could use the sticks you have whittled in our noisy trees provocation.
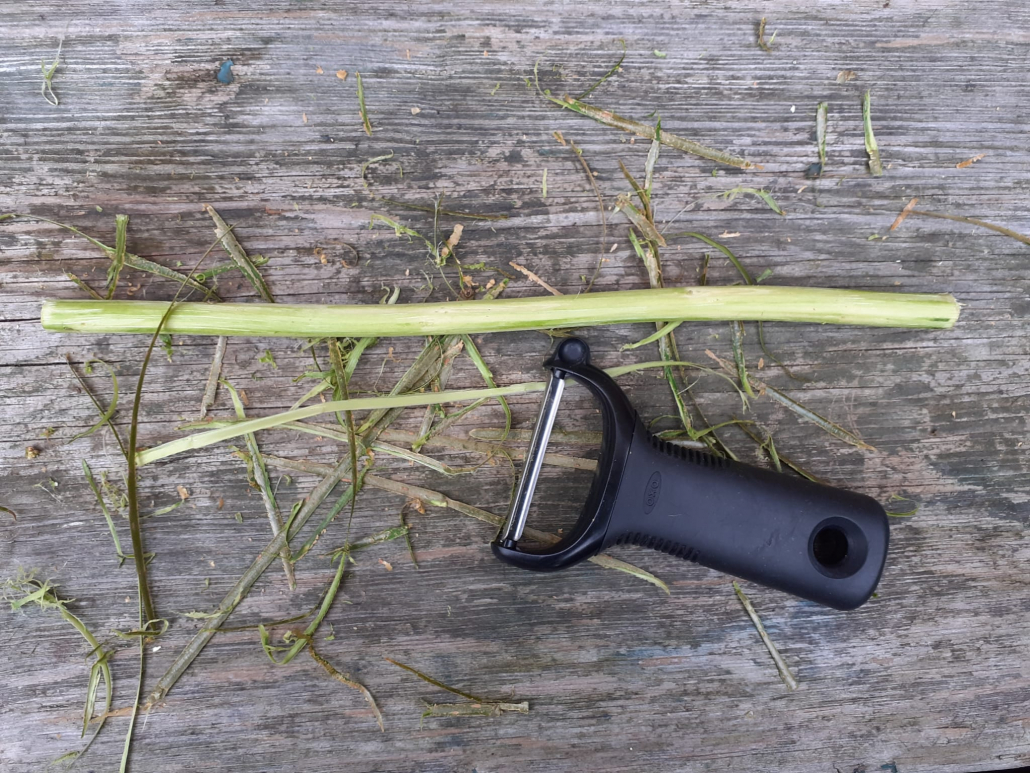
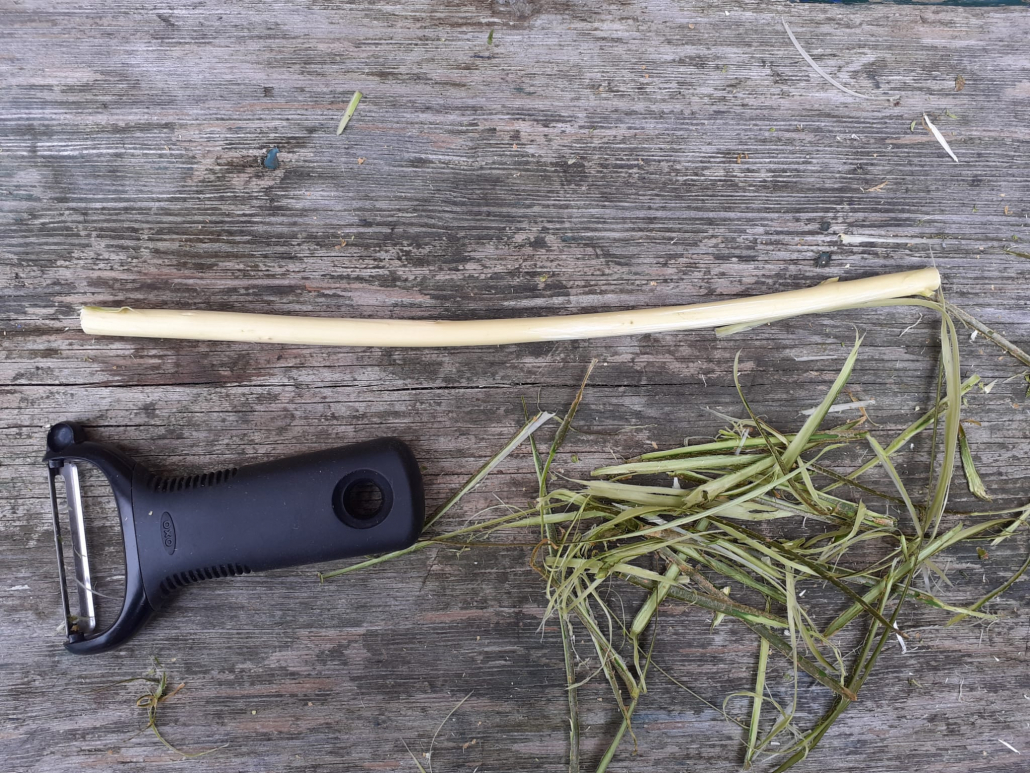
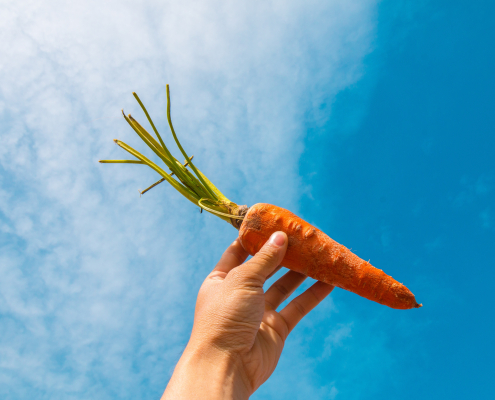
If you are new to whittling, you may want to introduce whittling by using vegetables. Carrots and parsnips are easy to hold and peel, but potatoes are quite difficult.
You could compare the photograph of each child’s stick from the last session to the stick they have whittled today to see how much they have improved.
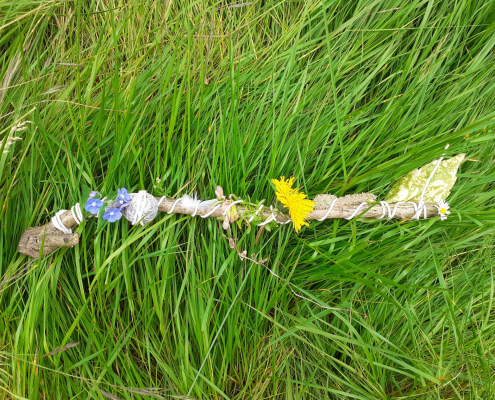
You could use your whittled sticks to make a journey stick and collect natural objects from around your outdoor area or from a walk you have been on.
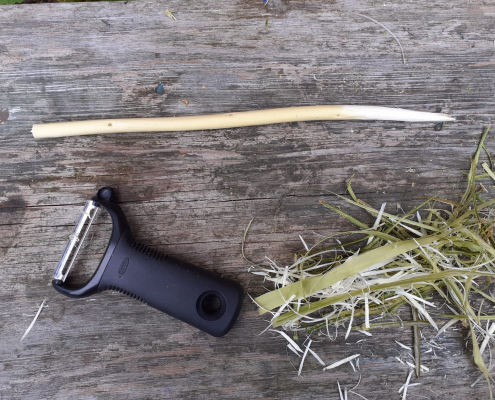
You could make a magic wand. Whittle the end of the stick, turning it after every cut. This may need a bit of practice but arborists are resilient!
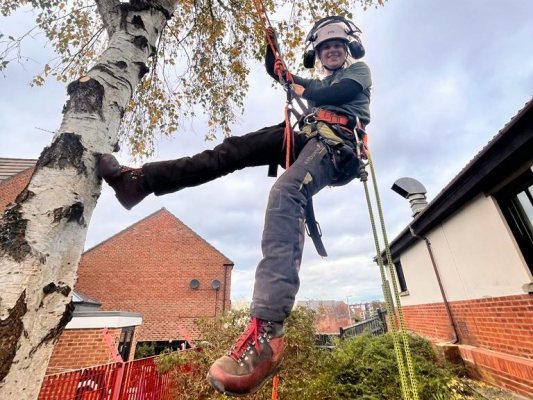 Remember to refer to the children as arborists and praise them for using the attributes. You could say things like:
“You have been collaborative like arborists because you kept your team safe…”
You could look at the photograph of the arborist (download PDF of more photographs here) and ask the children what they think she is doing.
What equipment is she using?
Why do they think an arborist might need to remove parts of a tree or cut a tree down?
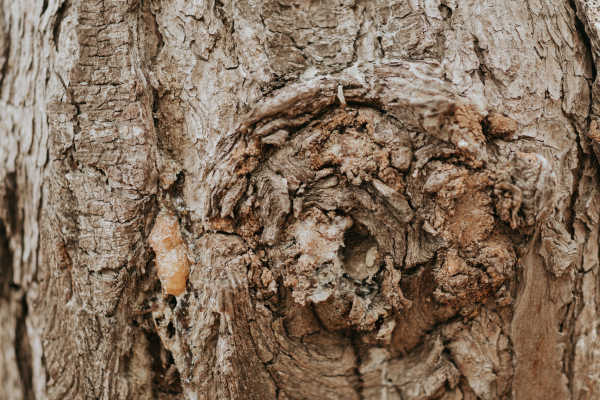 You could talk about what happens to a tree when a branch is removed. You could see if you can find any knots in the trees in your setting where branches have been removed to show the children that the tree can carry on growing.
The children in your setting could use the Woodland trust twig identification sheet to try and identify which trees their sticks came from.
We have put together some useful information about the science of whittling to accompany this activity. Don’t worry, this is for your information only and to help you answer any questions children may have. We don’t expect you to explain this to the children in your setting!
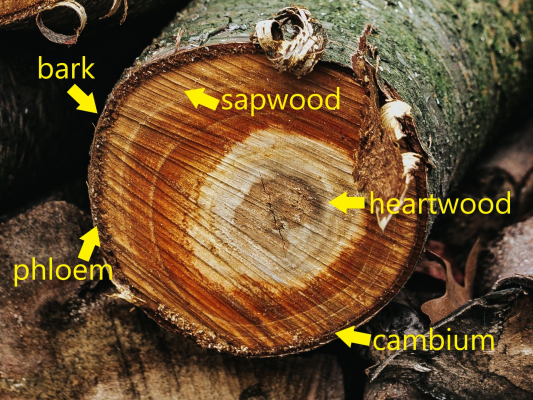 The outer layer of a tree is the bark. This protects the tree from disease and pests and insulates the tree from cold and heat. It keeps out moisture when it is wet but prevents moisture loss when it is dry. Bark is a dead layer which is continually renewed.
The inner layer of the bark is the phloem. This is the layer that transports food to the rest of the tree. It lives for a short time before dying and becoming part of the outer bark.
Sapwood is the living outer wood part of a tree. Sapwood is xylem which transports sap (water and minerals) from the roots to the leaves and give support to the trunk. In new trees and newer parts of older trees, all of the wood is sapwood.
The cambium is a layer of cells that divide to produce new tissue such as phloem and sapwood. It produces these cells in response to hormones made by leaves when they start growing as buds in spring. Each year a new layer of wood cells is added inside the cambium, and this layer moves outwards, making room for the sapwood forming inside. This is why a tree increases in diameter each year.
As new layers of sapwood are produced by the cambium, older sapwood dies and becomes heartwood, the dead, inner core of a tree. Although the cells in heartwood are dead, they do not decay or lose strength while the outer layers of the tree are intact. The heartwood is the supporting pillar of a tree.
Every year a tree grows vertically at the roots and tips and also outwards when a new layer of wood is produced. This creates an internal ring to be formed which marks one year of tree growth. We can count the rings in a tree stump see how many years the tree had grown for. In good years when the tree has grown a lot, the ring formed will be wider than in other years.
Felling (cutting down) a tree may be necessary when it’s location or condition is a risk to safety or is damaging property.
Trees can become damaged and unstable due to storms, drought or flooding. Trees can be dangerous if they are infested by pests or diseases. Tree roots can damage property by causing subsidence and blocking drains.
Tree pruning can remove dangerous hanging branches or reduce the weight or impact of a tree without killing it. Pruning can be used to maintain trees in a safe condition, to promote growth, to improve size and shape or to improve the quality of flowers, fruit or timber.
Knots in trees are formed when branches are removed and the inside of the trunk is exposed. As the tree continues to grow, the trunk expands and forms a callus over the wound, protecting the exposed wood. This is similar to the way we form scabs over wounds to our skin. Knots can also be formed where there are injuries to a tree, or from fungal infections.
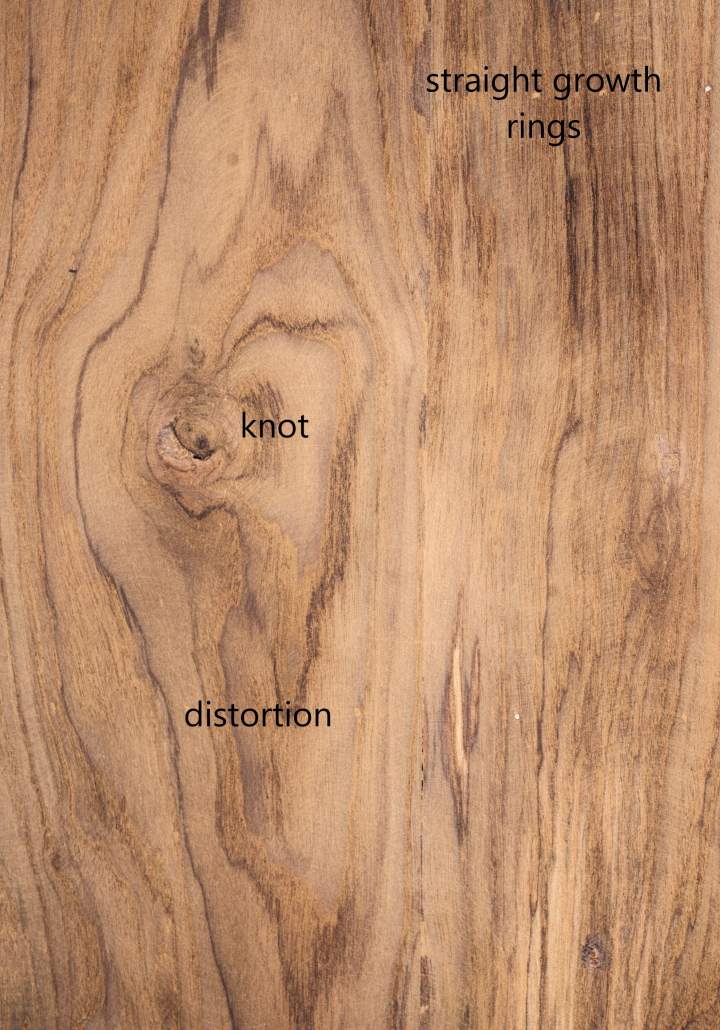 When we look at sawn timber we can see the striped pattern of the grain. This is where the wood has been sliced through the growth rings. A knot in sawn timber is the place where a branch joined the trunk of a tree. When a knot forms after a branch is removed or falls off, the new tree growth expands over the exposed wood, causing the growth rings in the wood to become distorted.


 Tree top walk adult led activity