Light
Science for Families: Activities supporting the ‘Light’ session
Science for Families: Activities supporting the ‘Light’ session
This resource is designed to accompany the Science for Families course delivered by NUSTEM or one of our partners. It’s a six-week parent and child course delivered in primary schools.
You’re welcome to use the resources for other purposes, but they might not make quite as much sense!


Congratulations on making it to the Light page of Science for Families! You’re probably here because your curious about light and want to know what to do next with your spectroscope. We’ll you’ve come to the right place!
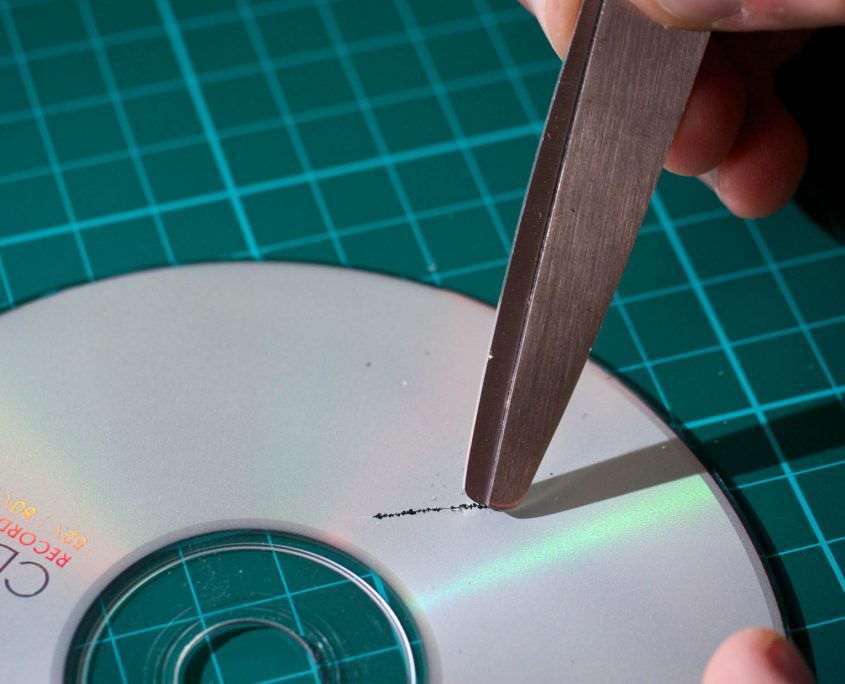
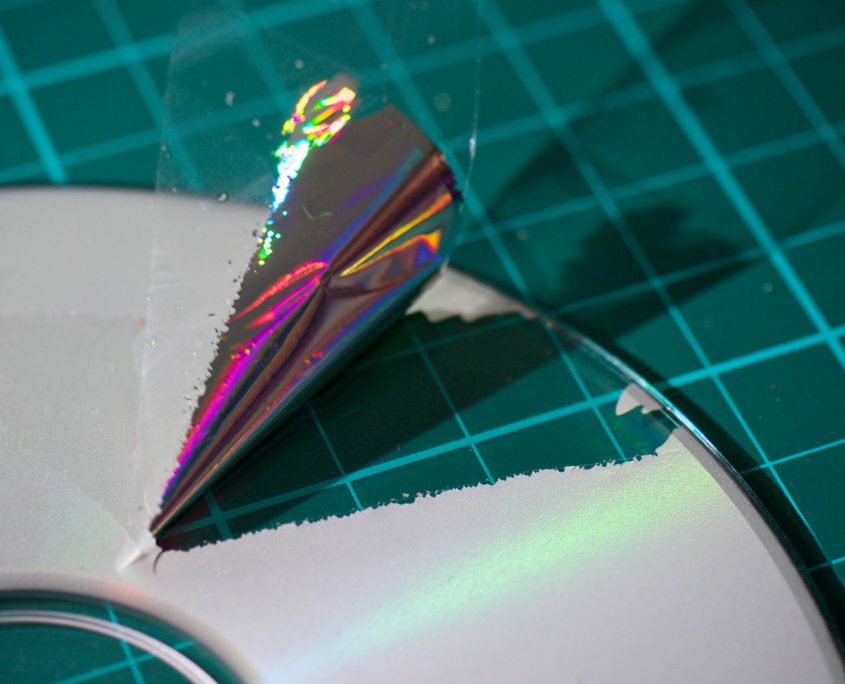
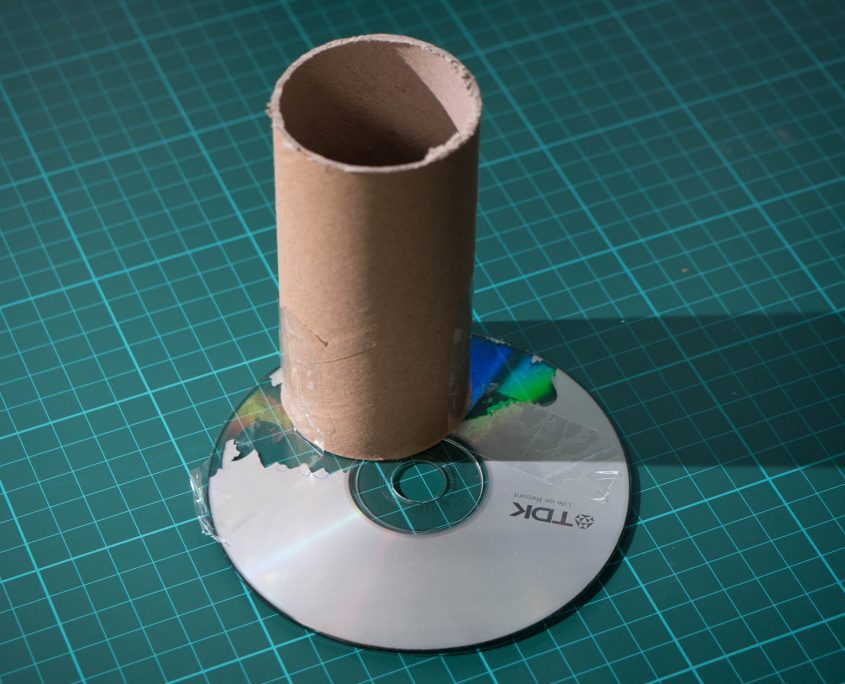
Big question number 1: how does this cardboard tube and CD thing (spectroscope) actually work?
Your spectroscope works through a process called diffraction; when light is passed through a very narrow slit it is spread out into different wavelengths. The CD contains lots of tiny slits which cause the light to split up into various different colours. The small cardboard slit helps to create a narrower beam of light and makes things clearer (if you take away the slit the pattern becomes less clear – try it!). The different bands of colour you can see are light at different wavelengths. Light with a short wavelength sits towards the blue/purple end of the spectrum; light with a longer wavelength sits towards the red/orange end.
Cool, huh!
Big question number 2: what to do next?
Take a look at the three sections below to find out what you can do with your spectroscope and how you can experiment further with light.
Investigation time! You’ll need your spectroscope, a source of light and a camera for this. The camera on your mobile phone will work perfectly.
Choose a light source, maybe the screen of your computer, and point the spectroscope at it. Then carefully take a photo through the spectroscope using your camera. This can get a bit awkward, don’t drop your phone!
Now try again with a different light source. Once you have a few photos, compare them and try to spot similarities and differences. Here are the photos we took…
Don’t use your spectroscope to look directly at the sun. We’d prefer everyone doing this course to finish with just as much eyesight as they started. Thanks.
The colours you see depend upon the type of light source you’re looking at. To be super-accurate, the colours depend on the chemical elements that are involved in giving off the light. You’ll have heard of some elements before: oxygen, hydrogen, carbon, aluminium, and gold are all examples of elements.
Different elements produce different patterns of colour – different spectra. Typically, a light source that’s trying to represent white will use several elements, and hence several spectra, to produce a good enough blend to fool your eye into seeing pure white.
The pictures below show some images of common spectra. If you compare these with your photos you might be able to work out what elements are in use in your light sources.
There’s lots of different ways you can explore the fascinating world of light. Here are three things you can do in your kitchen this weekend!

 Science for Families: Fingerprints
We may request cookies to be set on your device. We use cookies to let us know when you visit our websites, how you interact with us, to enrich your user experience, and to customize your relationship with our website.
Click on the different category headings to find out more. You can also change some of your preferences. Note that blocking some types of cookies may impact your experience on our websites and the services we are able to offer.
These cookies are strictly necessary to provide you with services available through our website and to use some of its features.
Because these cookies are strictly necessary to deliver the website, refusing them will have impact how our site functions. You always can block or delete cookies by changing your browser settings and force blocking all cookies on this website. But this will always prompt you to accept/refuse cookies when revisiting our site.
We fully respect if you want to refuse cookies but to avoid asking you again and again kindly allow us to store a cookie for that. You are free to opt out any time or opt in for other cookies to get a better experience. If you refuse cookies we will remove all set cookies in our domain.
We provide you with a list of stored cookies on your computer in our domain so you can check what we stored. Due to security reasons we are not able to show or modify cookies from other domains. You can check these in your browser security settings.
These cookies collect information that is used either in aggregate form to help us understand how our website is being used or how effective our marketing campaigns are, or to help us customize our website and application for you in order to enhance your experience.
If you do not want that we track your visit to our site you can disable tracking in your browser here:
We also use different external services like Google Webfonts, Google Maps, and external Video providers. Since these providers may collect personal data like your IP address we allow you to block them here. Please be aware that this might heavily reduce the functionality and appearance of our site. Changes will take effect once you reload the page.
Google Webfont Settings:
Google Map Settings:
Google reCaptcha Settings:
Vimeo and Youtube video embeds:
The following cookies are also needed - You can choose if you want to allow them:
You can read about our cookies and privacy settings in detail on our Privacy Policy Page.
Privacy Notice and Cookies 2019
Leave a Reply
Want to join the discussion?Feel free to contribute!